Typography at Its Finest: the ABC of Adding Fonts to Your Drupal Website
Typography isn’t just a visual asset — it’s a language of its own. Are you ready to allow beautiful fonts to tell their tale and give your website the typographic personality it deserves? Fonts can support your branding, enhance readability and user experience, inspire visitors to explore your pages more, and ensure your content is easily accessible to all audiences.
With all the richness of font collections and providers, you can use any of them effortlessly on your Drupal website. Today, we’ll demonstrate how a convenient and powerful Drupal module enables you to easily explore and add a wide variety of fonts. Read on to learn about the module’s features and an easy-to-follow step-by-step guide to using it.
Introducing the @font-your-face module
The @font-your-face module provides easy and flexible ways to browse, choose, and apply web fonts from various providers to your Drupal site.
The module derives its name from the famous “@font-face” CSS rule. A CSS rule is basically a set of instructions on styling a web page. The @font-face rule allows developers to define custom fonts and use them on a website, even if they are not installed on the user’s device. They can specify and load fonts from external sources, such as a file on their server or a font provider like Google Fonts.
The module helps in a variety of scenarios. For example, you can rely on it when you need to:
- apply brand-specific fonts
- improve readability
- style specific content blocks to make them stand out
- create a visual hierarchy
- enhance navigation
- experiment with fonts for A/B testing purposes
- and more
The key features of the @font-your-face module
Here are some of the most important features of the module that simplify, streamline, and enhance font management.
Support for various font providers
The module enables you to easily discover and integrate fonts from providers like:
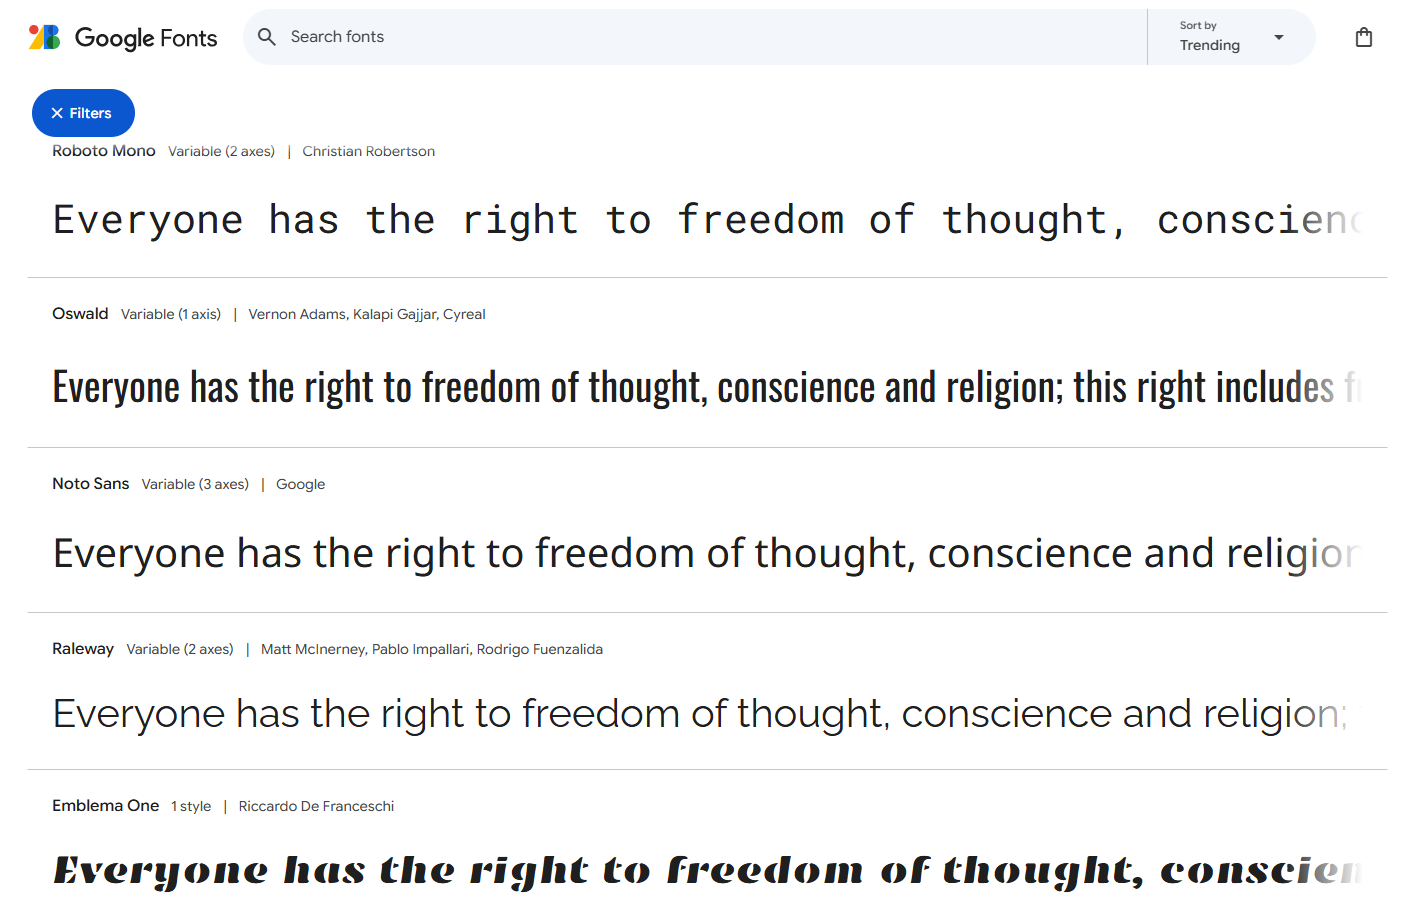
- Google Fonts. A free and widely used collection of web fonts, easy to integrate, and optimized for fast website performance. They follow the principles of Material Design and help create clean and consistent interfaces.
- Font Squirrel. Another collection of free, high-quality fonts — a great resource for designers looking for professional-grade typography without licensing restrictions.
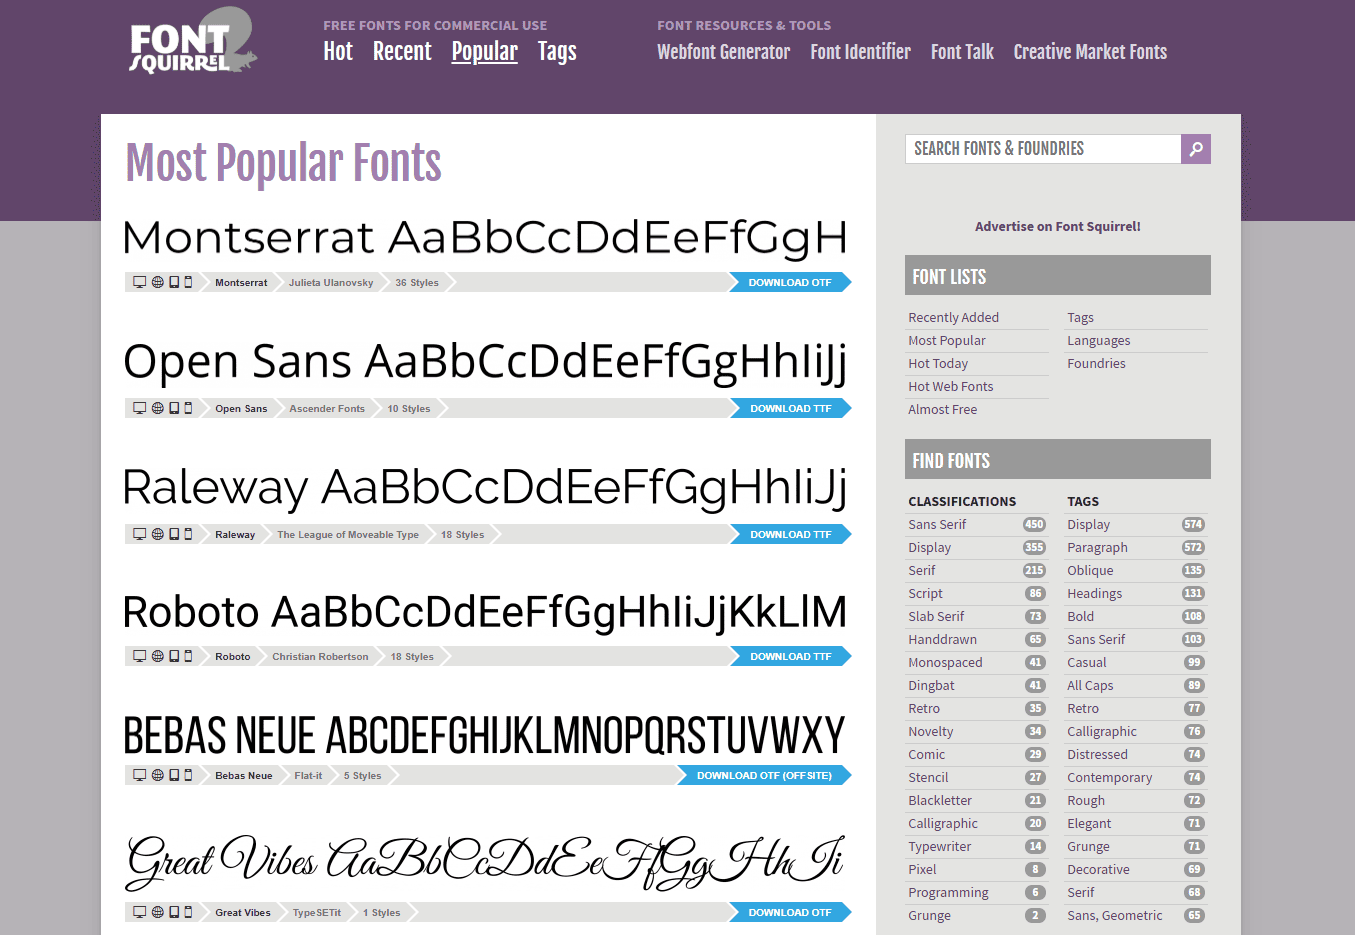
Font Squirrel fonts examples
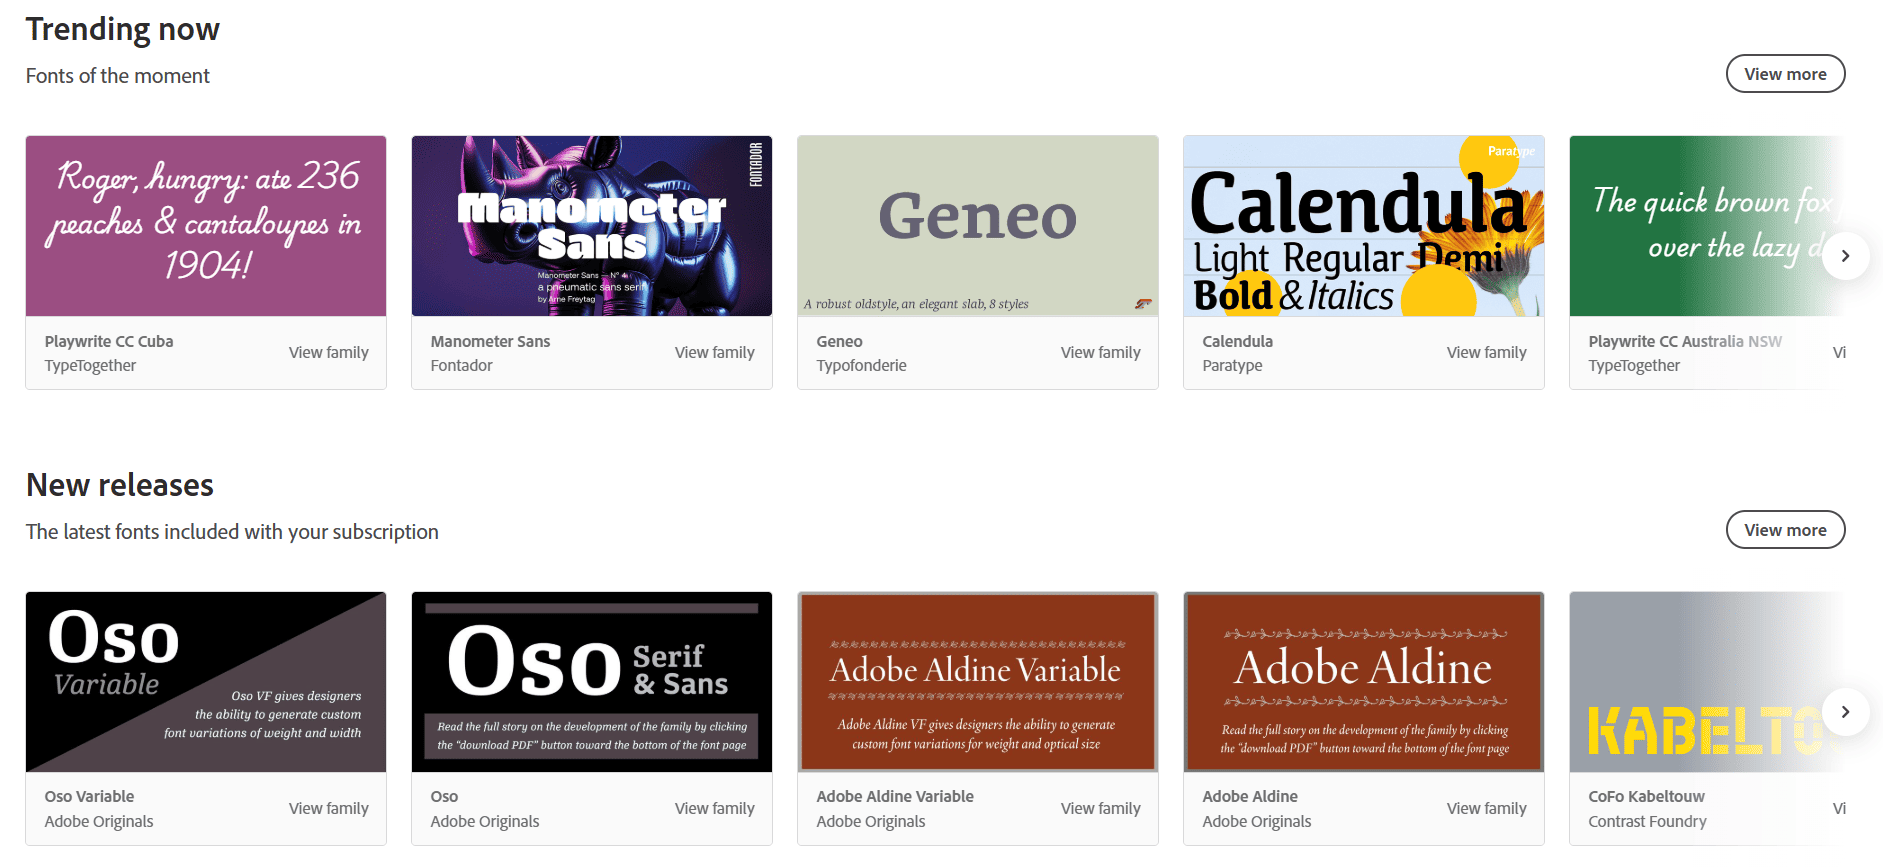
- Adobe Fonts (formerly Typekit). A premium service offering high-quality fonts, included with Adobe Creative Cloud.
A handy administrative interface
The @font-your-face module has got you covered with handy admin tabs on every step of font integration — from adding a provider to choosing the right font based on numerous filter criteria you can use.
One-click font loading with no hassle
One of the best tweaks of the module’s handy UI is that you can enable fonts with a simple click — no need to manually create font files, write CSS, or add JavaScript. When you enable a font, it’s automatically loaded on your Drupal site.
Adding fonts to various website’s elements
You can apply the preferred fonts to specific text elements on your website. Examples include:
- Headings and titles — page titles, block titles, and section headers
- Body text — main content in articles, basic pages, or other content
- Navigation and menus — primary menus, dropdowns, and sidebar links
- Content blocks and widgets — paragraphs, custom blocks, and sidebar widgets
- Forms and inputs — labels, text fields, buttons, and form instructions
- Miscellaneous text areas — footer text, captions, and call-to-action elements
The module offers the following ways to apply fonts:
- Choosing from predefined options. You can customize headings, body text, and other popular site-wide text elements with no need for CSS skills whatsoever. The module offers predefined selectors that you can just choose.
- Manually adding CSS selectors via the UI. You can also enter specific selectors to have more granular control over what gets styled (like a particular content block).
- Styling the website’s theme. Developers might opt for applying fonts by using the provided font-family identifier within the website theme’s stylesheet. This provides even more flexibility and customization options, allowing development teams to specifically tailor to the customer’s needs.
Licensing information
The module provides clear indications of any licensing restrictions for the fonts you select, ensuring that you comply with their terms of use.
Support for local fonts
You can also import local fonts into your site if you have fonts stored on your server in formats like WOFF. This is useful if you have custom or branded fonts that you want to use without relying on external providers.
Language-specific fonts
If you want to choose fonts that are optimized for specific languages or include specific characters necessary for your content, the module has got you covered. Among numerous useful filters in the font browsing interface, there is one that allows you to narrow down the font selection based on the languages or character sets (subsets) that the font supports.
How to use the @font-your-face module
1. Installation
Install the module per normal. The recommended way is via Composer:
composer require drupal/fontyourface
Alternatively, you could download the @font-your-face module from drupal.org and enable it via the “Extend” tab.
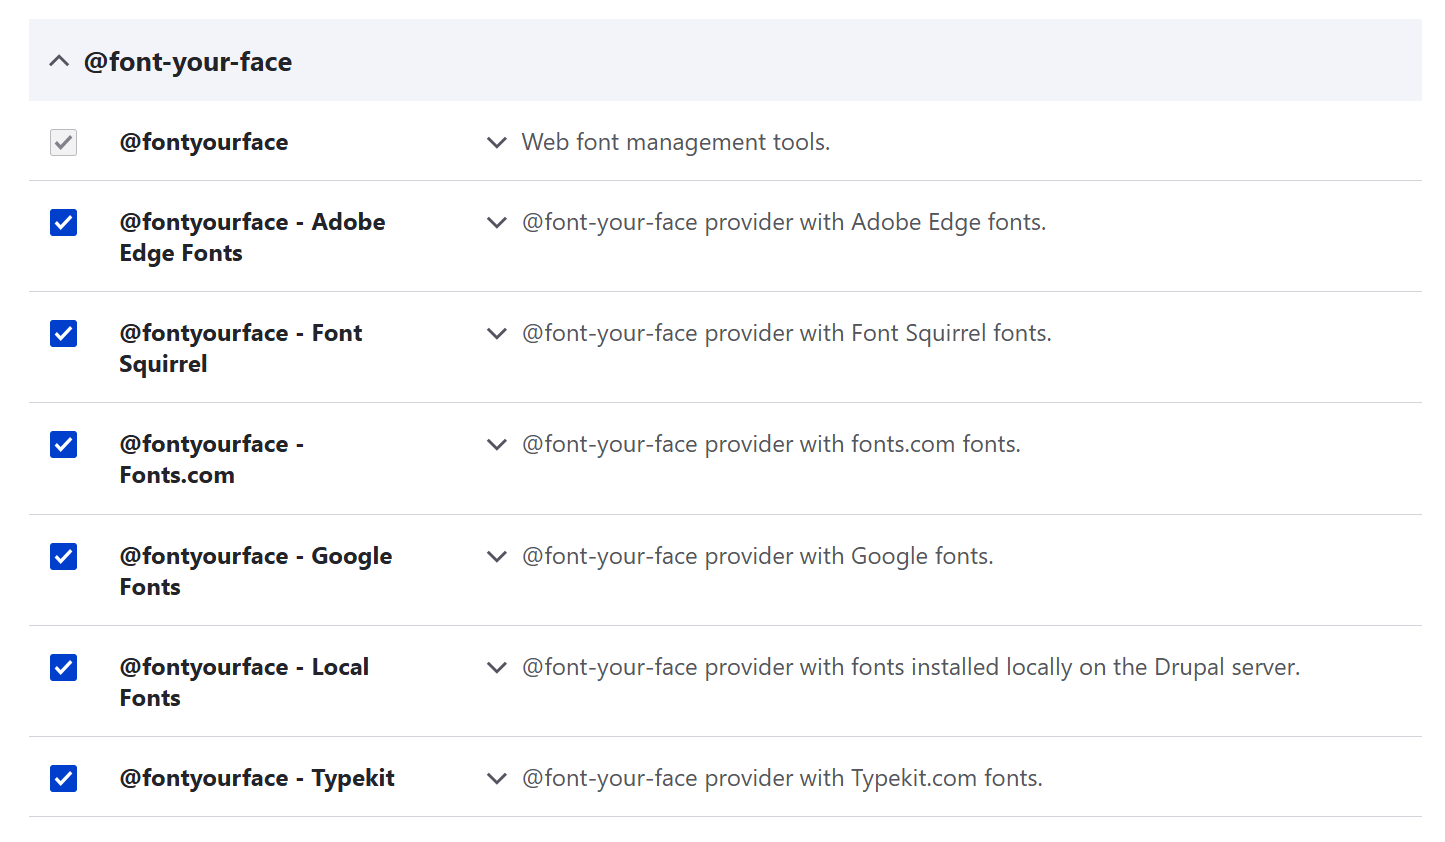
Enable the additional submodules for using fonts from specific providers you are interested in, or for using fonts stored locally on your server.
2. Importing fonts from providers
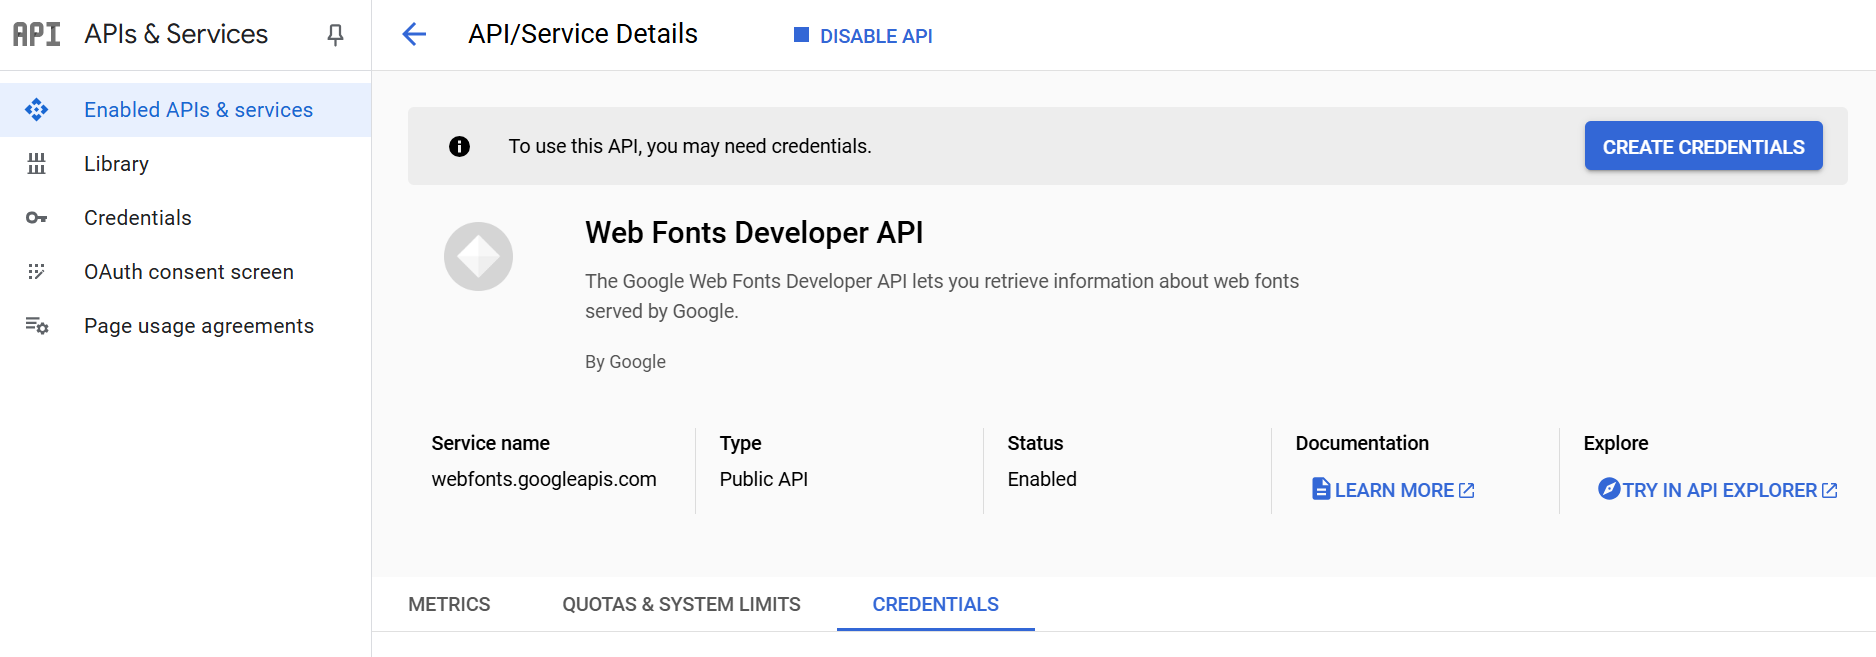
Generate an API key in your account with the font provider you’re interested in. In this example, we used a free Google Cloud account and followed simple steps to generate an API key by enabling Google Fonts Developer API and clicking the “Create credentials” button.
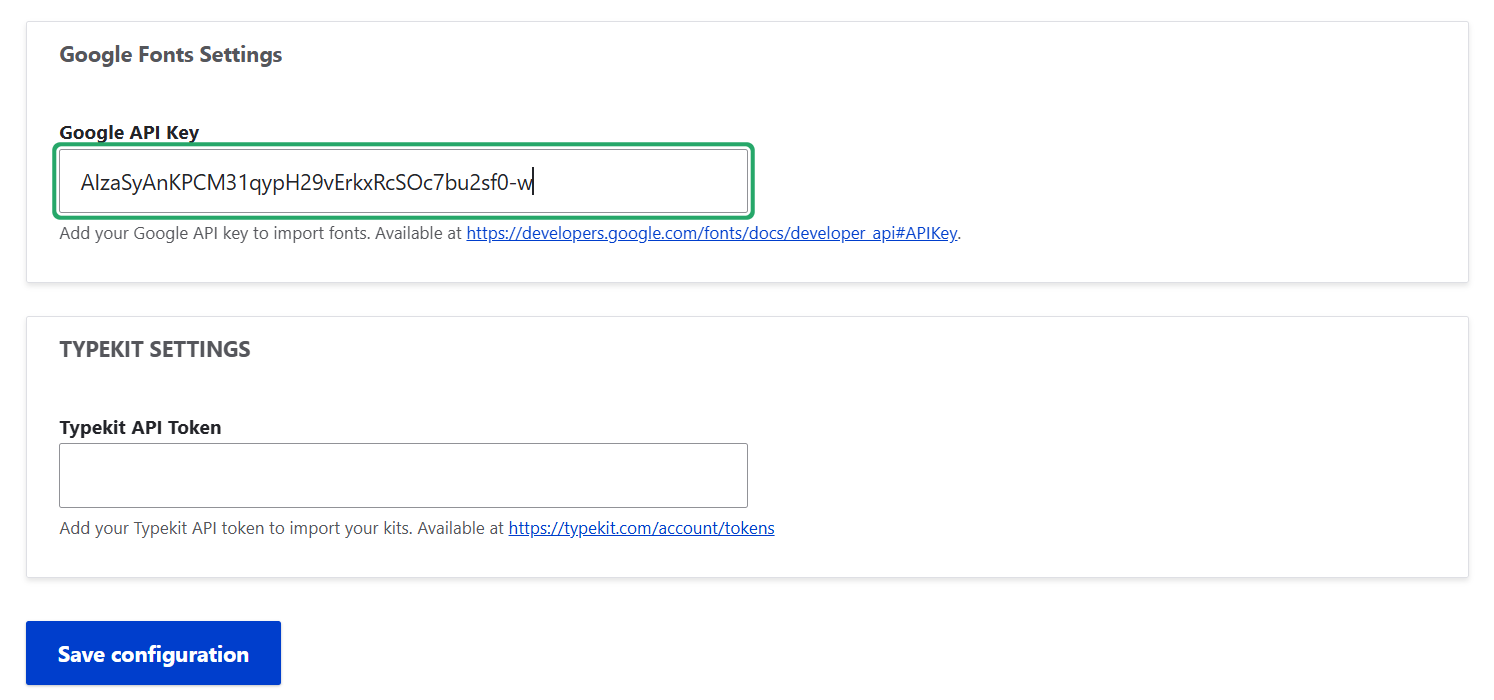
Next, the API key needs to be added to the Drupal website. Go to Appearance > Fontyourface > Settings and find the box for the specific provider’s credentials (in this case, Google API Key). Click “Save configuration” at the bottom of the page.
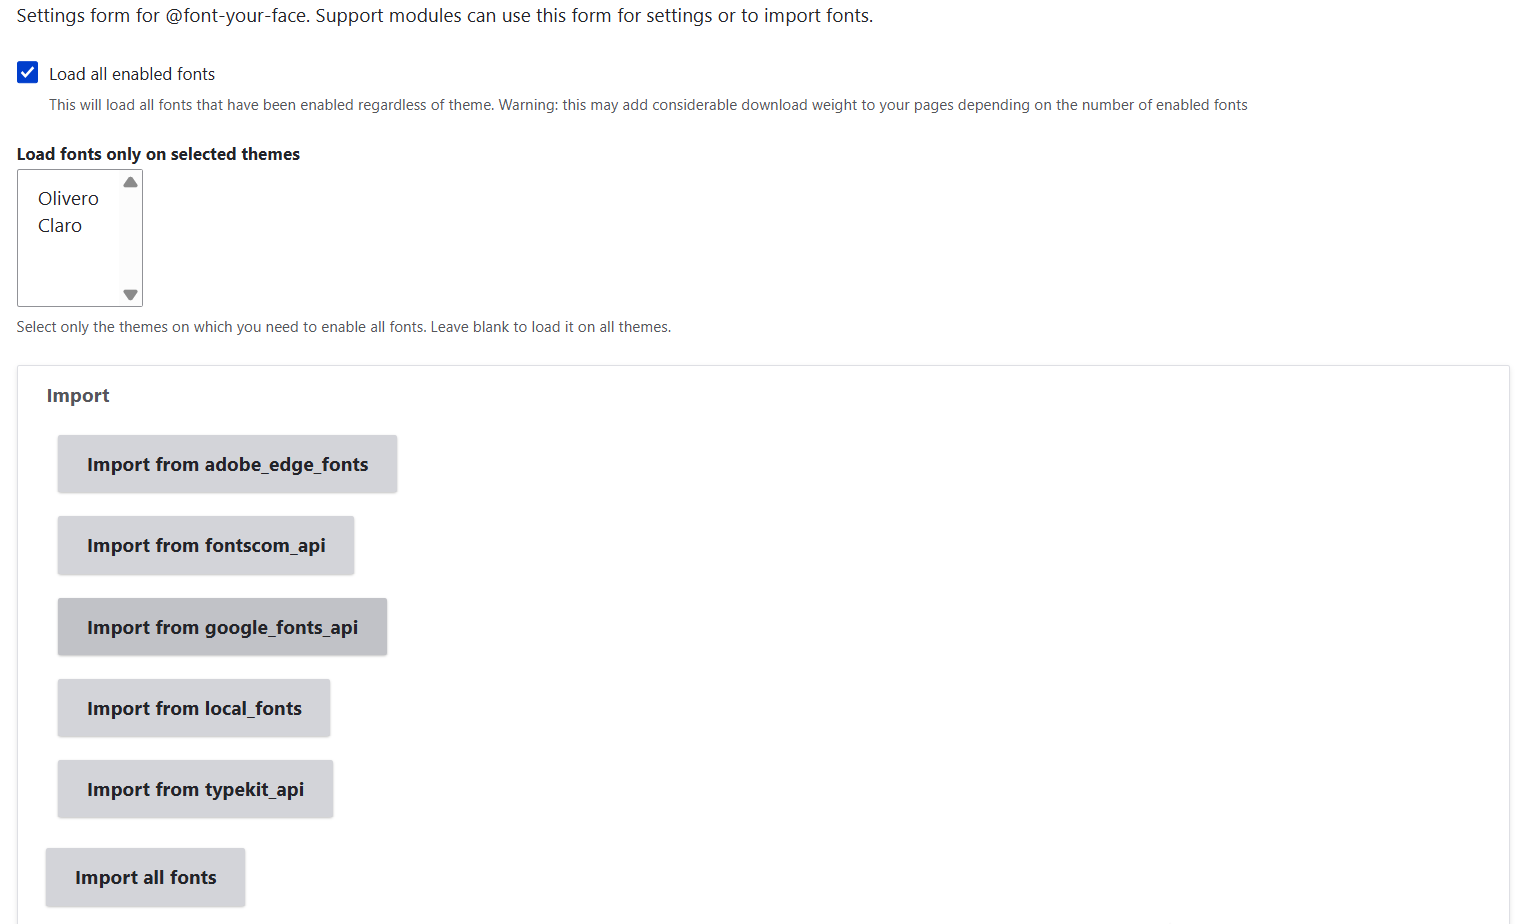
Next, on the same tab, click to import the fonts from the specific provider.
The process of loading the fonts will start, showing you the progress via the progress bar. The loading might take some time.

3. Choosing and enabling fonts
Once the import is completed, you’ll be able to see the fonts on the Appearance > Fontyourface > Browse tab. You can filter them by:
- Font name. This is convenient when you know the name of the specific font or font family you need.
- Provider. You can choose to only view the fonts by a specific provider.
- By CSS style. The options in this filter include “normal” and “italics.”
- By CSS weight. Choose extra-light fonts for a sleek and modern feel or extra-bold fonts for a strong impact. The options range from “100 (Thin)” to “900” (Black, Heavy).”
- By classification. You can choose between “Display,” "Handwriting," “Monospace,” “Sans-serif,” and “Serif.” For example, look for handwriting fonts for a personal, friendly look or monospace fonts for a techy, code-like vibe.
- By language/subset. Find fonts that support Arabic or Greek characters to match multilingual content. This filter includes an impressive choice of options.
For each font on the list, there is the “Enable” button which you can click to enable this font. If you don’t need it any longer, you can use the “Disable” button.
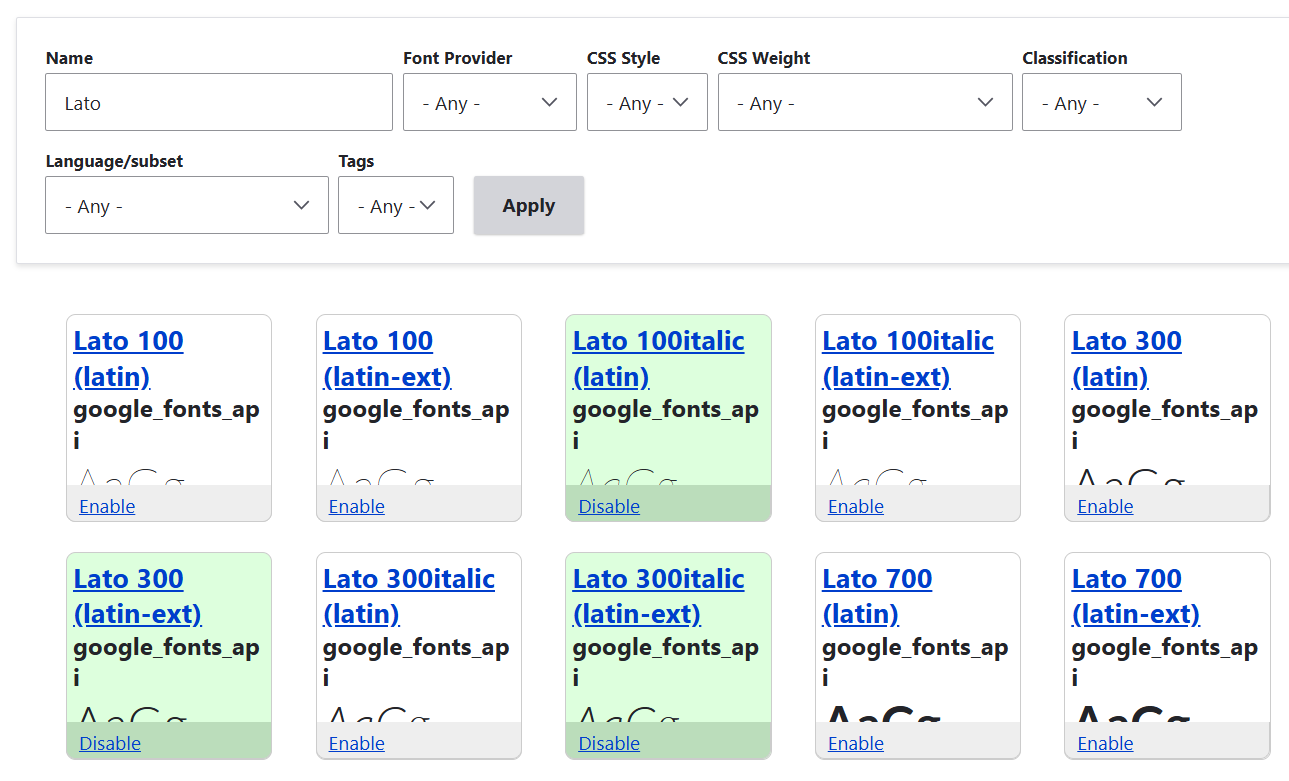
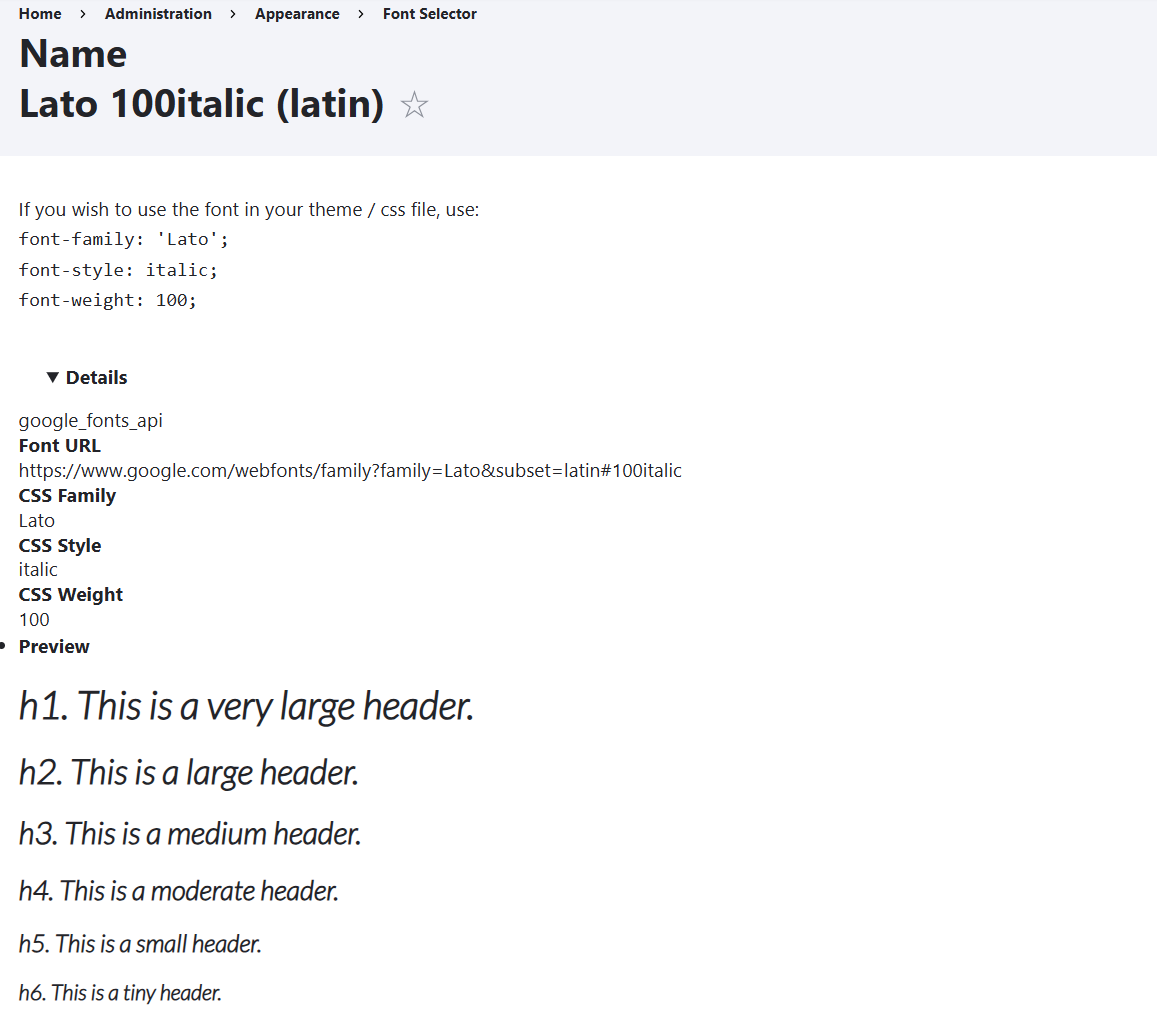
By opening each font, you’ll see its extended description and examples of its looks. The screenshot below shows just part of all the available details.
4. Adding fonts to website elements
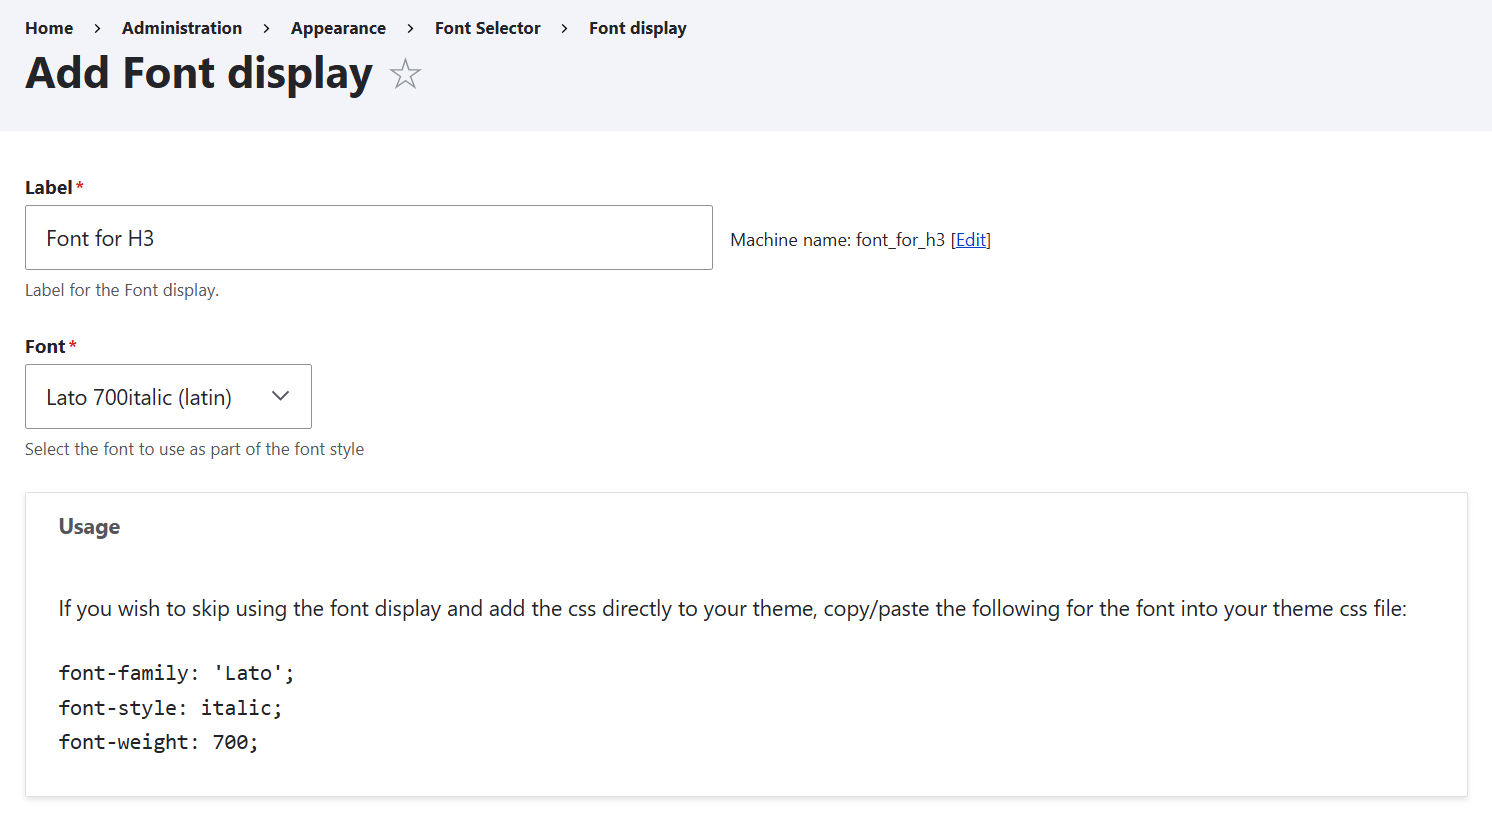
Appearance > Fontyourface > Font display tab and click “Add font display.” Give it a label to differentiate it from others. Next, select the needed font from the dropdown where you’ll find all the enabled fonts.
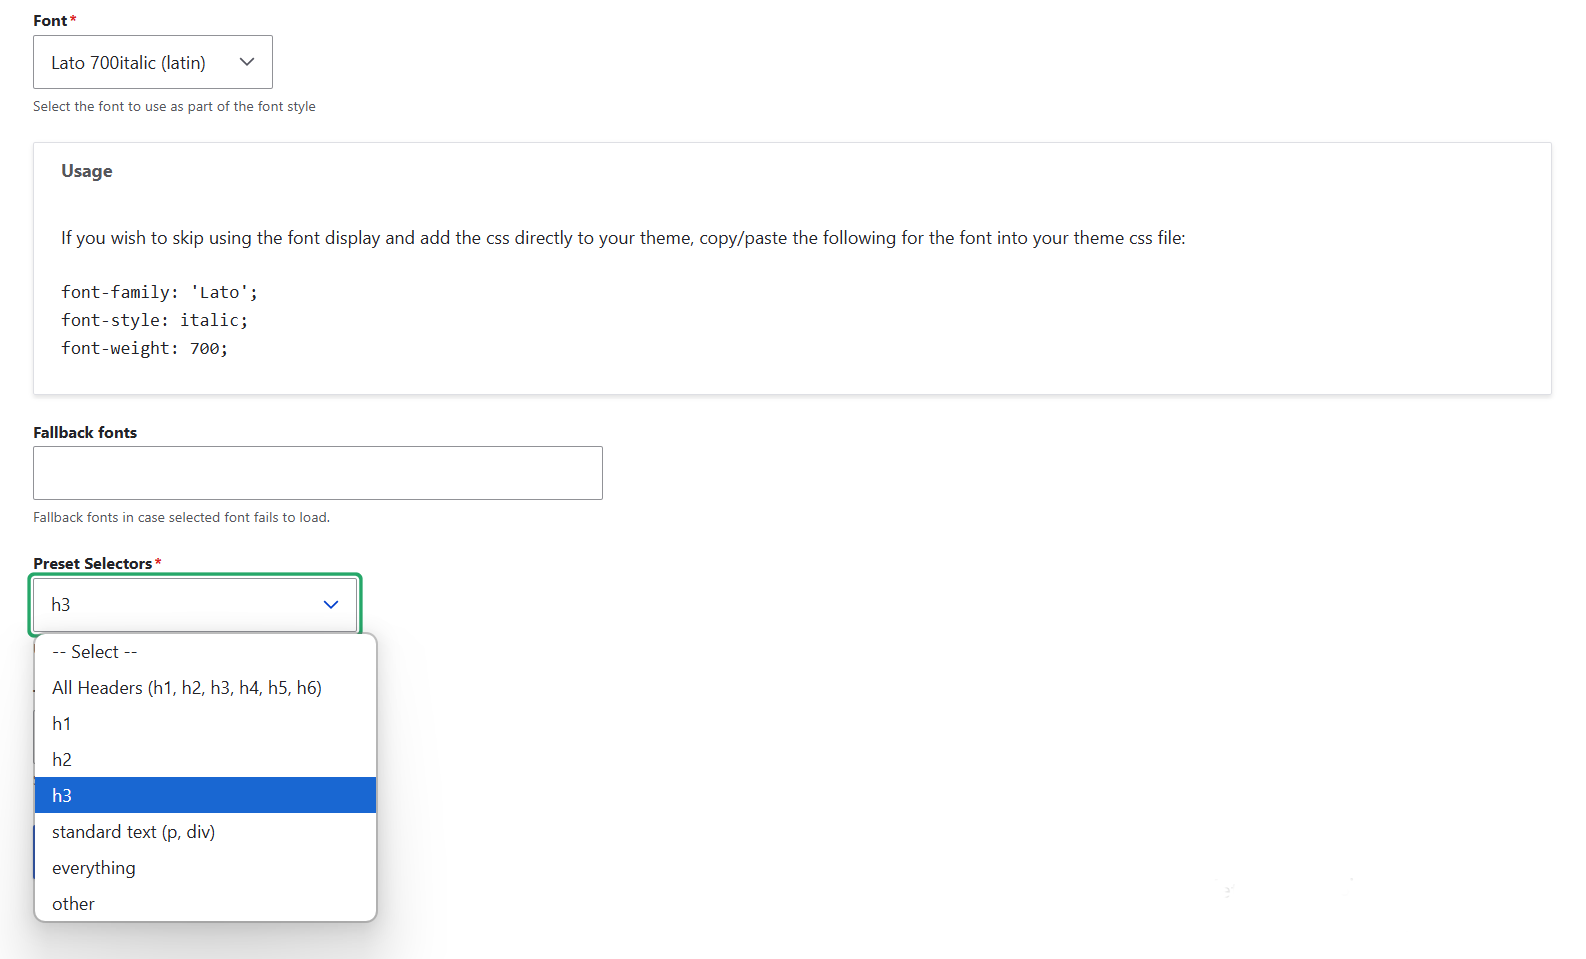
You can quickly apply fonts to site-wide elements by using the “Preset Selectors” dropdown. The available options include:
- all headers — for applying the font to h1, h2, h3, h4, h5, and h6
- specific-level headers — for applying the font to just h1, just h2, or just h3
- standard text — for applying the font to the entire website’s body text
- everything
- other
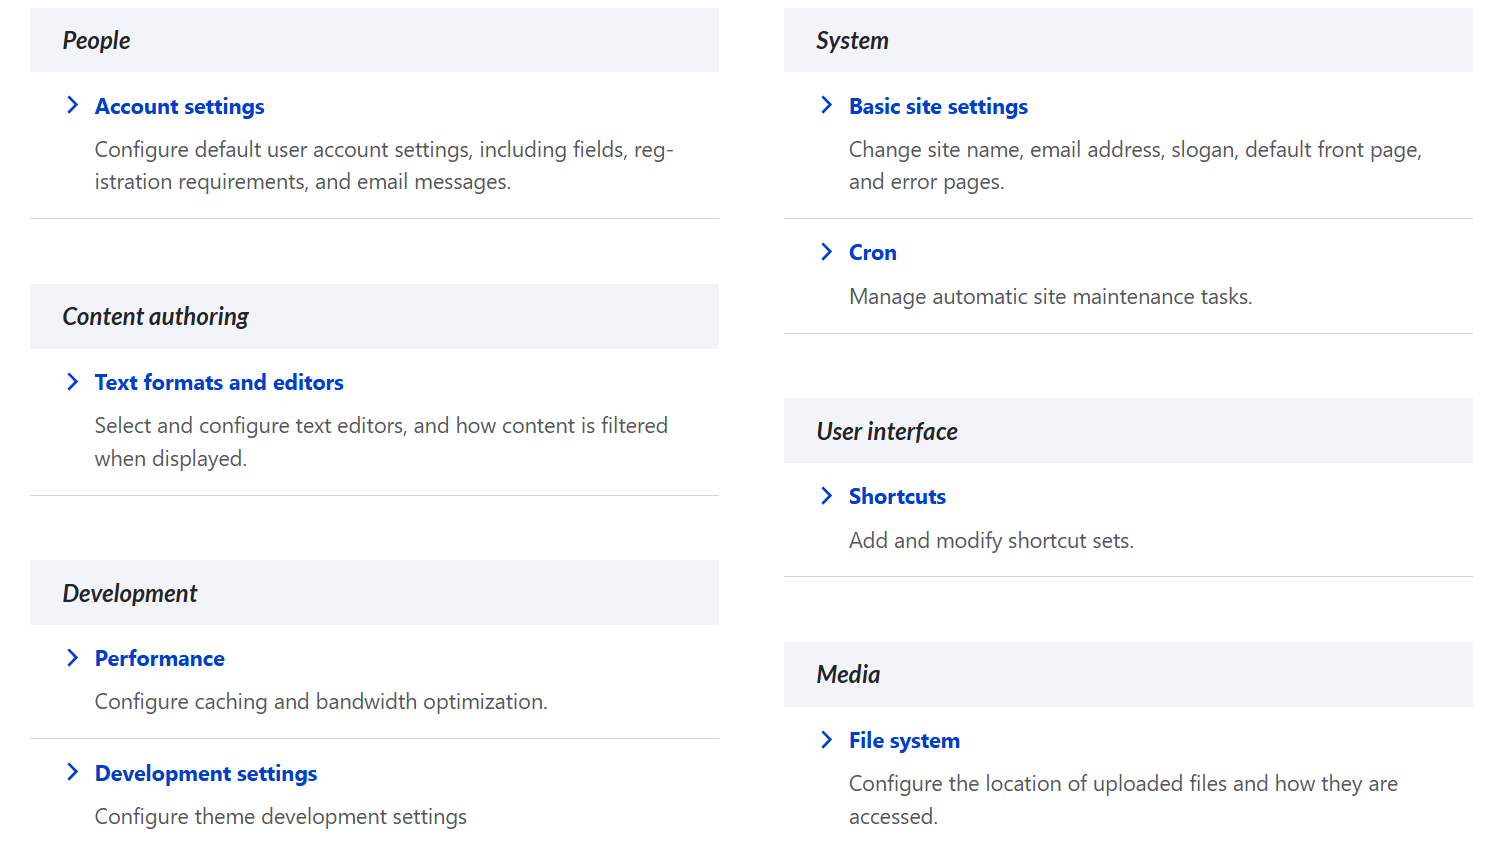
Also, you’ll need to select which theme to apply the font to. The options include the enabled themes on your website. In this example, we’re demoing the module’s latest version on a website that uses the core themes, so the options include:
- the Olivero frontend theme (if you want the fonts to be displayed to your Drupal website’s audience)
- the Claro admin theme (if you want the fonts to be displayed to your Drupal website’s admins and editors)
In this example, we applied the “Lato 700 italic Latin” font to h3 headings in the Claro theme, and we see it applied successfully to “People,” “System,” “Content Authoring,” and other section headings that are on the h3 level.
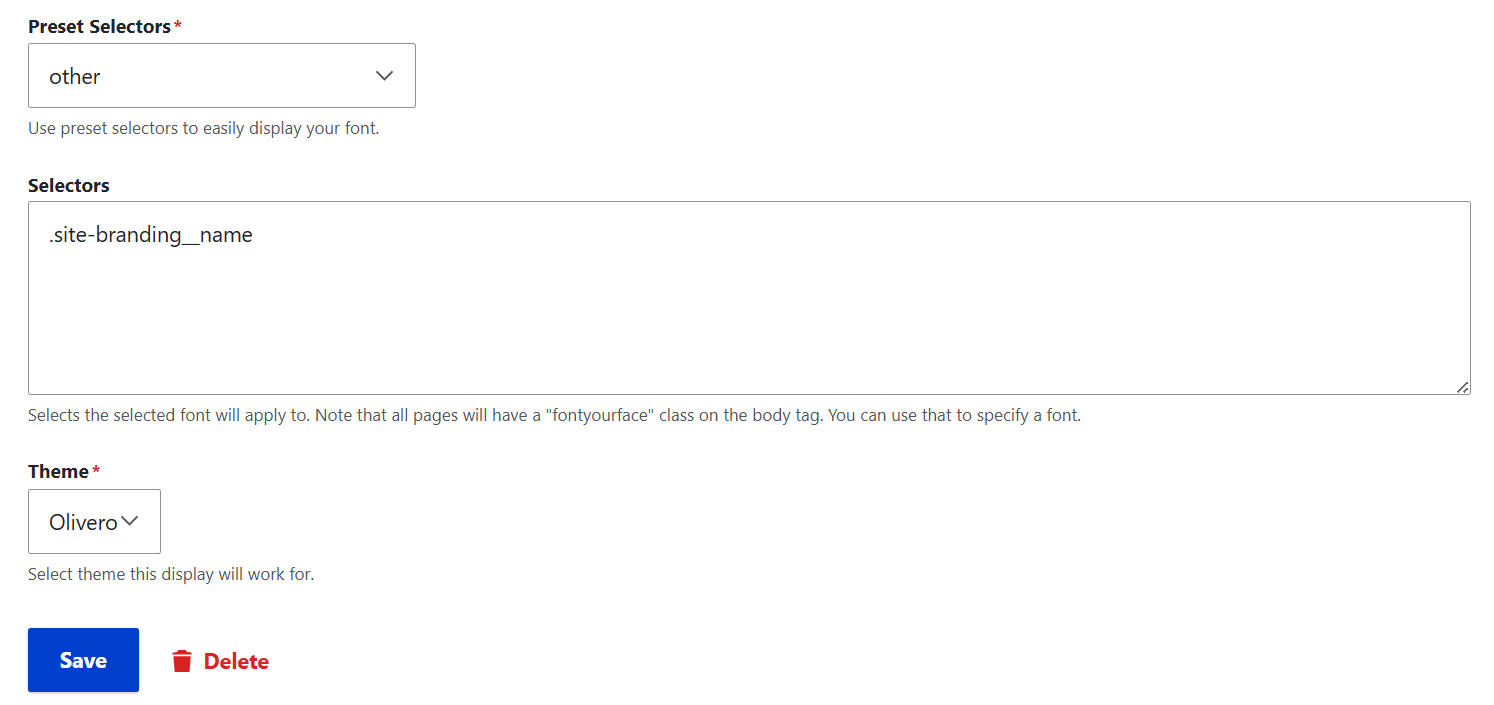
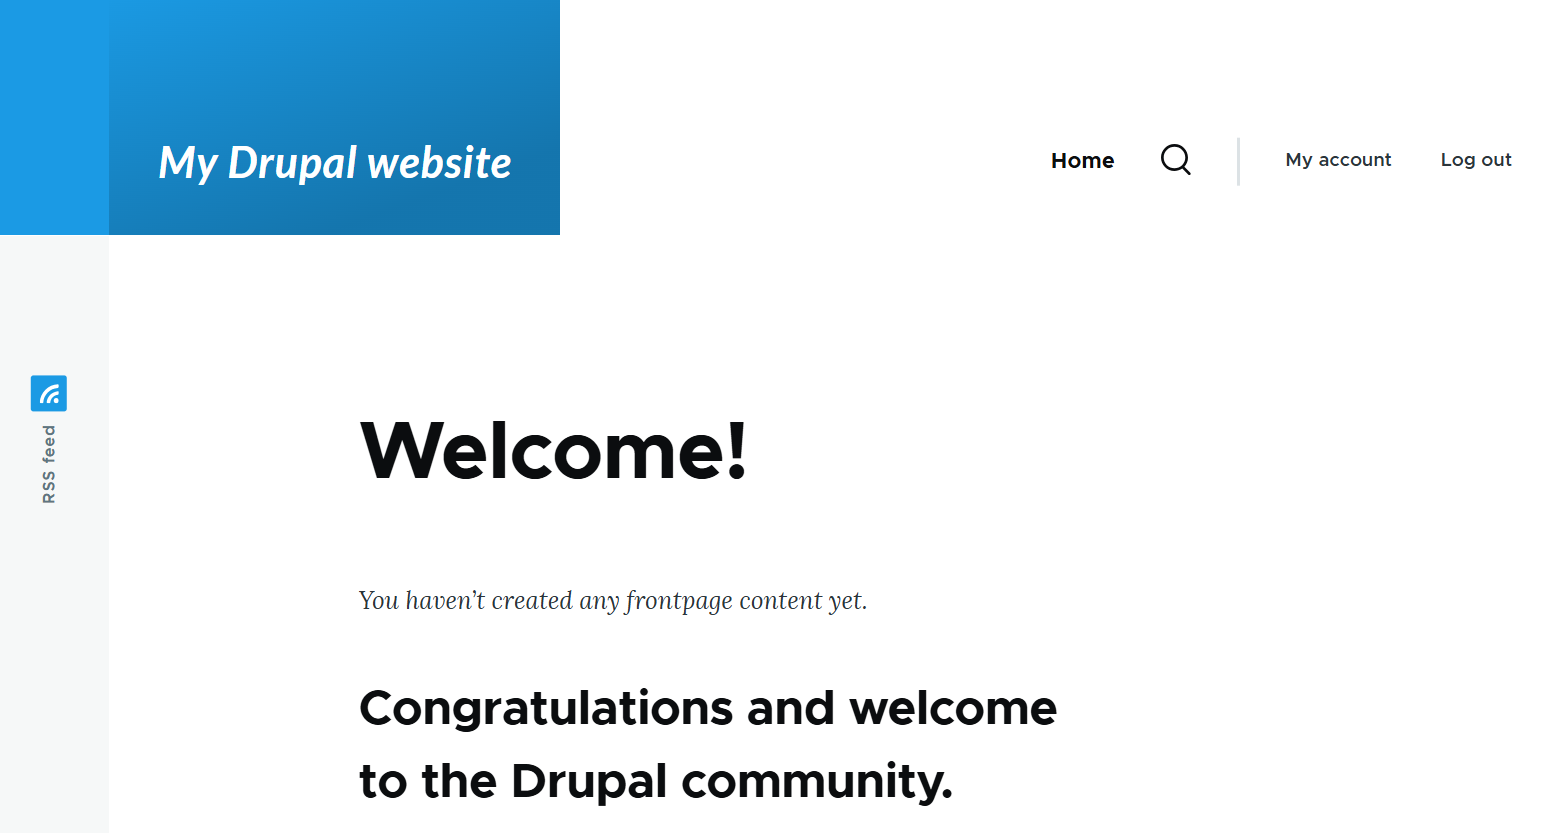
If you choose “Other” in the “Preset Selectors” dropdown, you’ll see a box for entering specific selectors to apply fonts to specific blocks with more precision. In this example, we used a CSS selector “ .site-branding__name” to add the font to the site’s name. We applied it to the Olivero theme.
By opening the website’s homepage on the front end, we see the font of the site’s branding name (“My Drupal website) change successfully.
Final thoughts
It’s great that there are robust tools that can give you full control over your website’s typography. In this guide, we’ve just shown you a couple of simple examples of what can be done using the module’s administrative interface. With more specific customization from a professional development team, font management reaches a whole new level.
Let your optimized fonts become the change that brings your website closer to a polished and engaging user experience and enhanced brand reputation!


