
Drupal’s Flag Module: Flexible Bookmarking, Following, Reporting, And More

As you browse websites, you may often think: “I’d like to save this for later,” “I like this person,” or “this post crosses the line.” The ability to flag a page, user, or post can be easily set up on a Drupal site thanks to the Flag module.
While the phrase “to flag something” often carries a negative meaning, in Drupal, it simply means marking something in a way that meets your needs, either positive or negative. You might bookmark an article you enjoy, add someone to your friend list, mark a comment as inappropriate, and so on. The Flag module gives site builders the flexibility to set up these options, opening up endless opportunities to tailor the system to a specific website’s workflows.
The flag functionality can both improve the user experience and enhance the security of your Drupal site. Read on to discover how the Flag module works and how to set it up, with a practical example of bookmarking favorite content. Enjoy your tour, and hopefully, you will want to add this article to your bookmarks.
The Flag module and its key features
The Flag module is designed to create fully customizable flagging systems with an unlimited number of flags for content, users, comments, or other Drupal entities. Next up are some of the top features that make the module especially flexible and useful.
Controlling who can use flags and where
You can decide that a flag only appears on certain types of content (for example, articles but not images), and you can restrict it to specific user roles (such as members but not anonymous visitors).
Per-user or global flags
Flags can be:
- individual (when a user marks something for themselves)
global (when an item is either marked or unmarked for everyone)
Demo setups included
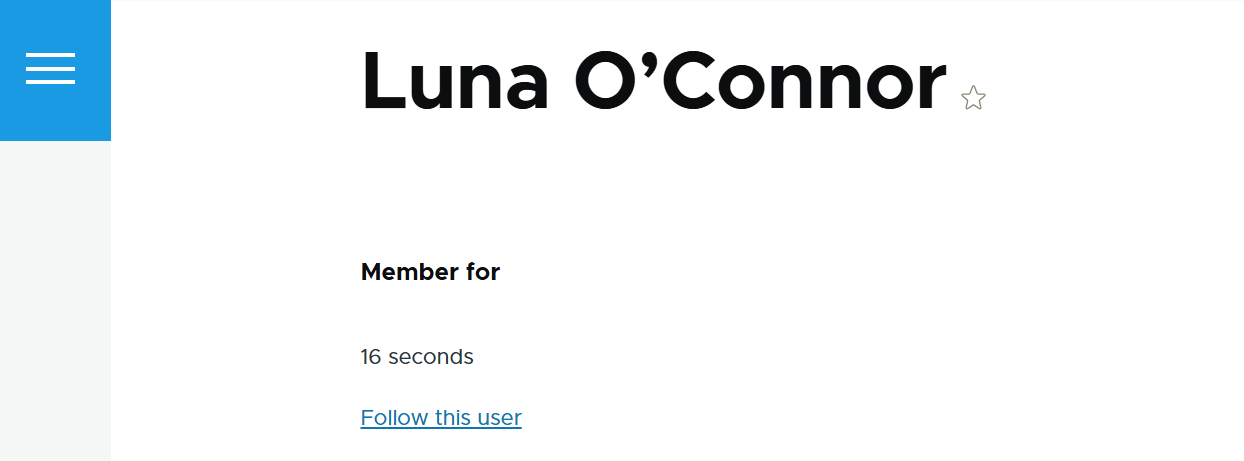
The module comes with demo submodules that provide ready‑made flag setups. These include sample flags for bookmarking content and following users.
View integration
Where can a user see everything they have flagged? This is where Drupal Views comes in, providing pages or blocks with listings. Views can be configured to show each user their own flagged items.
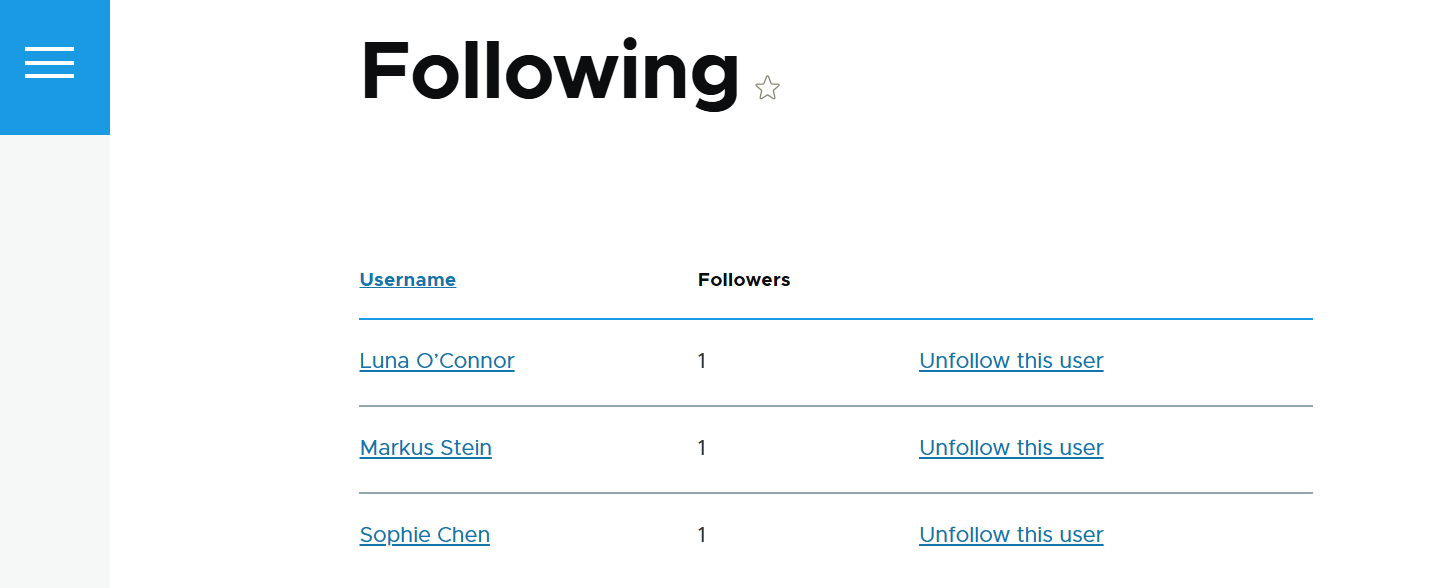
The Flag module integrates deeply with Views, and the demo submodules even provide pre‑configured views. They list a user’s bookmarked content, people they follow, and the bookmarked content of those people.
Customized messages
You can fully customize the messages users see before and after they flag something, tailoring the experience to your site’s tone and purpose.
Token integration
By using placeholder tokens, you can take customization even further. For example, instead of a generic message, “You have bookmarked this content,” users could be told that they have bookmarked an article with a specific title published on a specific date.
The titles and dates are pulled dynamically from the flagged content, thanks to the Token module, which integrates seamlessly with Flag.
Instant changes
The Flag module uses JavaScript to toggle the flag state between “on” and “off” dynamically. This means users see immediate feedback when they click a flag, without needing a full page reload.
More ideas for flag setups
Besides the classic bookmarking, following users, and reporting comments are the most common uses of the Flag module, you can also design more creative setups to fit your site’s needs:
- Reading lists: let users flag articles as “Read Later” or “Favorites” to organize their personal collections.
- Content feedback: create flags like “Helpful,” “Needs Update,” or “Inspiring” to gather lightweight feedback without a full rating system.
- Moderation queues: allow editors to flag items internally as “Needs Review” or “Pending Approval” to streamline workflow.
- Gamification: users can flag tutorials or lessons as “Completed,” which can feed into badges or progress tracking.
- Collaboration tools: teams can flag documents as “Draft,” “Approved,” or “Requires Feedback” to manage shared work.
- Event tracking: flags like “Attending” or “Interested” can help manage community events or resource lists.
How to use the Flag module in Drupal: step-by-step guide
1. Installing the Flag module
Install the module in your preferred way. The recommended way is to use Composer:
composer require drupal/flag
On the Extend tab of your Drupal admin dashboard, enable the module and the submodules based on what extra features you’d like to use:
- Flag Bookmark: for an example bookmark flag and a view that supports it
- Flag Follower: for an example follower flag and a view that supports it
Flag Count: for an example on how to display flag counts
2. Creating and configuring a flag
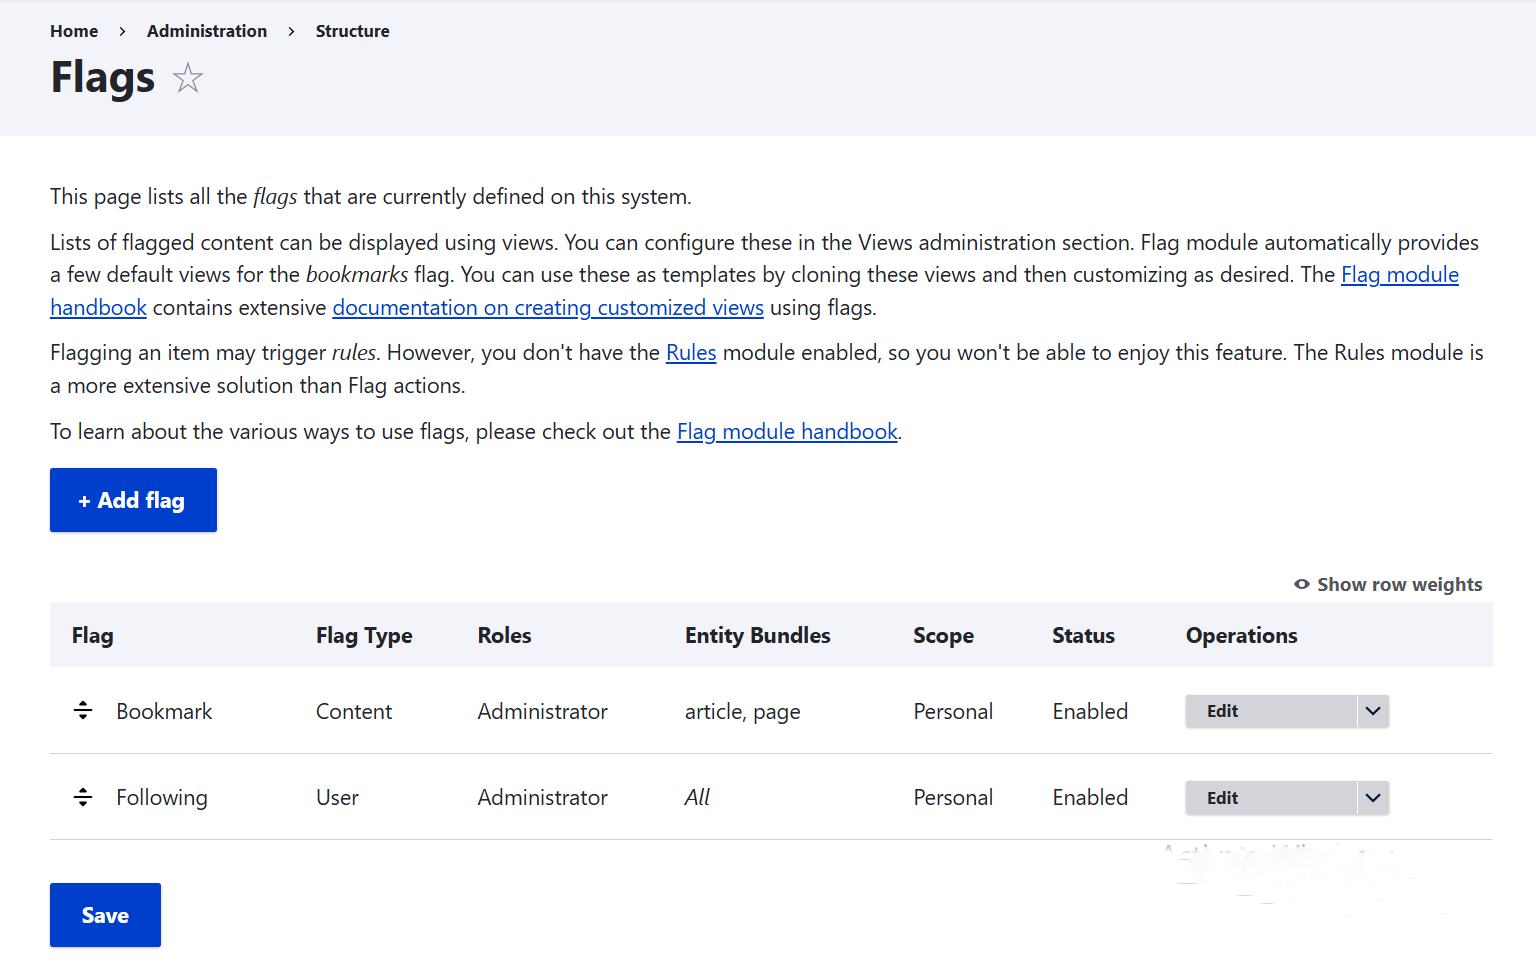
You can manage all your flags by going to Structure > Flags. This page will list every flag you create with a dropdown for actions like editing, deleting, disabling a flag, and more.
You can click the “Add flag” button to create a new flag, or use one of the pre‑configured flags that appear when the demo submodules are enabled. These demo flags are fully editable, so you can adjust them to fit your needs. Keep in mind, though, that if multiple flags are configured to act on the same type of content, their links may overlap and appear more than once.
The key settings for a flag include:
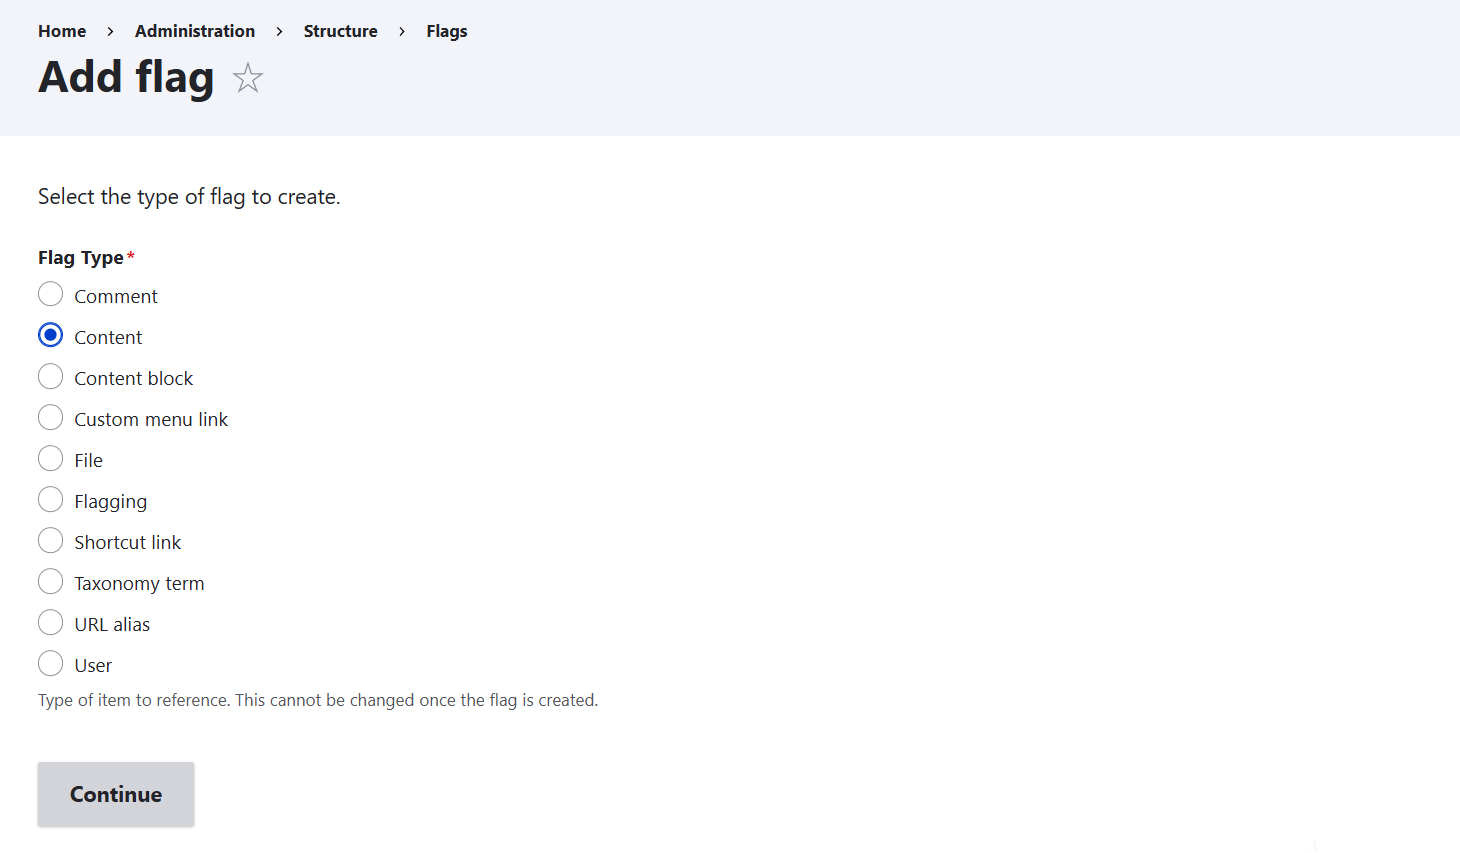
Flag Type
In this step, you select the type of item the flag will reference. Once chosen, it cannot be changed.
Since this guide is focused on building a bookmarking system for articles, we’ll choose Content here. If the feature were about following people, you would select User, and if it were about reporting inappropriate comments, you would select Comment.
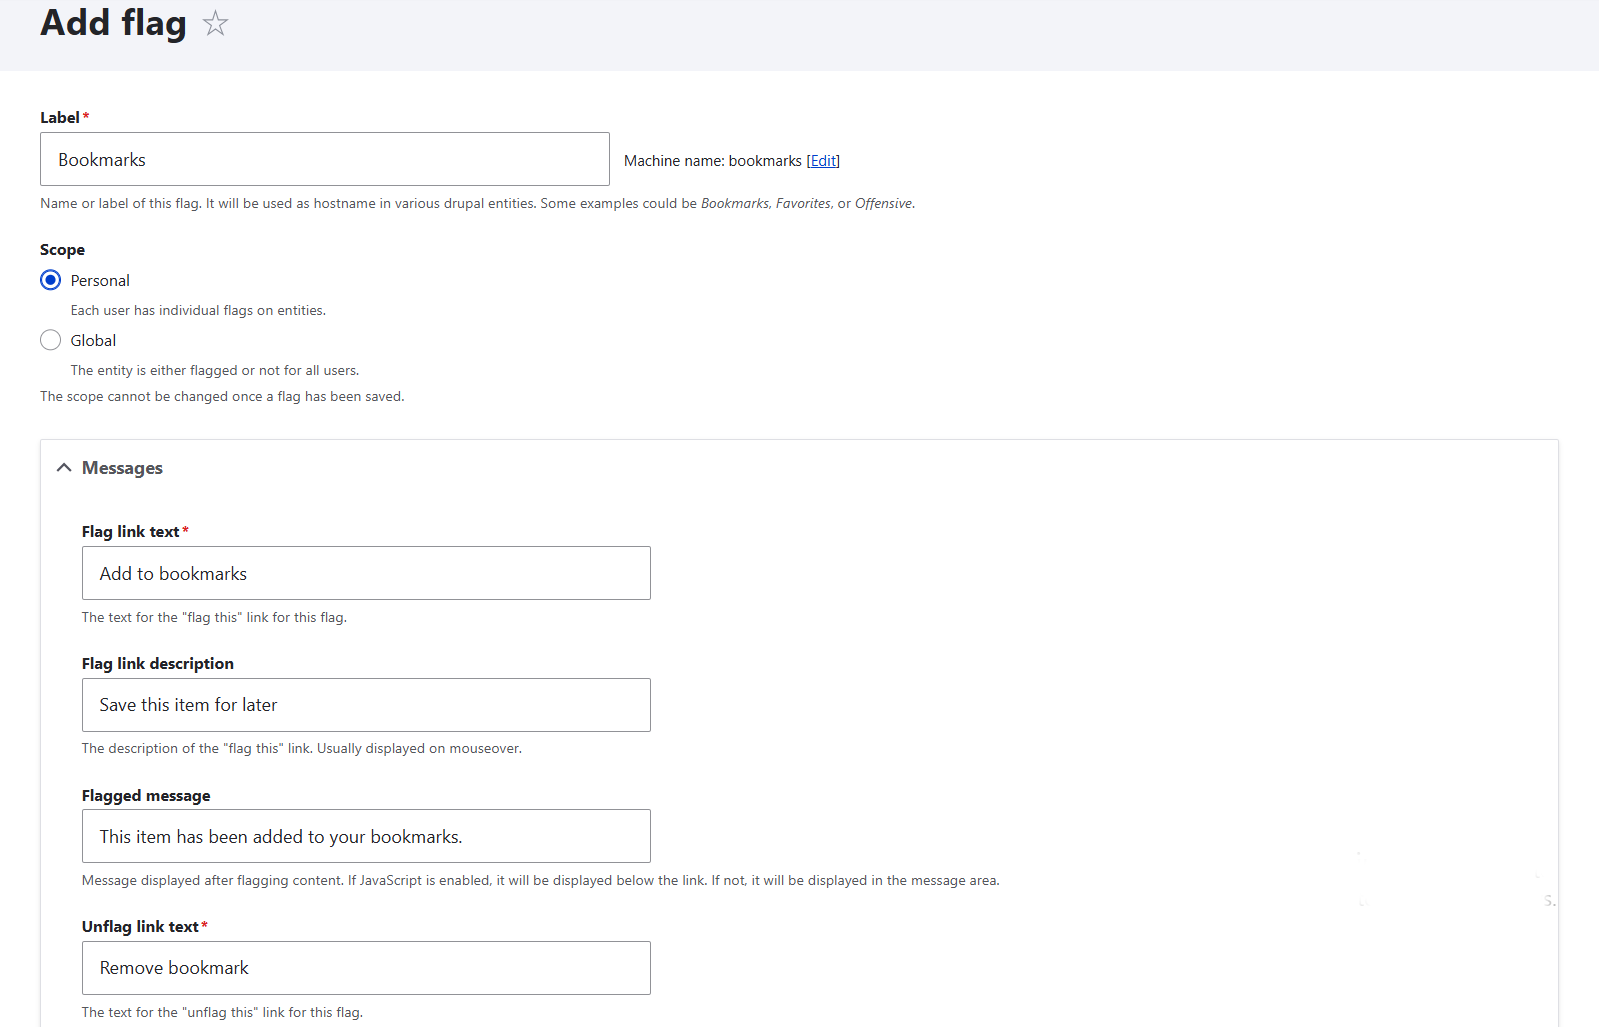
Label
This is the human-readable name for your flag. It will appear in admin lists and views. For a bookmarking flag, you could use “Bookmarks,” “Favorites,” or “Saved Items,” depending on your site’s tone.
Scope
- Choose “Personal” if you want each user to have their own bookmarks. This is the usual choice for a bookmark system.
- Choose “Global” if you want the flag to apply site-wide (like “Featured” content). It’s not suitable for personal bookmarks.
Messages
These are what users see when interacting with the flag. Here are examples of what they might look like:
- Flag link text: “Add to bookmarks”
- Flag link description (optional): “Save this item for later”
- Flagged message (optional): “This item has been added to your bookmarks.”
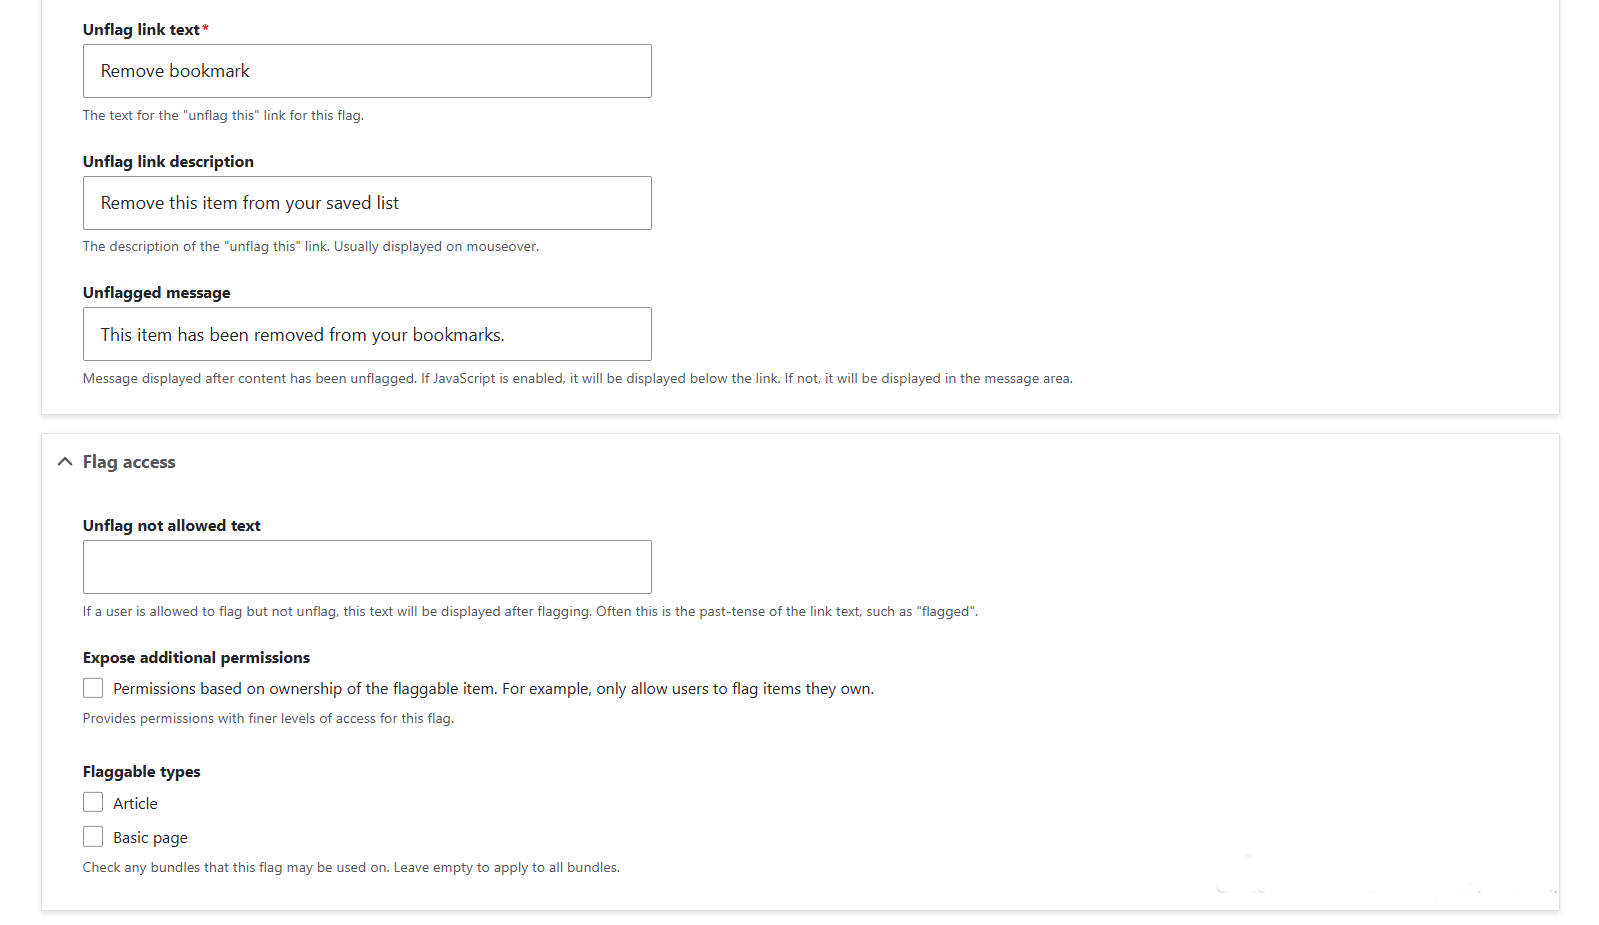
- Unflag link text: “Remove bookmark”
- Unflag link description (optional): “Remove this item from your saved list”
Unflagged message (optional): “This item has been removed from your bookmarks.”
Flag Access
The “Unflag not allowed text” setting is only needed if you want one-way flagging (like “Reported”). For bookmarks, leave this blank since users should be able to unflag.
If you enable “Expose Additional Permissions,” you can restrict flagging based on ownership (like only flag your own content). For bookmarks, you usually leave this unchecked.
In “Flaggable Types,” you can limit what entities the flag should be available for. If your main Flag Type has been set to “Content,” you’ll see your website’s content types here, like Basic page, Article, and so on. Select the needed ones or, alternatively, leave empty if you want the flag to be available on all content types.
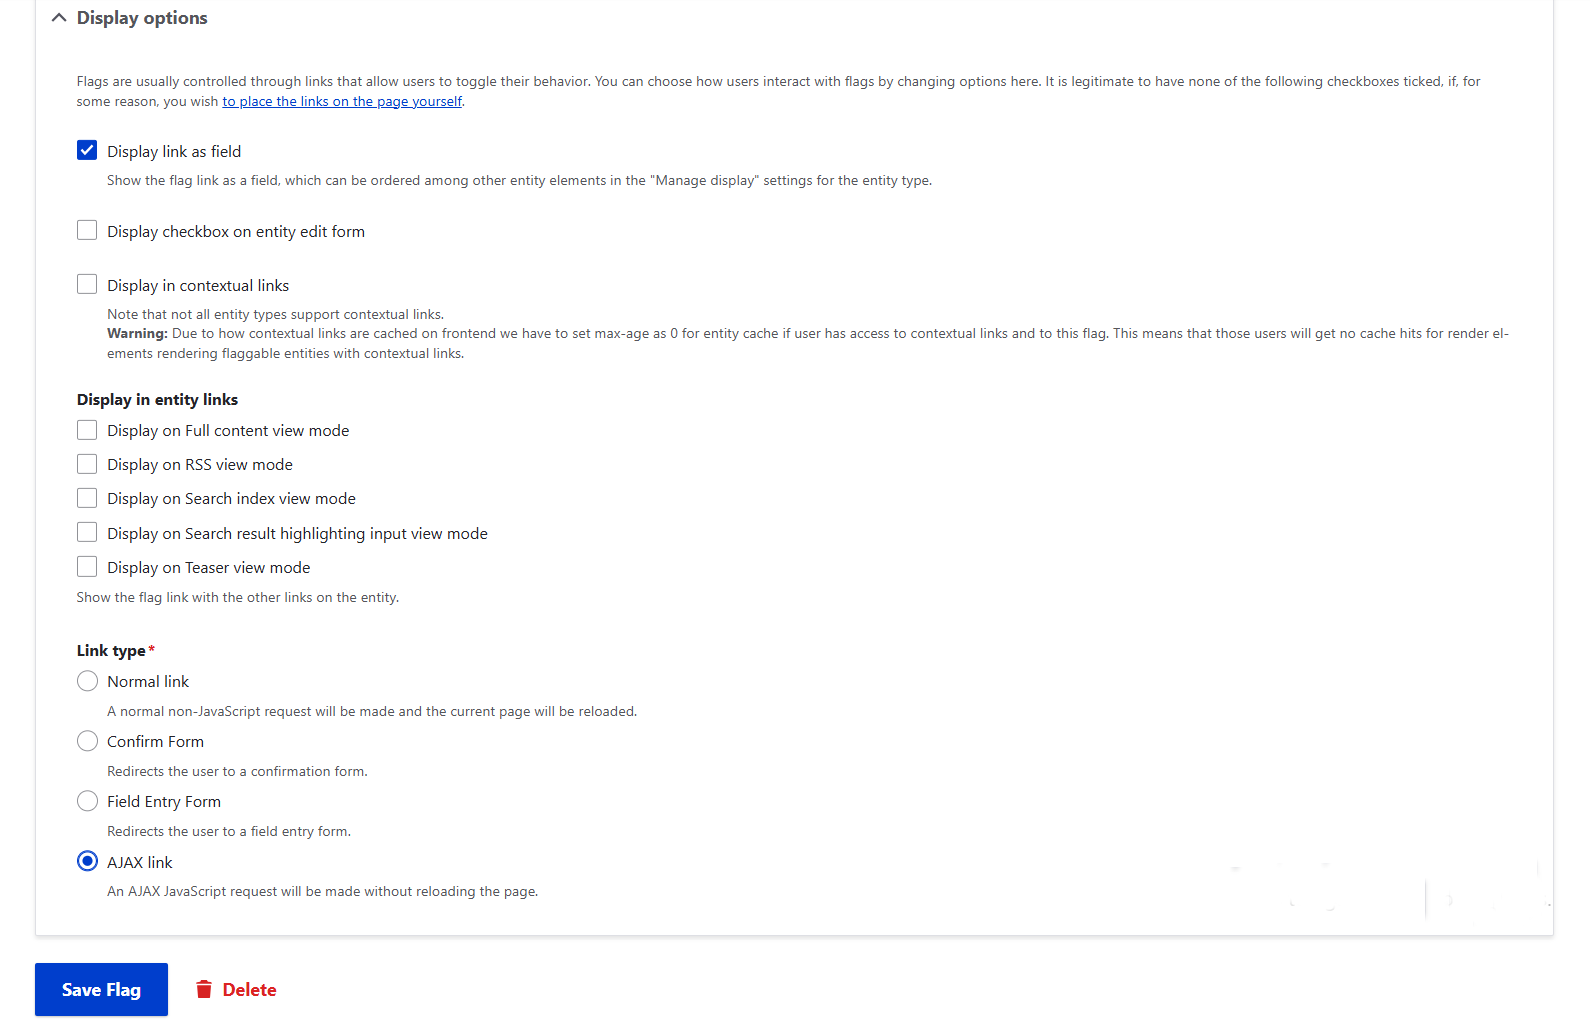
Display Options
By default, the flag link is set to be displayed as a field. This means it is an element in content structure that you can place where you prefer (by default, it is shown just below the body of the content). If you want to adjust the link’s placement, it’s available on the “Manage display” tab for your content type.
Other display options you may see:
- Checkbox on edit form: this lets editors flag/unflag while editing.
- Contextual links: this adds the flag link to the admin menu.
- View modes (Teaser, Full, Card, and more): this shows the flag link when the content is rendered in those modes. Be careful: enabling multiple view modes can cause duplicate flag links.
Finally, the Link type setting controls how the flag behaves. The default is an AJAX link, which gives smooth toggling without a page reload and is recommended for most cases.
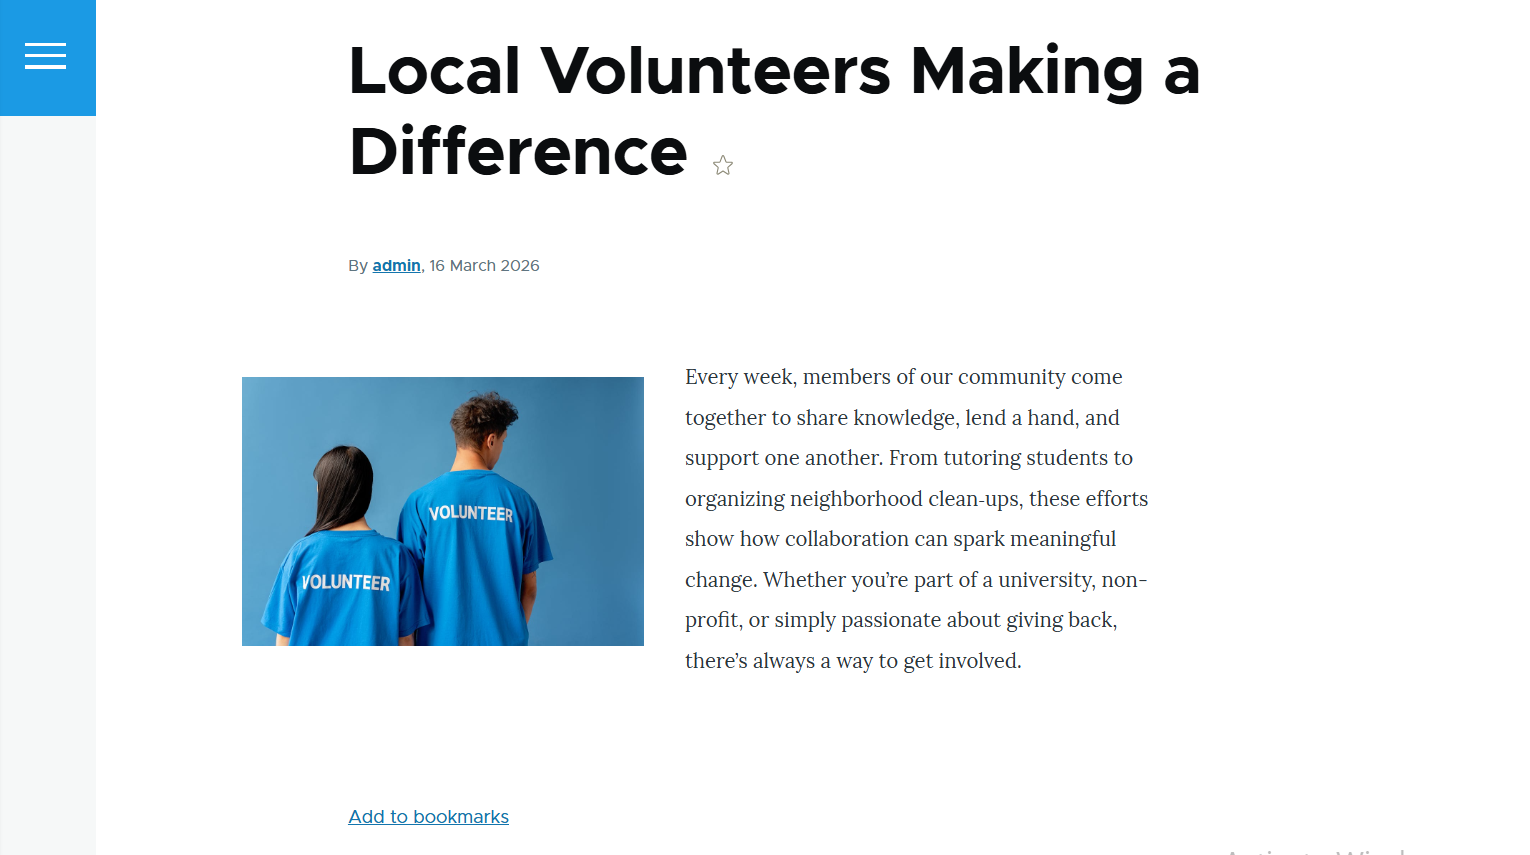
3. Flagging/unflagging a piece of content
As you visit a content page, you’ll now see an “Add to bookmarks” link below the body text.

When the content piece is added to your bookmarks, you’ll see the “Remove bookmark” link instead.
4. Viewing the lists of flagged content
To manage the pages that list the flagged items, you can go to Structure > Views. The pre-configured demo views that are provided by the submodules are linked to the corresponding demo flags. You’ll see these links listed in the Views overview.
It’s possible to edit one of them to adapt it to your flag setup or create a new view that lists “flaggings” (the records of flagged content).
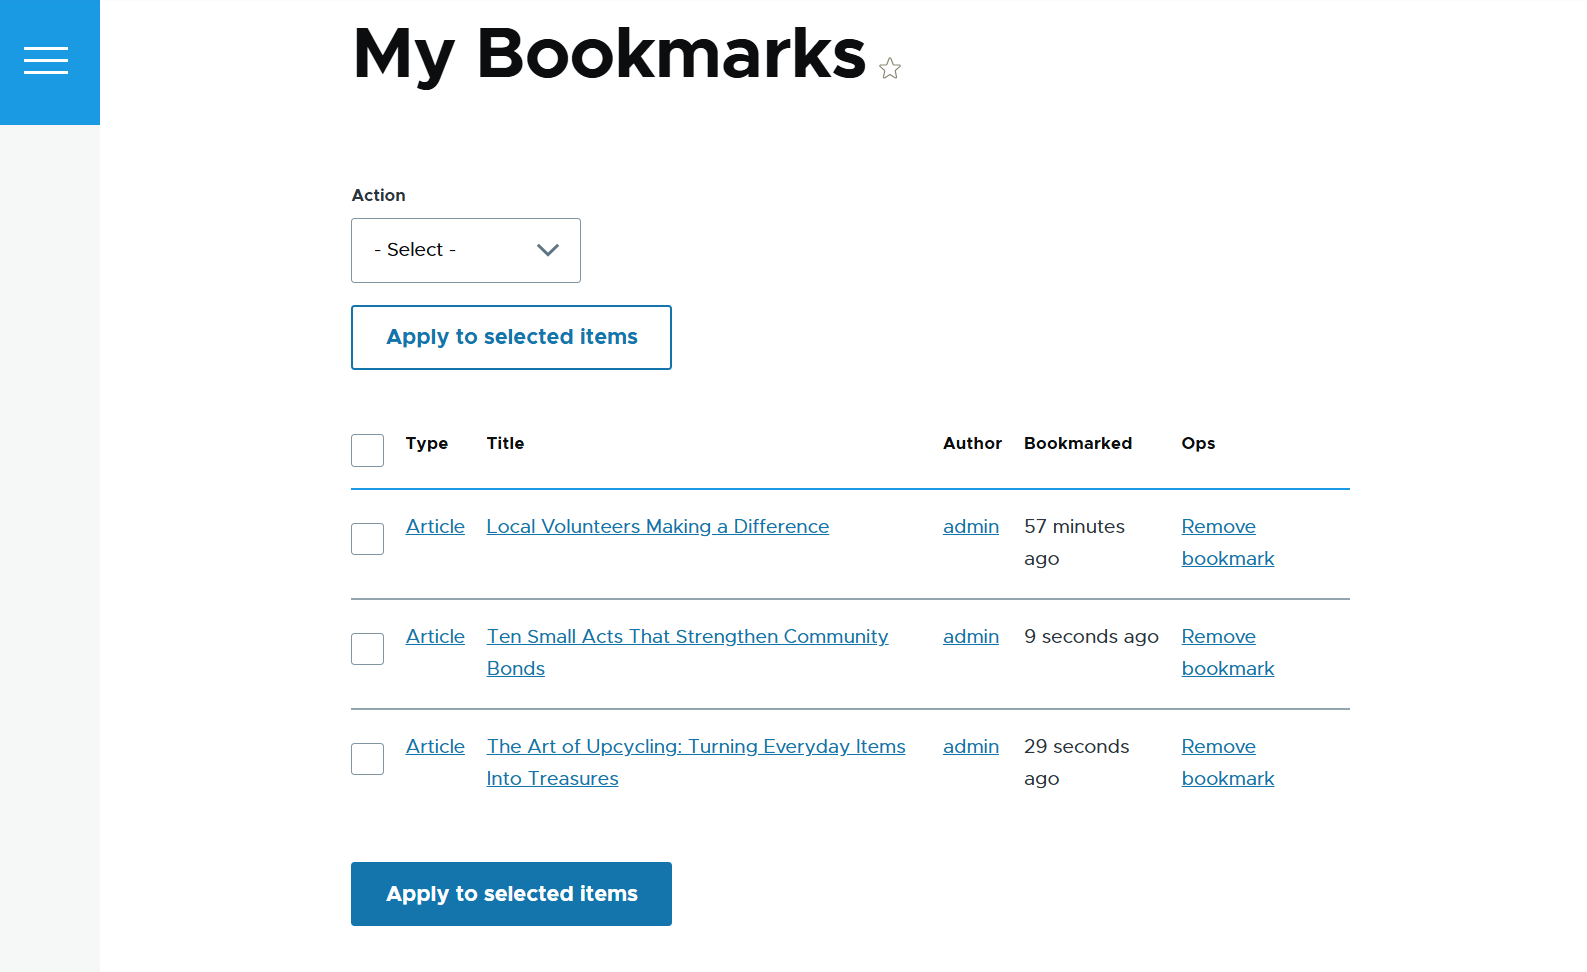
Here is how the page with the bookmarked content looks for each user.
Final thoughts
Exploring the Flag module can feel like opening a doorway to new possibilities for your site. It gives your community simple ways to interact — bookmarking favorite content, following users to keep up with their activity, or keeping conversations safe.
These small touches add up to a stronger, more engaging experience. And if you’d like to shape these ideas into a system that fits your goals perfectly, Drupal experts are ready to help you bring that vision to life.