
Test and Publish Easily: Exclusive Drupal Content Management Options with the Workspaces Module

Having your website on the World Wide Web is a responsible task because it must always be impeccable in the eyes of your audience. What if you must launch a new product, run a content-rich campaign, or just review and publish large amounts of content?
In those cases, it would be great to have a kind of playground where you could test everything out and only go live when it’s flawless. Developers are lucky in this regard because they use different environments to build website features. Usually, it’s the development, testing/staging, and production (AKA live) environments.
The great news is that non-technical Drupal users can use the functionality of environments via the user interface thanks to the Workspaces module. It’s different but it serves a similar purpose — ensuring impeccability and deploying changes in bulk. The Workspaces module has become stable in Drupal 10.3 and is especially useful for content management on large websites. Let’s see why and how.
Workspaces in Drupal: overview and key features
Workspaces in Drupal are the functionality in Drupal core enabling users to use different isolated environments within the same website. Each workspace (e.g. “Stage”) is a copy of your live website where you can work on content before publishing it to your audience. By default, Drupal provides the “Stage” and “Live” workspaces.

It’s also easy to create any other workspaces based on your needs (“Draft,” “Review,” “New Campaign,” and so on). None of the workspaces except for “Live” are visible to the audience on the front end.
- An interface for workspace management
The Workspaces module offers a user-friendly interface for managing workspaces — switching from one to another, creating new ones, managing the existing ones, and deploying large amounts of content at the click of a button.
- Merging the changes
Different participants can work on their own sets of changes in separate workspaces, and you’ll be able to bring all the changes to your live website in a second. It’s a great idea to use “Stage” before “Live” so you can take a final good look at the changes from other workspaces before publishing.
- Hierarchical workspaces
It’s possible to create a parent-child relationship between different workspaces. Changes in child workspaces will be inherited by parent workspaces.
For example, you can make multiple separate workspaces dedicated to specific campaigns and set the “Stage” workspace as parent to them. Whatever is done on “Stage,” will be inherited by the campaign workspaces. When everything’s ready, you’ll be able to easily merge their changes into “Stage” and then publish to “Live.”
- Workspace owners
You can assign a workspace to a specific Drupal user. This feature helps in managing access and responsibilities for each workspace.
- Roles and permissions
Workspaces integrate with Drupal's roles and permissions system, allowing you to manage who can access all workspaces and individual workspaces based on user roles.
- Limitations
Workspaces are mainly designed for content management, meaning significant configuration changes can only be made in the "Live" environment. Additionally, content in the "Live" workspace cannot be edited if it's being modified in another workspace.
- Workspaces in Drupal core
The Workspaces module became part of Drupal core in the late versions of Drupal 8 but had been deemed experimental. With all the issues eventually getting resolved, it has now become stable in Drupal 10.3, which means it’s fully ready for production websites. It doesn’t work out of the box — it needs to be enabled for websites that specifically need this kind of functionality.
Summing up the main benefits of Workspaces in Drupal
- Comprehensive staging opportunities
Workspaces provide a comprehensive overview of content changes, offering a more complete perspective than viewing individual content pieces alone. This becomes especially noticeable when the amount of content is huge or when there are layout changes as well.
- Consistency, safety, and resilience
Publishing entire sets of content changes simultaneously instead of publishing pieces one by one ensures consistency and minimizes disruptions. Your live website stays protected from unwanted changes.
- Time-savings
The near-magical button for publishing content to live needs to only be clicked once, no matter what amount of content you want to deploy.
- Better collaboration and content quality
A structured content review process that you can set up with Workspaces in Drupal helps maintain high content quality, enhances collaboration, and reduces the risk of errors.
- A granular approach to the content lifecycle
The possibility to create as many workspaces as you need (“draft,” “review,” “approval,” and so on) gives you fine-grained control over the publishing process.
A couple of use cases for Drupal Workspaces
Workspaces are pretty versatile, allowing you to use different approaches. For example, you can have separate workspaces for:
- tasks
- participants
- departments
- campaigns
- projects
- content types
- and more
Hence a wide choice of potential use cases. Let’s take a look at several examples:
- Research publications. Faculty members need to publish research papers and articles. Separate workspaces can be used for drafting, peer reviewing, and editing. Once the papers are reviewed and approved, they can be published in the higher ed website’s research repository.
- Campaign management. A nonprofit organization runs multiple fundraising and awareness campaigns throughout the year. Each campaign can have its own workspace where team members can collaborate on campaign materials, donation forms, and promotional content. Once everything is ready, it can go live.
- Course content management. Professors and teaching assistants need to create, review, and update course content before the semester starts. A dedicated workspace can be created for each course where they collaborate on lecture notes, assignments, and multimedia resources. Once the content is finalized, it can be published to the live site for student access.
- Event management. A conference website has different teams manage content for upcoming events. Each event can have its own workspace where organizers can collaborate on schedules, speaker bios, and session details. Once finalized, the content can be published.
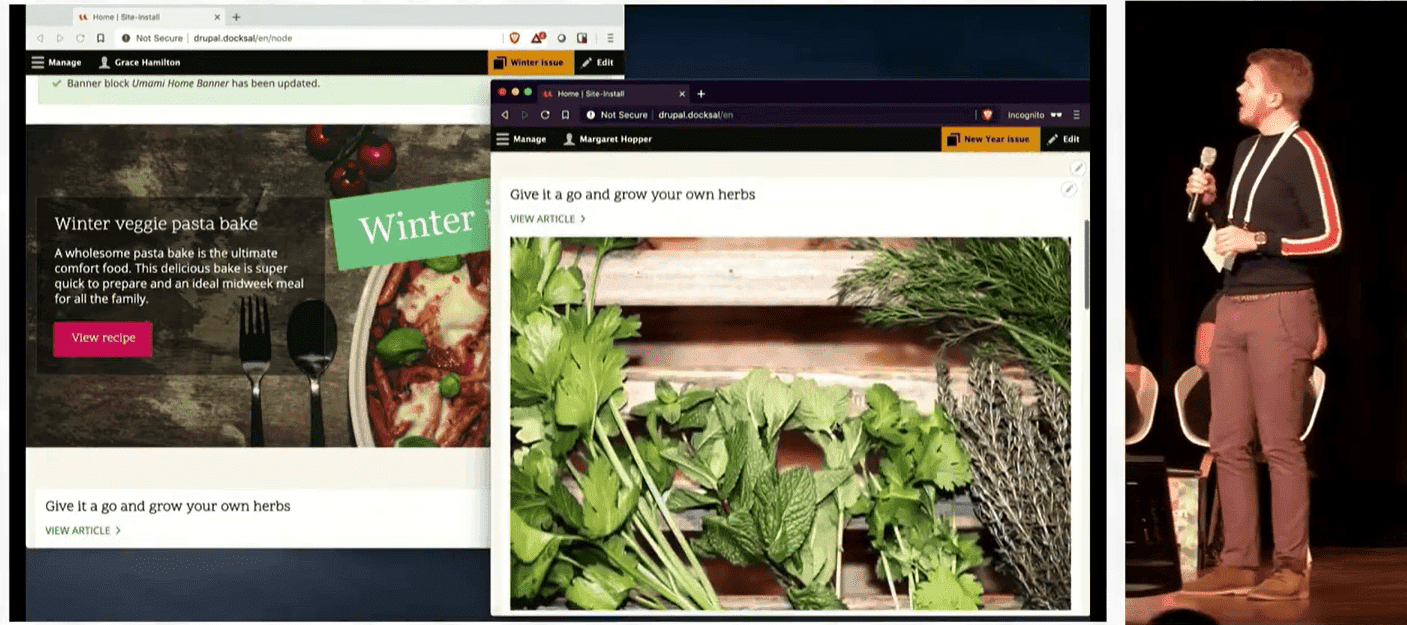
There is an interesting example presented in a DrupalCon session by Drupal contributor Dick Olsson (dixon_). It’s about an online magazine whose team wants to start preparing a winter issue with a lot of draft content. At the same time, they want to start preparing their New Year issue.
In this example, published content is automatically inherited “downwards.” The New Year issue inherits all the changes made by the Winter issue. The changes can then be merged “upwards” at the click of a button to go to the live website.

How to use the Workspaces module in Drupal: step-by-step guide
Installation
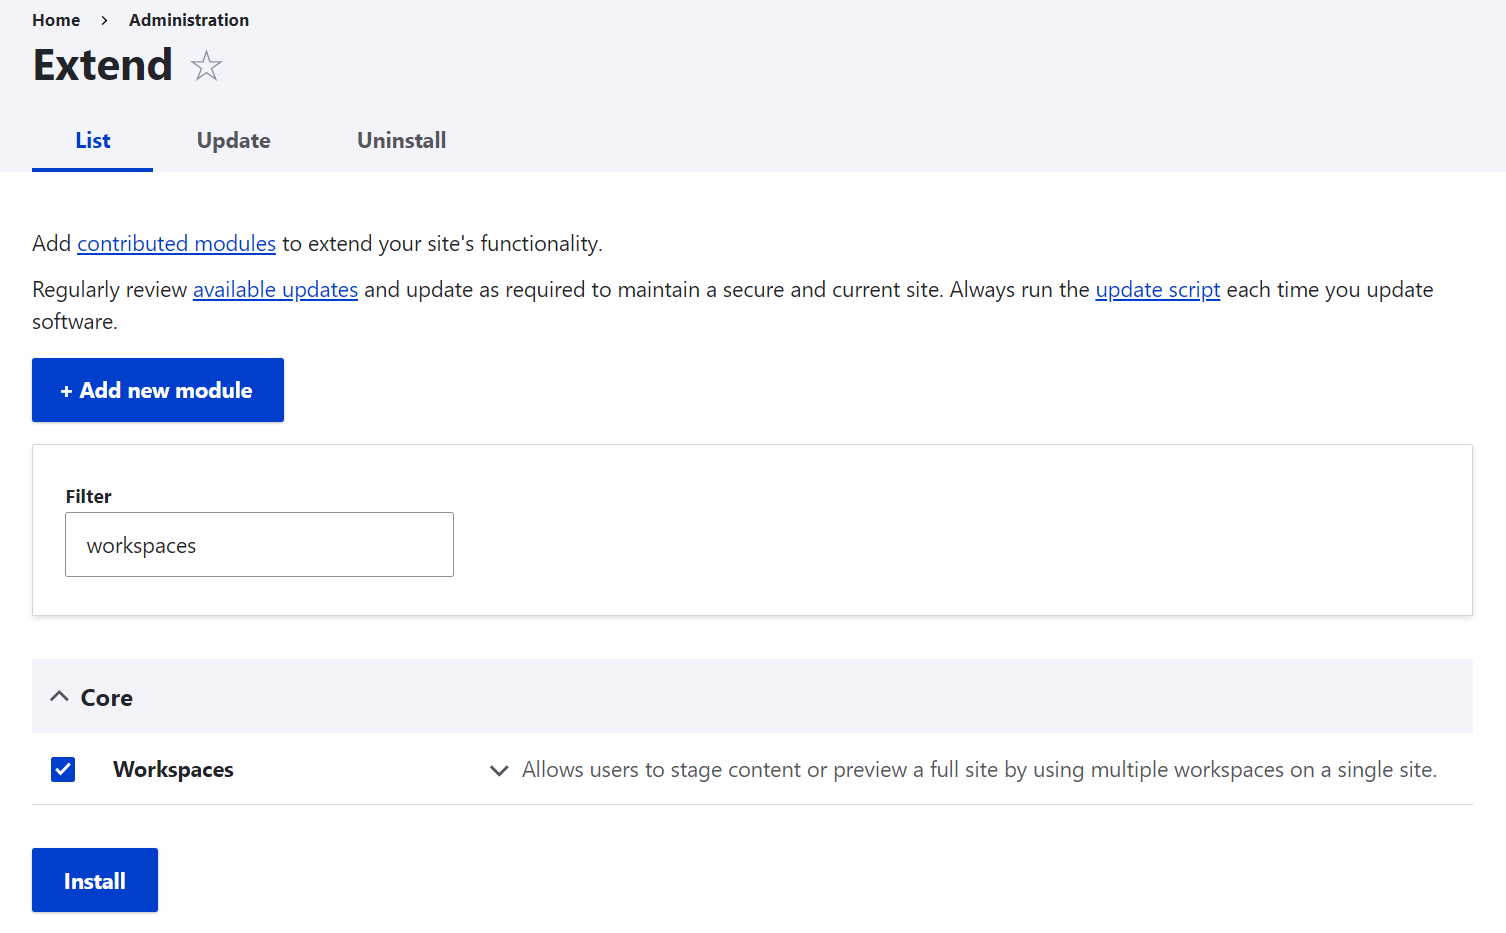
There’s nothing to download — all you need is to select the Workspaces module on the Extend tab (the “Core” section) and click “Install” at the bottom of the page.
Switching between workspaces
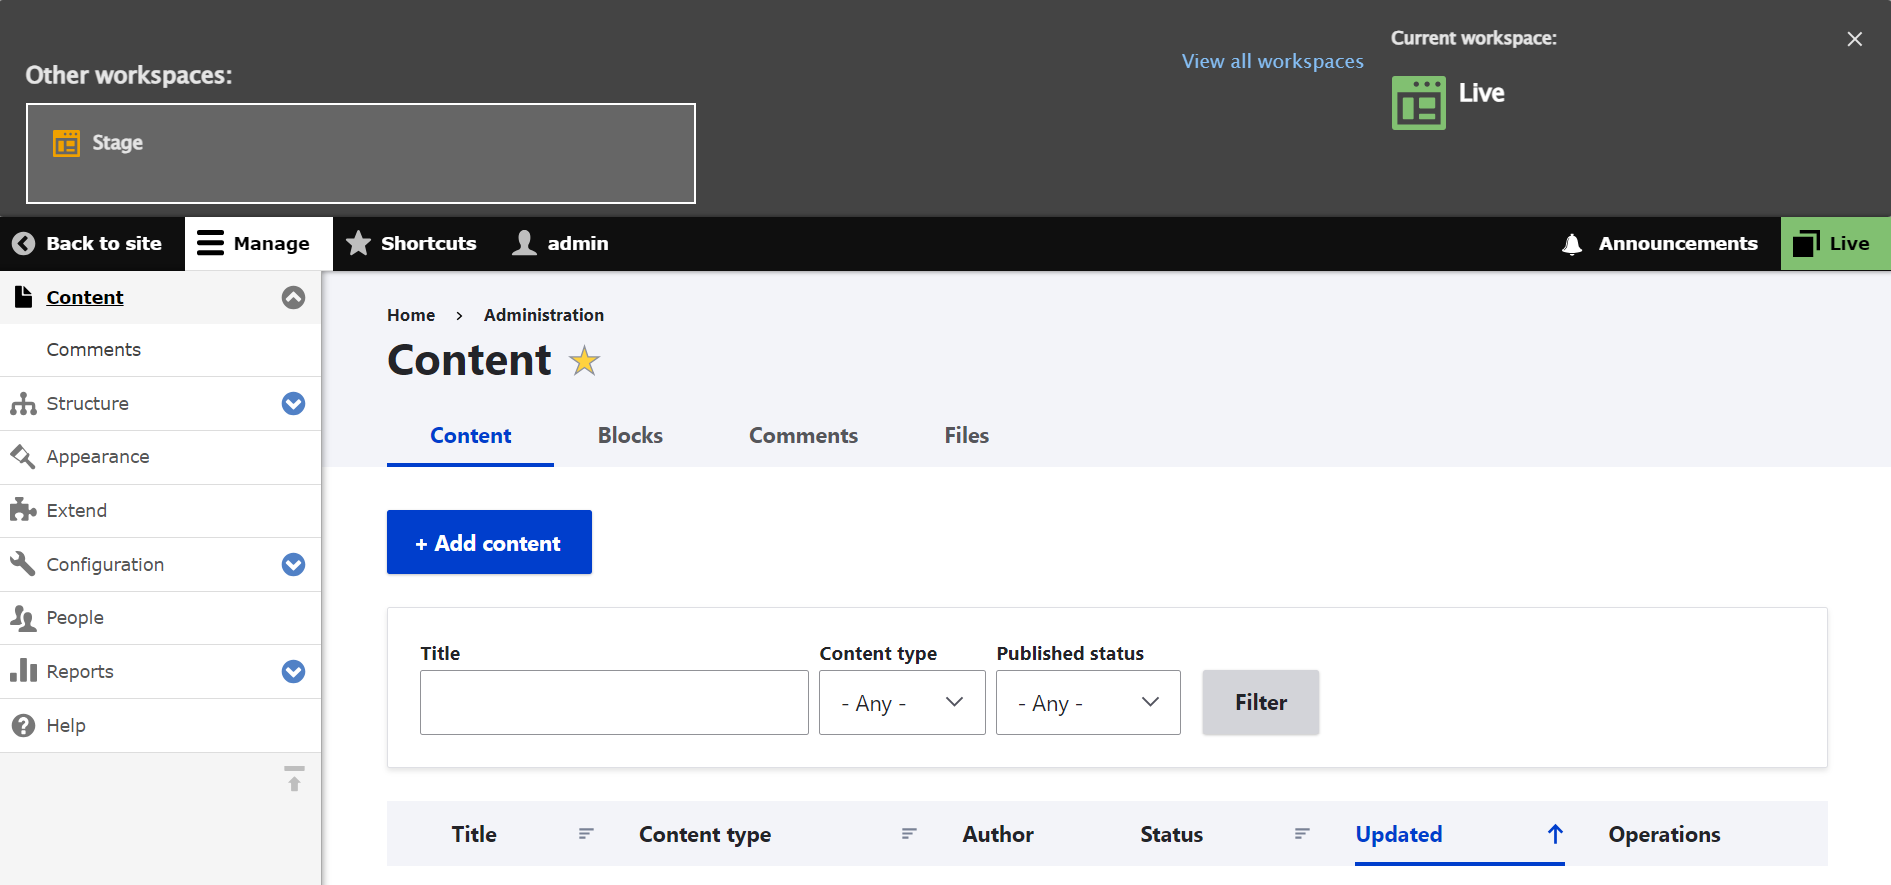
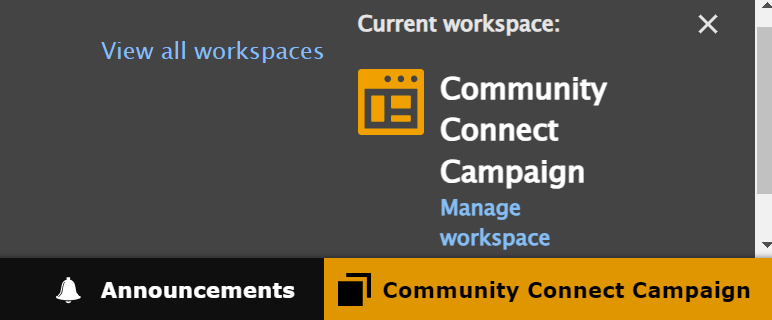
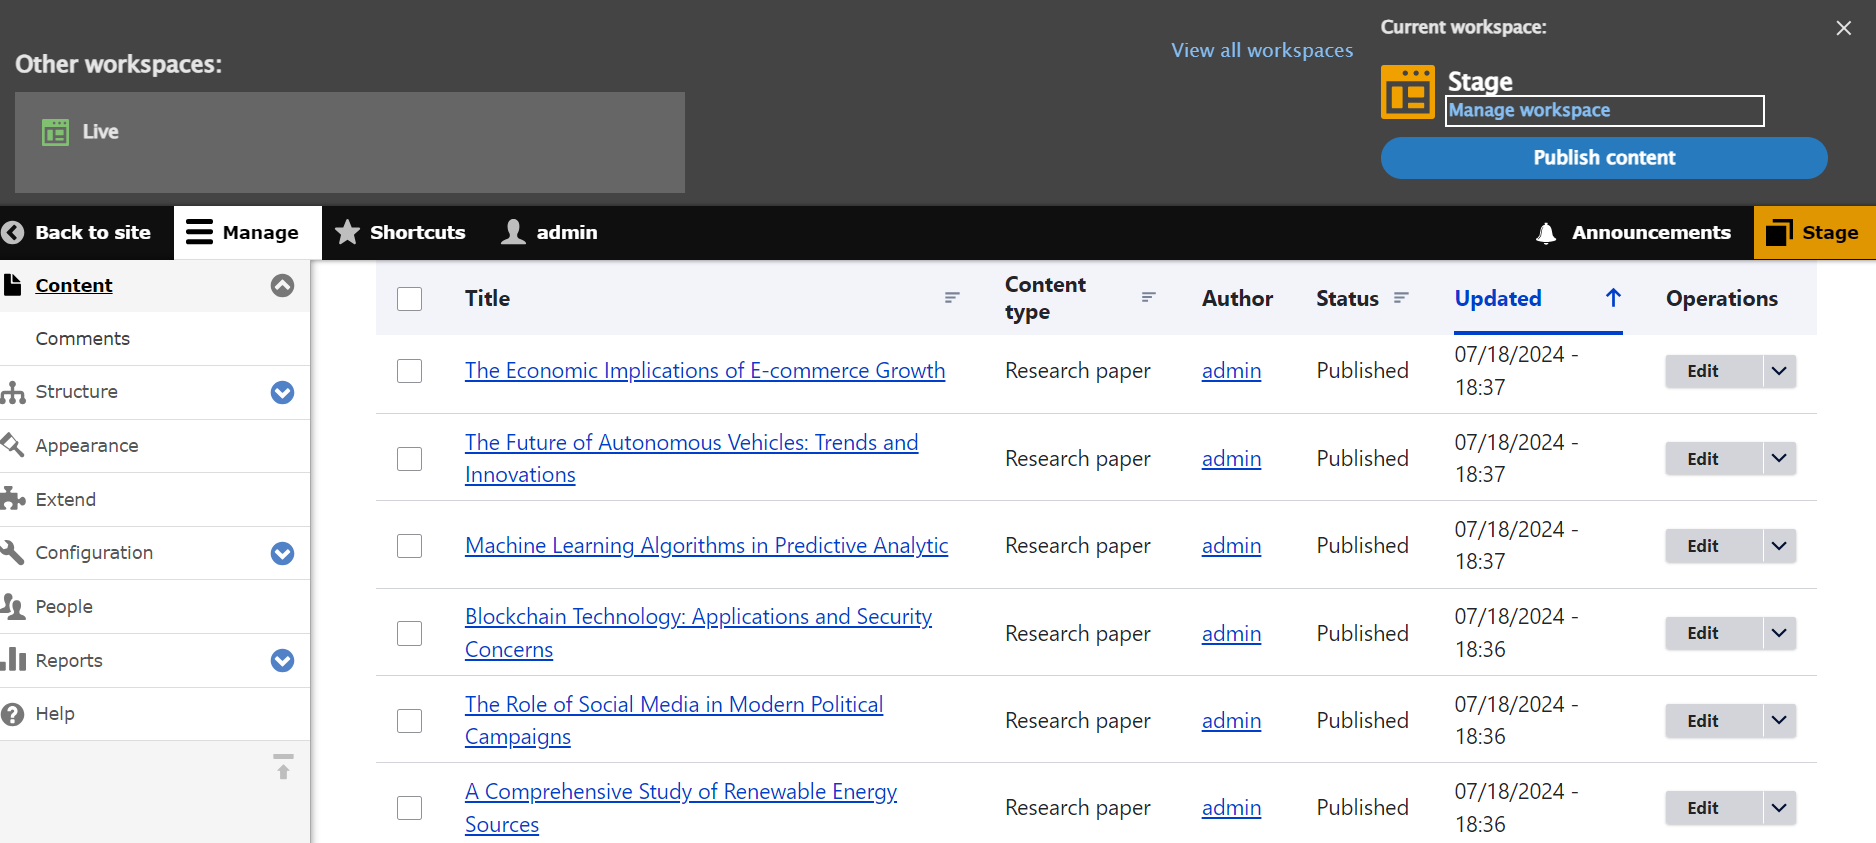
You’ll immediately see the green “Live” button in the top right corner of your administrative interface. This is the currently active workspace. Whatever workspace is active at a certain moment, it is always displayed there for your convenience.
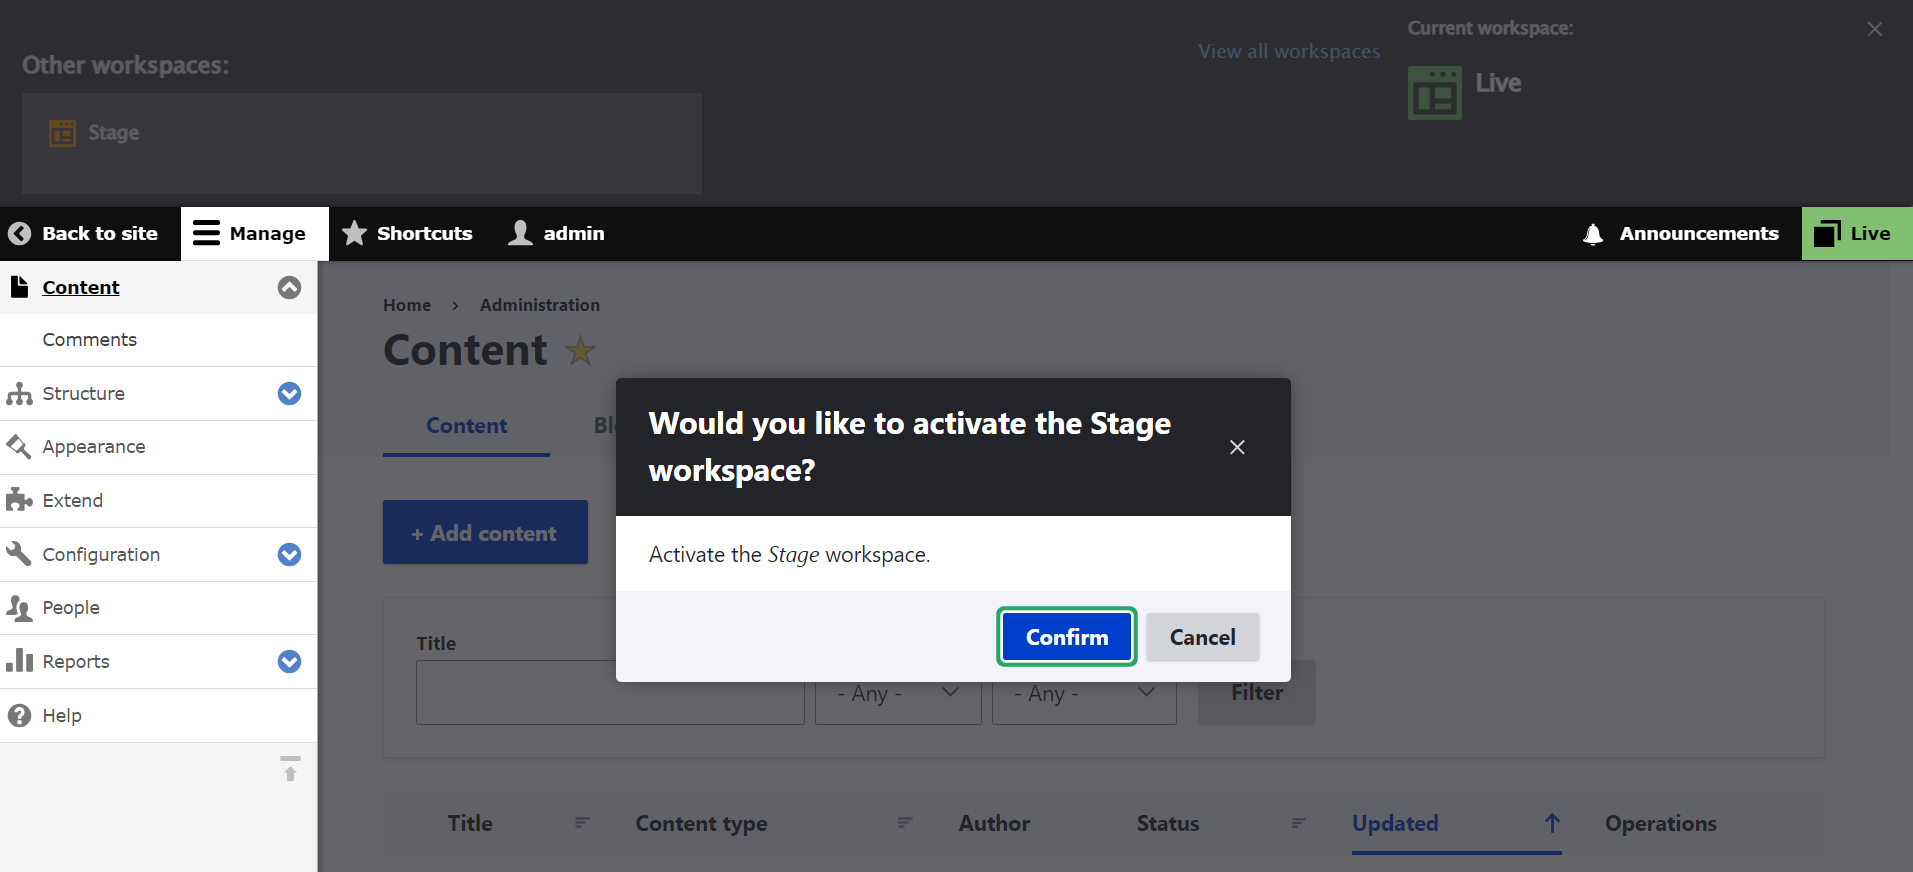
You can expand this panel to see more details by clicking on the current workspace. It will additionally display other workspaces your Drupal website has, and you’ll be able to switch to them by clicking on them.
After you click to switch to another workspace, you will be asked to confirm this transition.
Managing workspaces
There is the main settings page for Workspaces. You can get there in several ways:
- by clicking the “View all workspaces” link on the top panel that we have just seen
- by navigating to Administration > Configuration > Workflow > Workspaces
- by clicking “Configure” next to the module on the Extend tab
On the page, you’ll see a list of all existing workspaces.
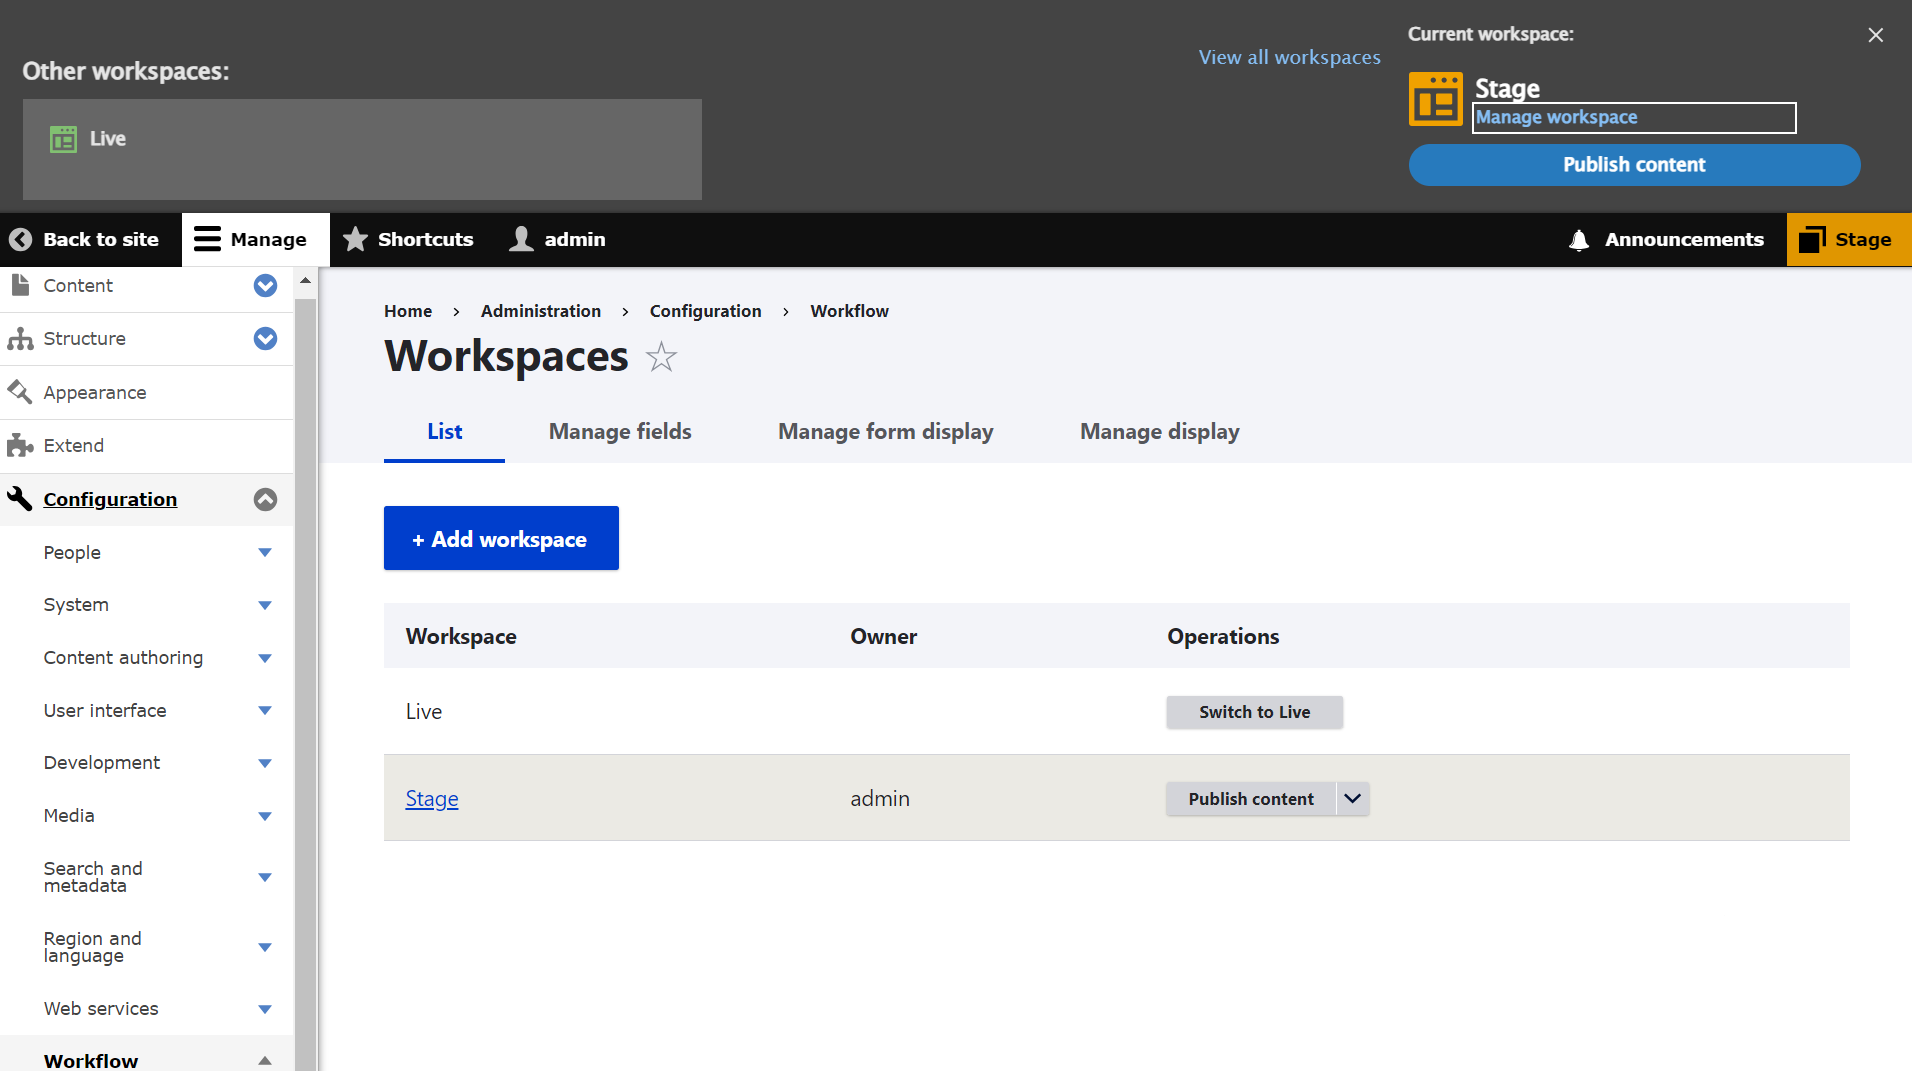
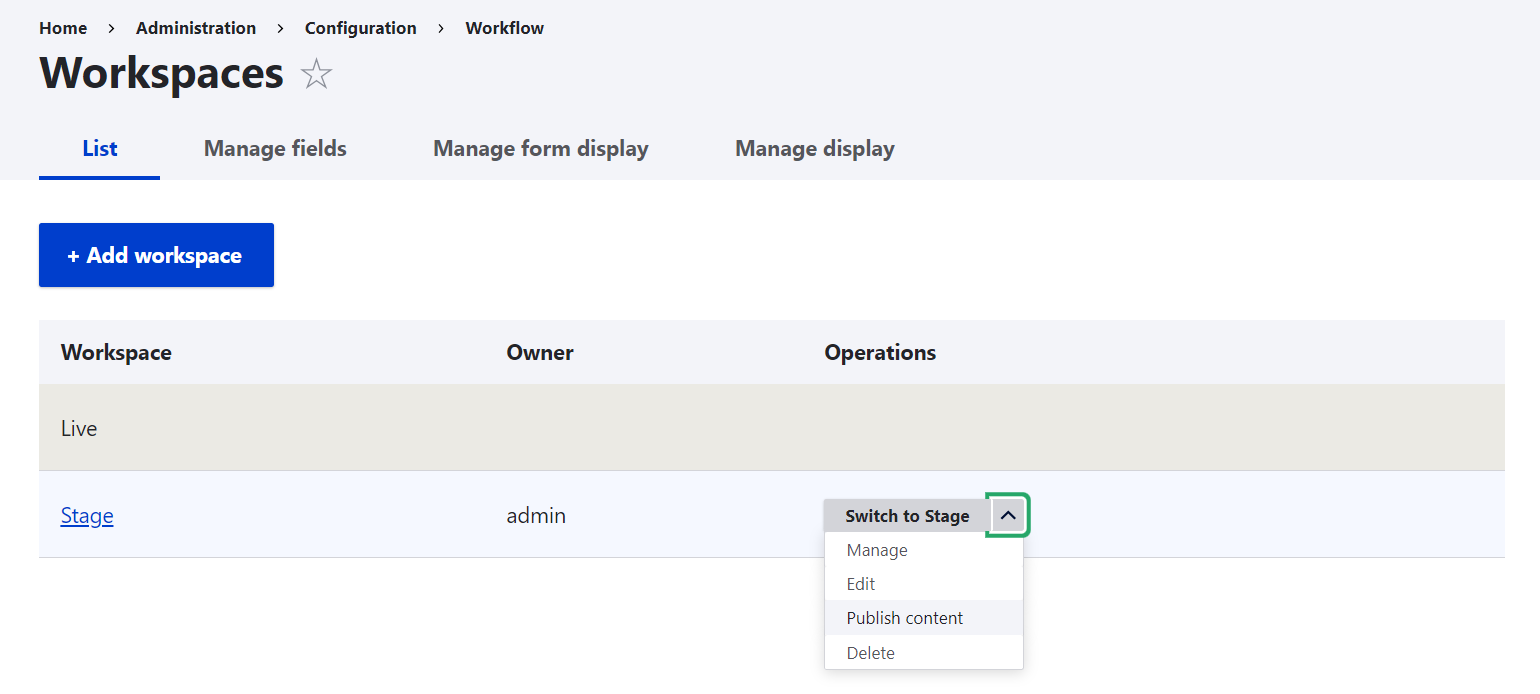
Next to each workspace, there is an operations dropdown where you can switch to this workspace, edit its details, track changes (on the “Manage” tab), delete the workspace, or publish its content to live.
You can also manage a specific workspace by clicking “Manage workspace” in the top panel (this option is shown for all workspaces except “Live”).
Creating a new workspace
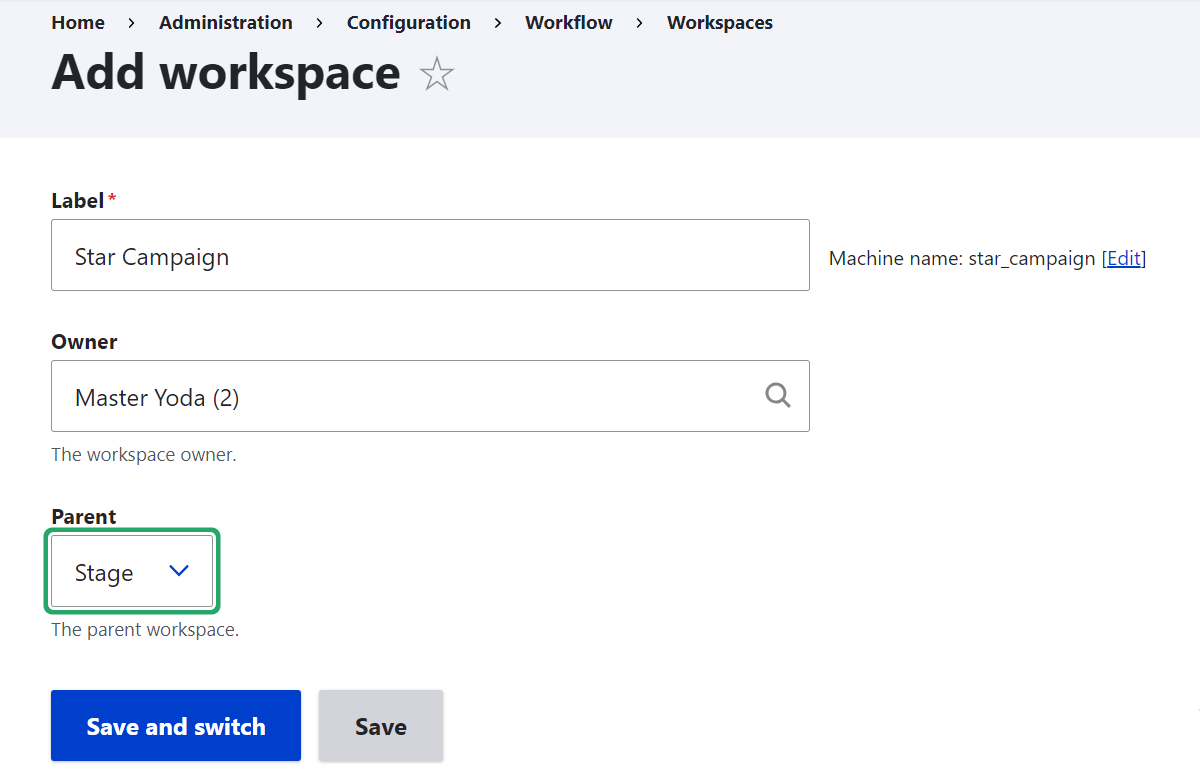
On the main page for managing Workspaces, click “Add workspace” and give it a name. You can also assign it to a certain user by typing the username in the “Owner” field.
If you would also like to make this workspace hierarchically belong to another, use the “Parent” dropdown. For example, if you select “Stage” there, all the changes from “Stage” will be inherited by your new workspace.
Publishing or merging content
There are several ways to publish content to live:
- by clicking the current workspace at the top right corner of the website, you’ll see the “Publish content” button (logically, the button is displayed when you are on any workspace other than “Live”)
- the “Publish content” option is also available in each workspace’s dropdown as we recently described in the “Managing workspaces” chapter
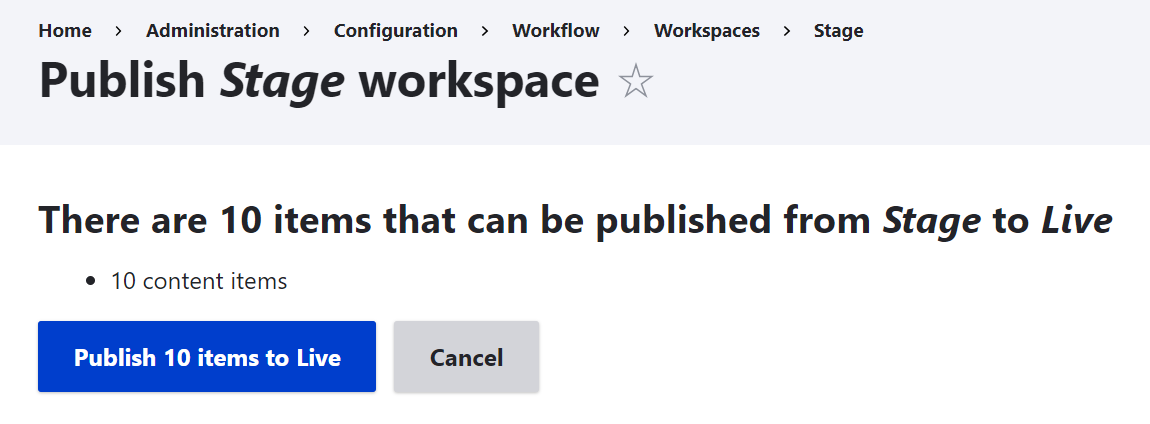
After clicking “Publish content,” you will be shown the number of items that can be deployed to live and asked to confirm this action.
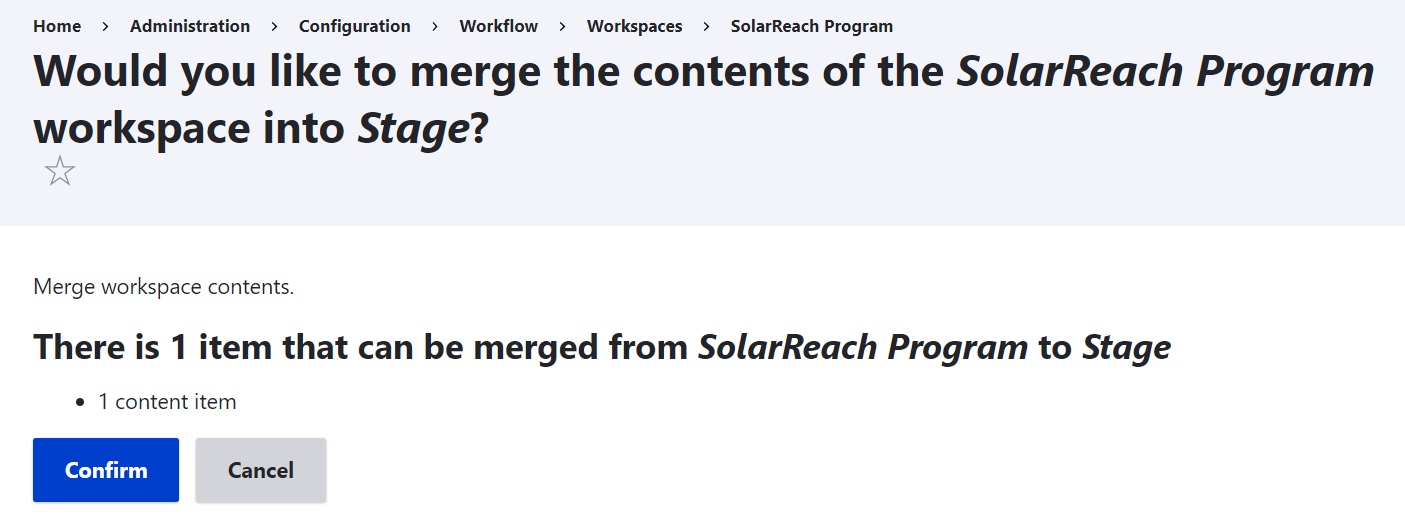
In hierarchical workspaces, the button for child workspaces is called “Merge content” instead of “Publish content.” It merges the content of child workspaces into the parent workspace.
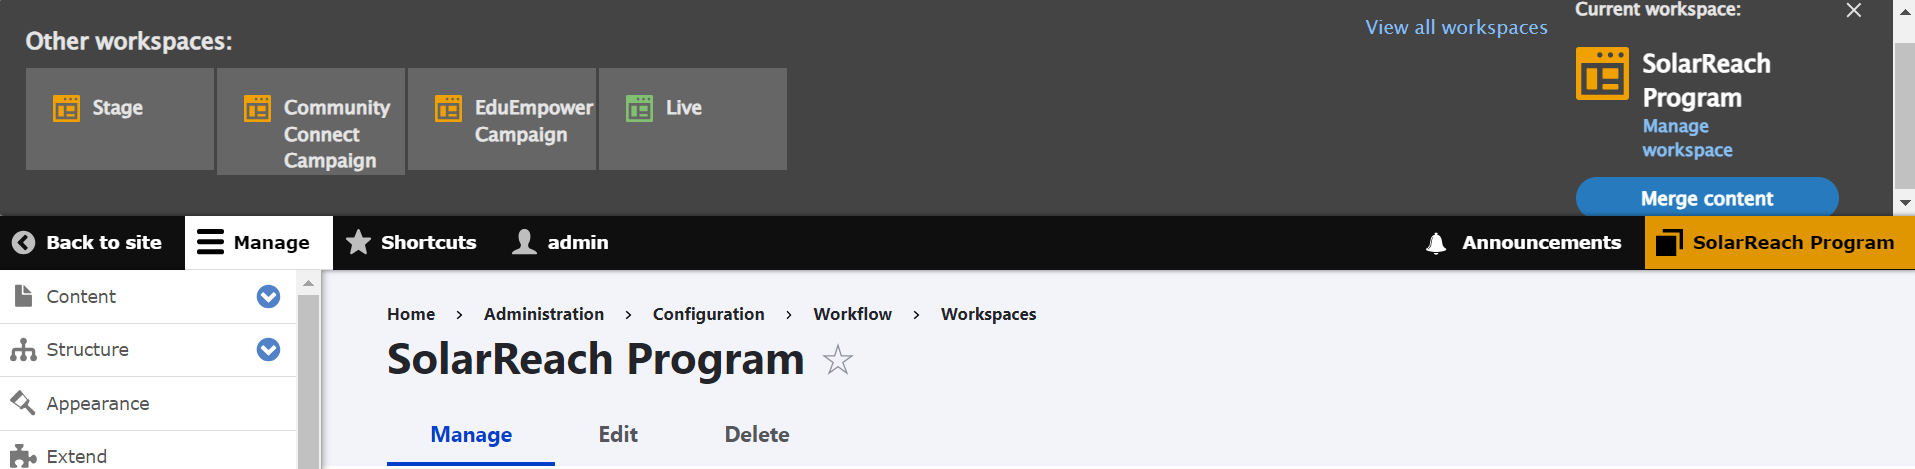
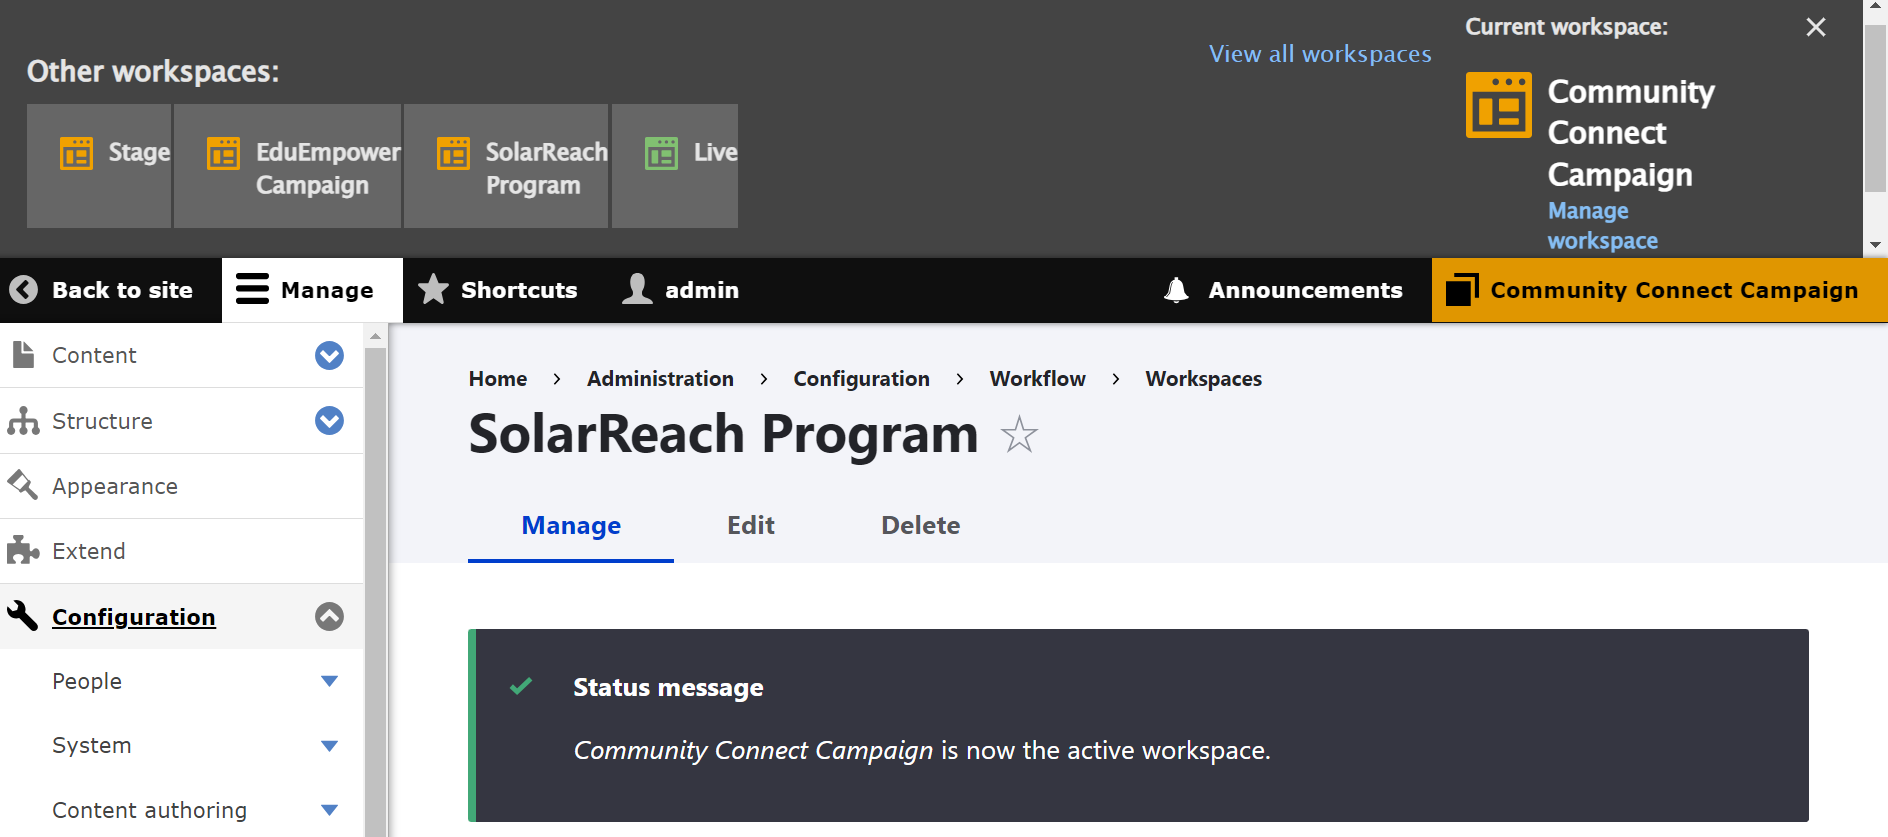
For example, you can click “Merge content” on a specific workspace for a campaign or program to merge its content into the “Stage” workspace. You will be asked to confirm this action.
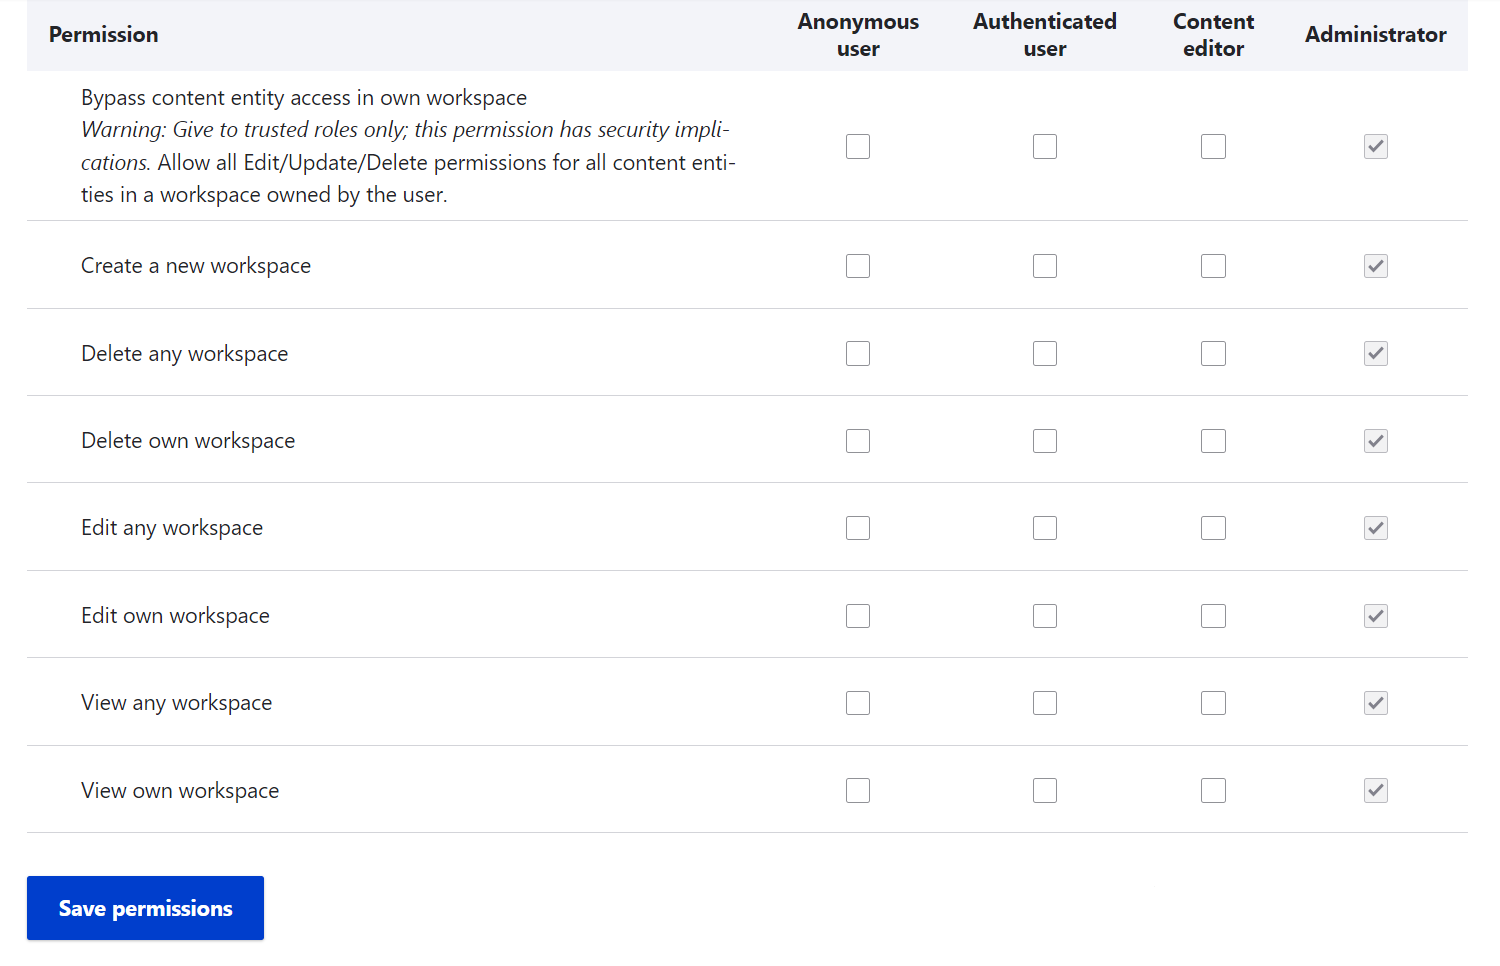
Setting permissions
To assign the permissions to view, create, edit, and delete any workspaces, as well as a user’s own workspaces, go to the People > Permissions tab. You can search for “Workspaces” via the search box to find its permissions faster.
Final thoughts
Workspaces are a special treasure in the vast ecosystem of tools for editorial efficiency in Drupal. They bring the convenience of separate environments to non-tech users and can be helpful for any organization looking to streamline its content management practices.
It’s great to finally see Workspaces stable in Drupal core, which means more teams can enjoy the module’s features after updating their Drupal websites. Should you need it, our professional Drupal team is here to assist you.