How to Personalize the Post-Login Experience in Drupal Based on User Roles

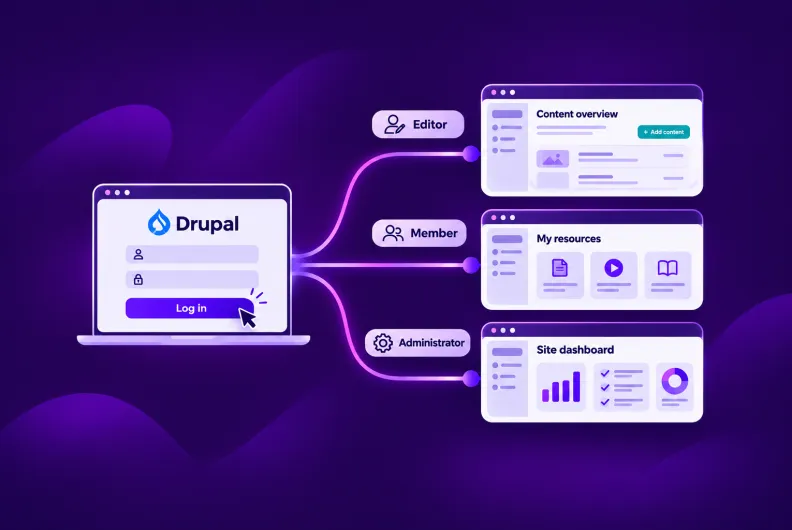
A user has logged in to your Drupal website. What happens next? Does their journey follow the same path as everyone else’s, or can your website tailor the experience to their roles and tasks?
While there are many great ways to personalize content itself (read more about web content personalization), this article focuses on the Drupal functionality behind role-based post-login experiences. You’ll explore ways to configure user destinations, tailor dashboard content, and automate site actions in response to specific events and conditions.
We will explore redirects, role-specific dashboards, block visibility rules, and ECA workflows. These approaches can help users get to the tools and information they need faster, making everyday tasks easier to manage.
1. Redirect your Drupal users to relevant destinations
After logging in, users need a useful next step. A customer might want to check their orders, a student might need to access course materials, and a content editor might be ready to work on an article. Sending everyone to the same page may add an unnecessary step between logging in and getting things done.
Redirect After Login
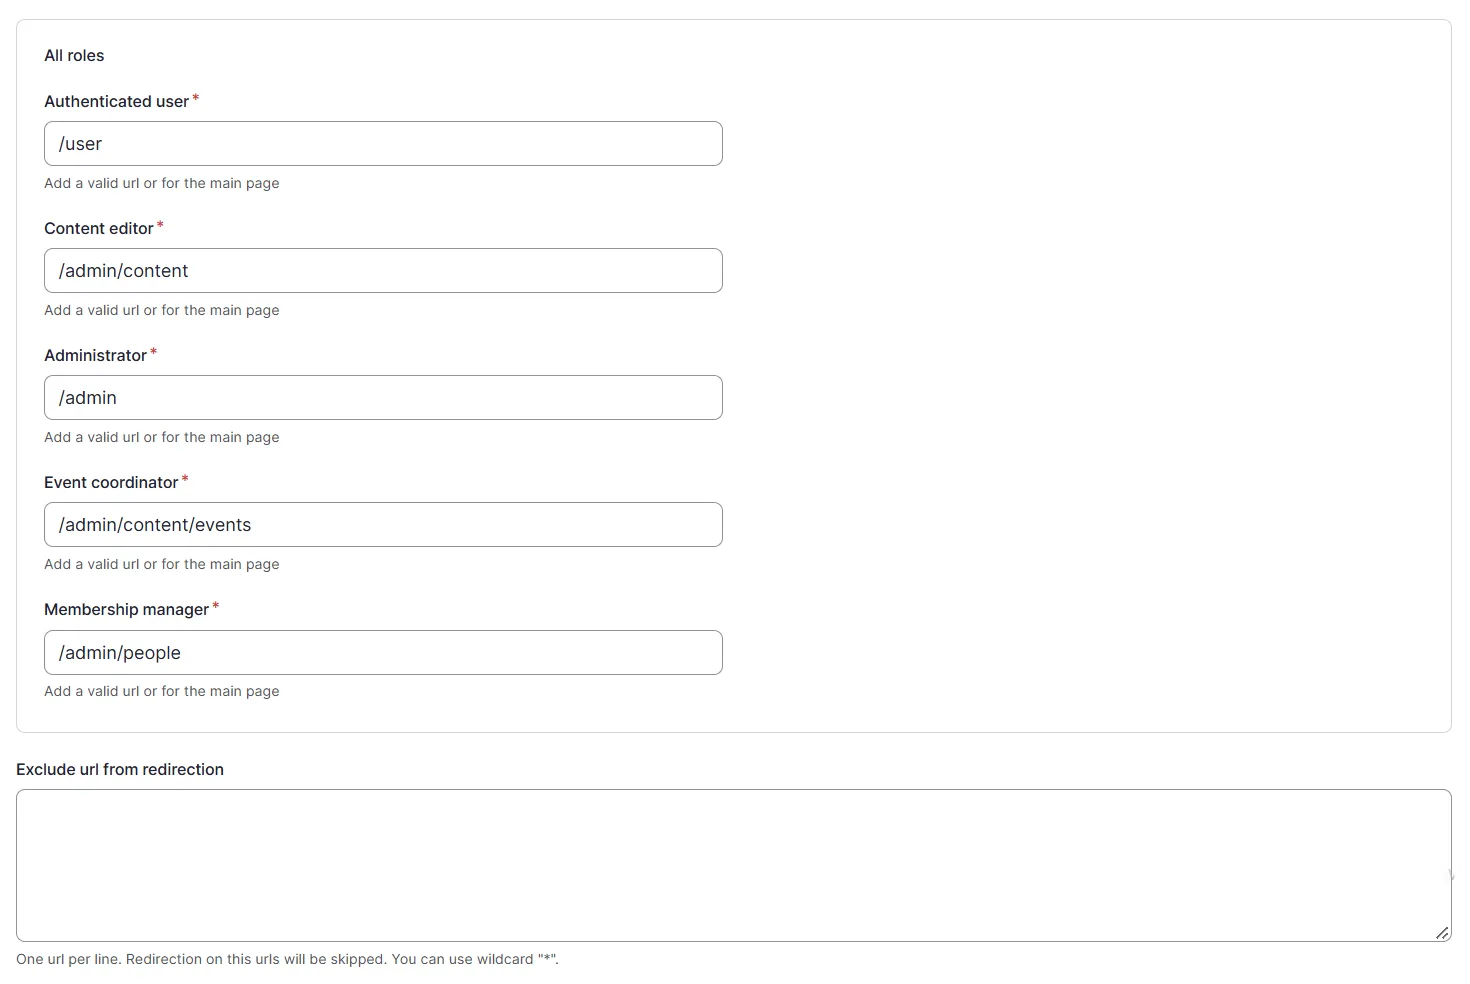
The Redirect After Login module provides a simple interface where you can specify where users with different roles start their post-login journey.
For example, you can make sure users with the Editor role go straight to content overview, while users with the Member role land on a page with subscription resources available to them. You can also add URLs for which redirection will be skipped.
The module is a good fit when simple role-based redirects are all you need, without additional rules for other login scenarios.
Login Destination
Another tool for configuring post-login redirects is the Login Destination module. It offers more flexibility in controlling where users go.
Redirect destinations can depend on conditions such as the user’s role or the page they came from, and can point to internal pages or external URLs. The module also supports redirects after registration, when users access one-time login links, and after logout. This makes it worth considering when a site needs to handle several navigation scenarios rather than simply assign a destination to each role.
2. Create role-specific dashboards
After login, users can be redirected to a dedicated space (dashboard) where they can access useful links, information, and tools. Here is where the Dashboard module comes in handy.
Dashboard
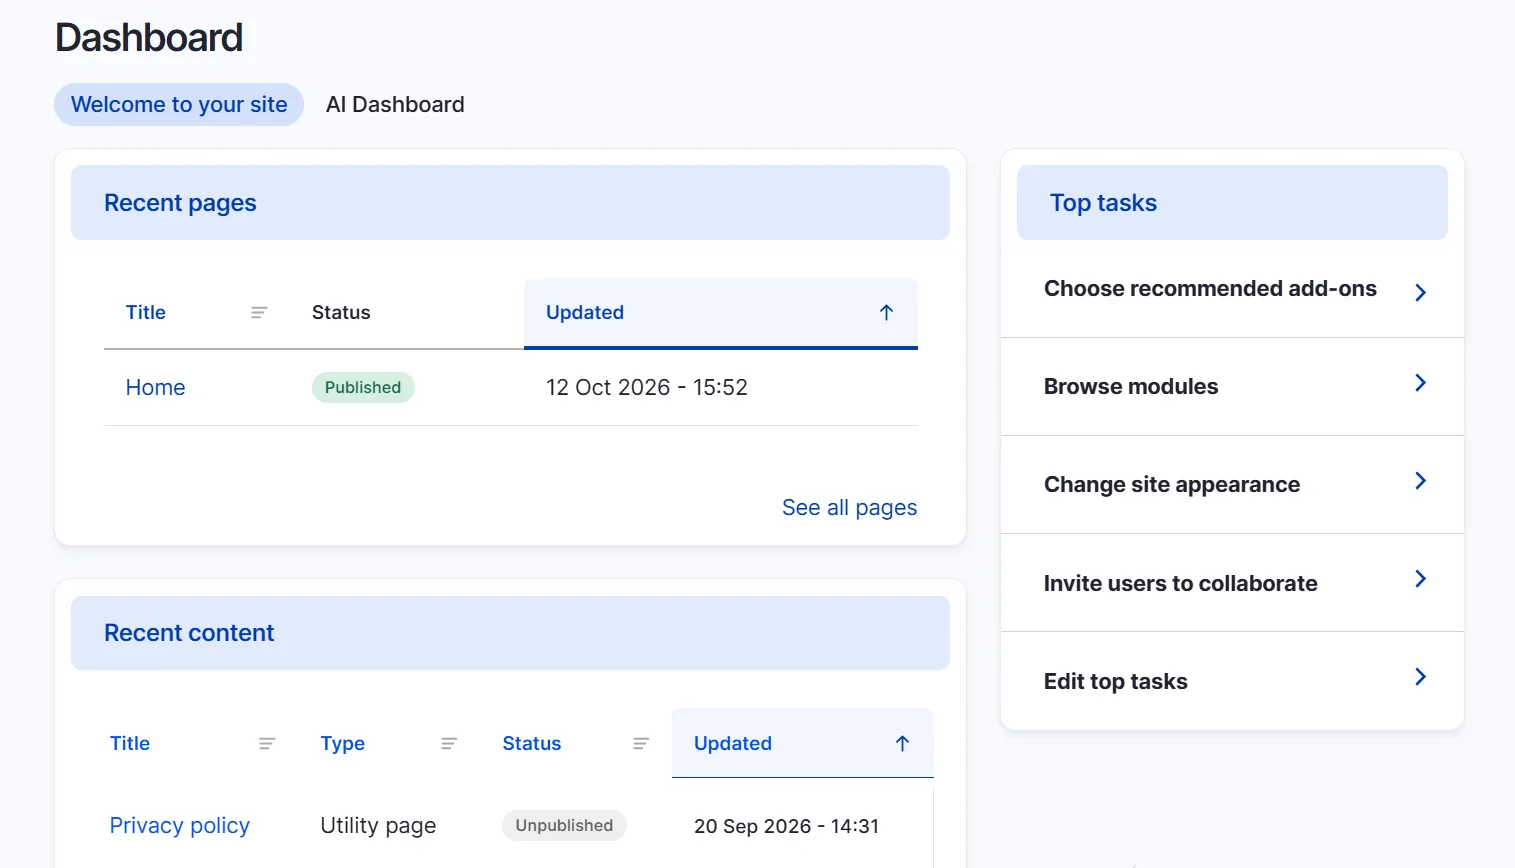
Unlike dedicated redirect modules, the Dashboard module provides the comprehensive landing page itself that helps users kick off their experiences in the admin interface.
You can create new dashboards using configurable layouts, blocks, and widgets, such as recent content, announcements, shortcuts to common tasks, traffic statistics, notifications, and so on. Every detail in dashboards is highly customizable.
Each dashboard can serve a specific audience or workflow. For example, you can create a dedicated dashboard for event coordinators and use the dashboard’s permissions to make it available only to this role.
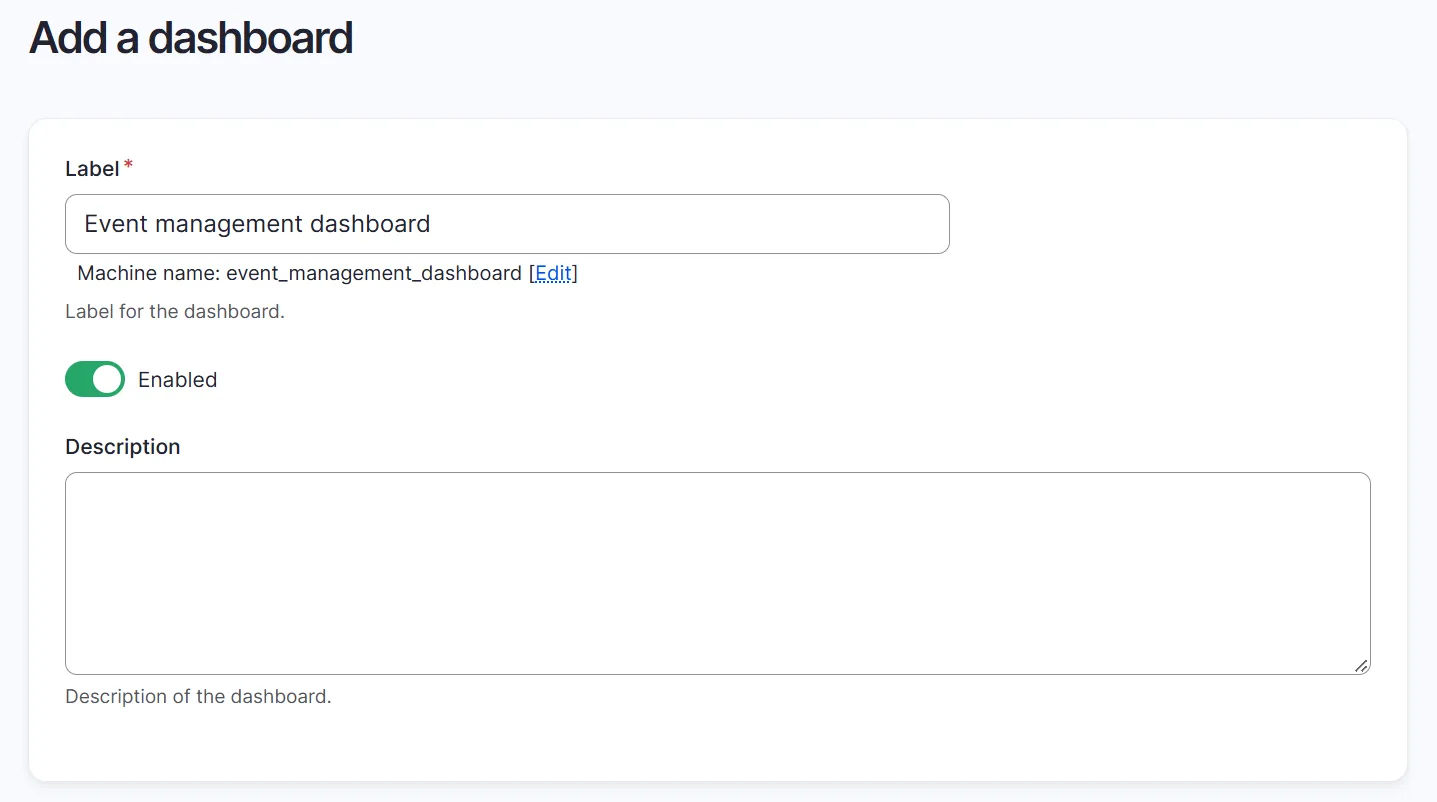
Access to specific dashboards is controlled through this dashboard’s permissions.
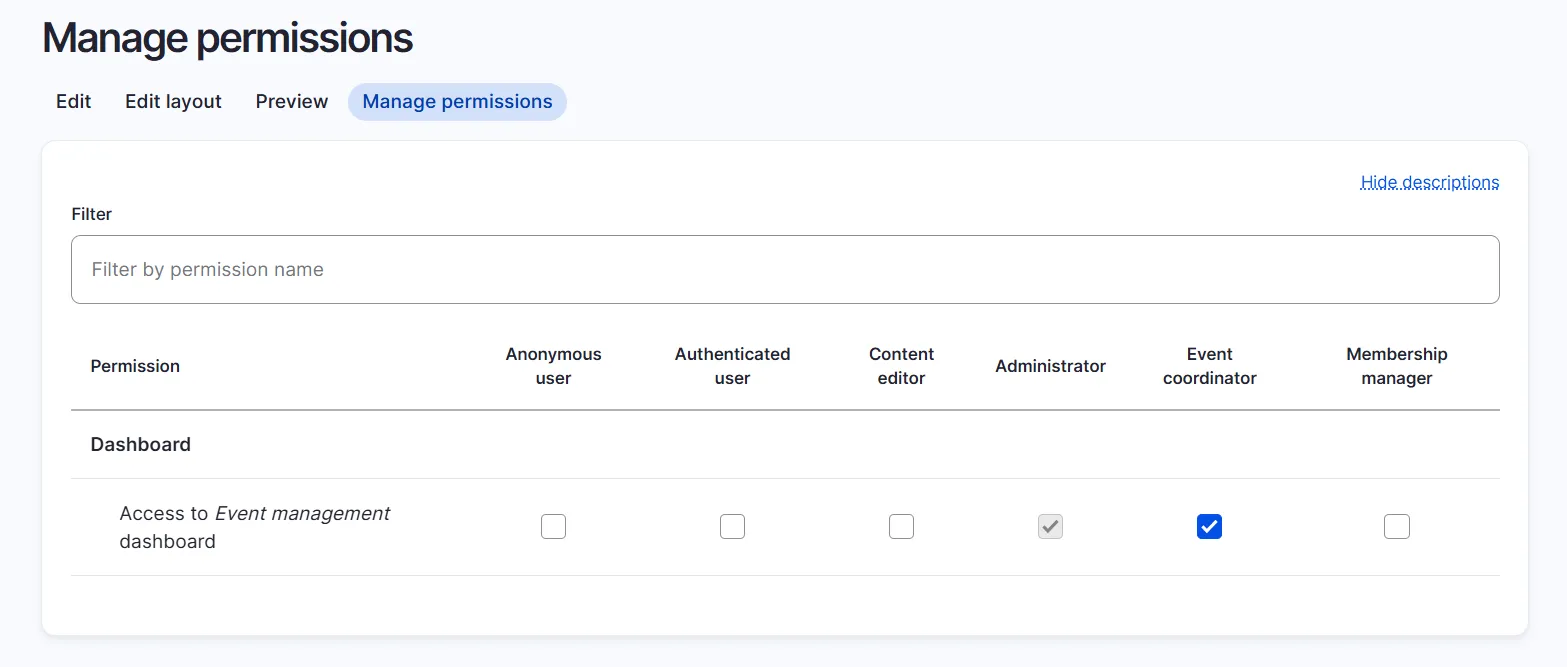
Although the original initiative aimed to bring Dashboard into Drupal core, its current development focuses on the contributed module. However, in Drupal CMS (the special Drupal version with preconfigured functionalities and a focus on utmost user-friendliness), customizable dashboards are part of the out-of-the-box experience, with no need to install anything extra.
3. Control block visibility under certain conditions
When it comes to personalizing the post-login experience, there is one more way to tailor the information and tools users see on the page they land on. Instead of configuring visibility rules for individual blocks separately, you can group blocks together and manage their visibility conditions centrally. That’s where we’ll need the following tool.
Block Visibility Groups
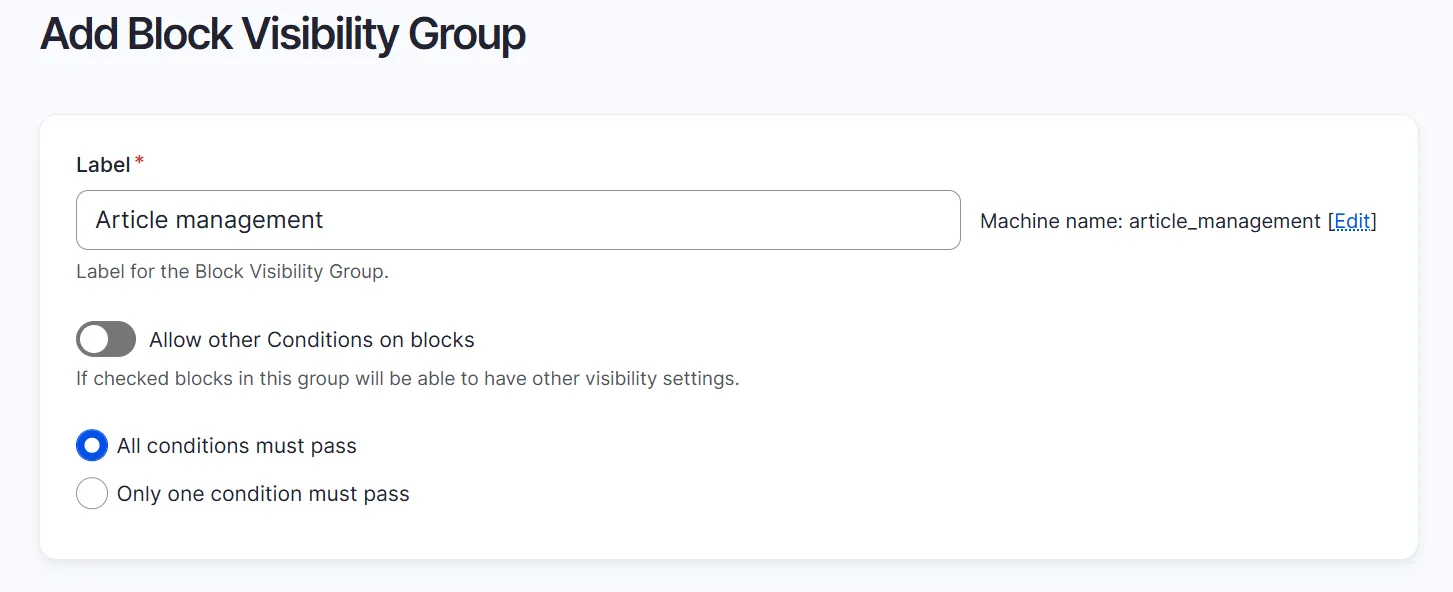
The Block Visibility Groups module provides a central configuration form for applying visibility conditions to groups of blocks. It works with Drupal’s built-in visibility conditions, such as user roles or content types, as well as conditions provided by compatible contributed modules (like CTools, Menu Condition, Term Condition, Token Conditions, and Vocabulary Condition).
For example, imagine a site that directs users to a shared dashboard after login. You could create groups such as Subscriber Resources and Editorial Shortcuts, each with a user-role condition. Then, in Drupal’s Block Layout interface, assign the relevant blocks to each group.
Drupal will check whether the user role is Subscriber or Editor, and apply visibility rules accordingly. Subscribers would see links to their resources, while editors would see shortcuts to content management tasks. This approach lets you tailor the content of a shared landing page to different audiences without creating a separate page for every role.
4. Custom event-driven post-login workflows
Redirects, tailored dashboards, and block visibility rules can improve the post-login experience on their own. But when you need to combine multiple triggers, checks, and responses into a single fluid workflow, this is where Drupal’s ECA (Event – Condition – Action) module truly shines.
ECA (Event – Condition – Action)
The ECA (Event – Condition – Action) module lets you create configurable workflows of any complexity using a visual builder, with no need to write custom code. You define the event that triggers a workflow, the conditions that must be met, and the actions Drupal should perform. Here is an example for post-login personalization:
- Event. A user logs into the site.
- Conditions. A user’s role is evaluated (like identifying whether they are a Subscriber, HR Manager, or Contributor).
- Actions. The website sequentially displays a personalized greeting message based on role and redirects the user directly to their role’s dedicated page (such as the HR job applications page or subscription content page).
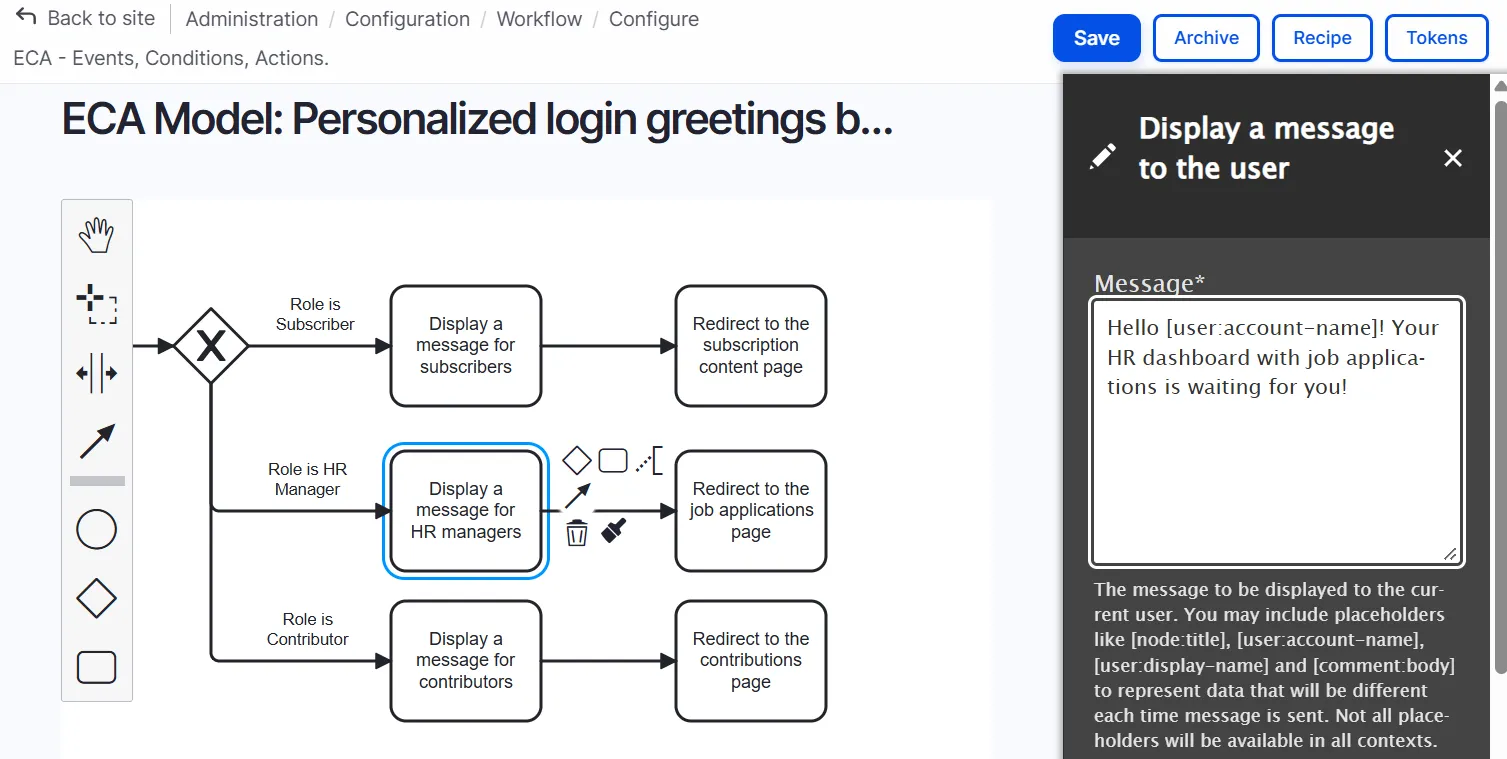
While displaying a greeting message and redirecting a user by role is a straightforward, beginner-friendly example of ECA in action, the module’s capabilities go far beyond post-login redirects. ECA can orchestrate highly sophisticated business logic, such as automating content moderation schedules, sending targeted email notifications, updating taxonomy terms, integrating with external webhooks, and much more.
The best starting point is to identify what your users need after logging in, then leverage ECA’s visual builder to coordinate the exact events, conditions, and actions required for your Drupal site.
Final thoughts
Drupal offers several ways to tailor the post-login experience to users’ roles and needs, from controlling where they land to customizing what they see and automating actions behind the scenes.
The right approach depends on your website’s requirements and on how much customization is needed. For straightforward scenarios, a post-login redirect may be all you need. If different roles need dedicated starting pages, dashboards can provide role-specific workspaces. When users share a landing page but need different information, you can combine redirects with Block Visibility Groups. Just remember to test how the different configurations work together, especially when multiple modules handle redirects. For more complex requirements, ECA can coordinate workflows triggered by login events and other conditions.
With the right combination of tools, you can make the post-login experience more useful for your users without adding unnecessary complexity.