A Step-by-Step Guide to the OpenAI Module Integration on Your Drupal Website

Supercharging your workflows with artificial intelligence is one of the hottest trends of content editing on a Drupal website. When it comes to AI, Drupal is ahead of the rest, rapidly integrating advanced machine-learning capabilities into its ecosystem.
Earlier, we published an article that explored why Drupal and AI are a great match, and reviewed some exciting Drupal modules for OpenAI/ChatGPT. It might also be interesting to check out posts on exciting setups with robust Drupal AI modules such as AI Interpolator and Augmentor AI. You might be even more impressed with the Drupal AI integration demo from Driesnote or the ways AI can boost your SEO.
This article will walk you through the specific steps of Drupal OpenAI integration overview using a lightweight, easy-to-use, and powerful tool, the OpenAI module.
What the OpenAI module in Drupal is all about
The OpenAI module is a robust tool that supports a great variety of OpenAI/ChatGPT features for your Drupal website. It includes an impressive suite of submodules and an API foundation for seamless integration.
The module became a pioneer in the ecosystem of Drupal AI modules and the earliest implementation of ChatGPT within Drupal. — its first release came in January 2023. It was created for Drupal 10 — the version of Drupal that was the latest at that time.
Note: Over time, the Drupal community shifted active development toward the new AI module. Its logo reads “DrupalAI,” and it is often referred to as the Drupal AI module, although its official name today is “AI (Artificial Intelligence).” It’s a provider‑agnostic and powerful AI framework. While the OpenAI module offers single-provider functionality, the new generic module for Drupal AI integration supports multiple services. New features and ongoing development for the OpenAI module now take place within the new Drupal AI module.
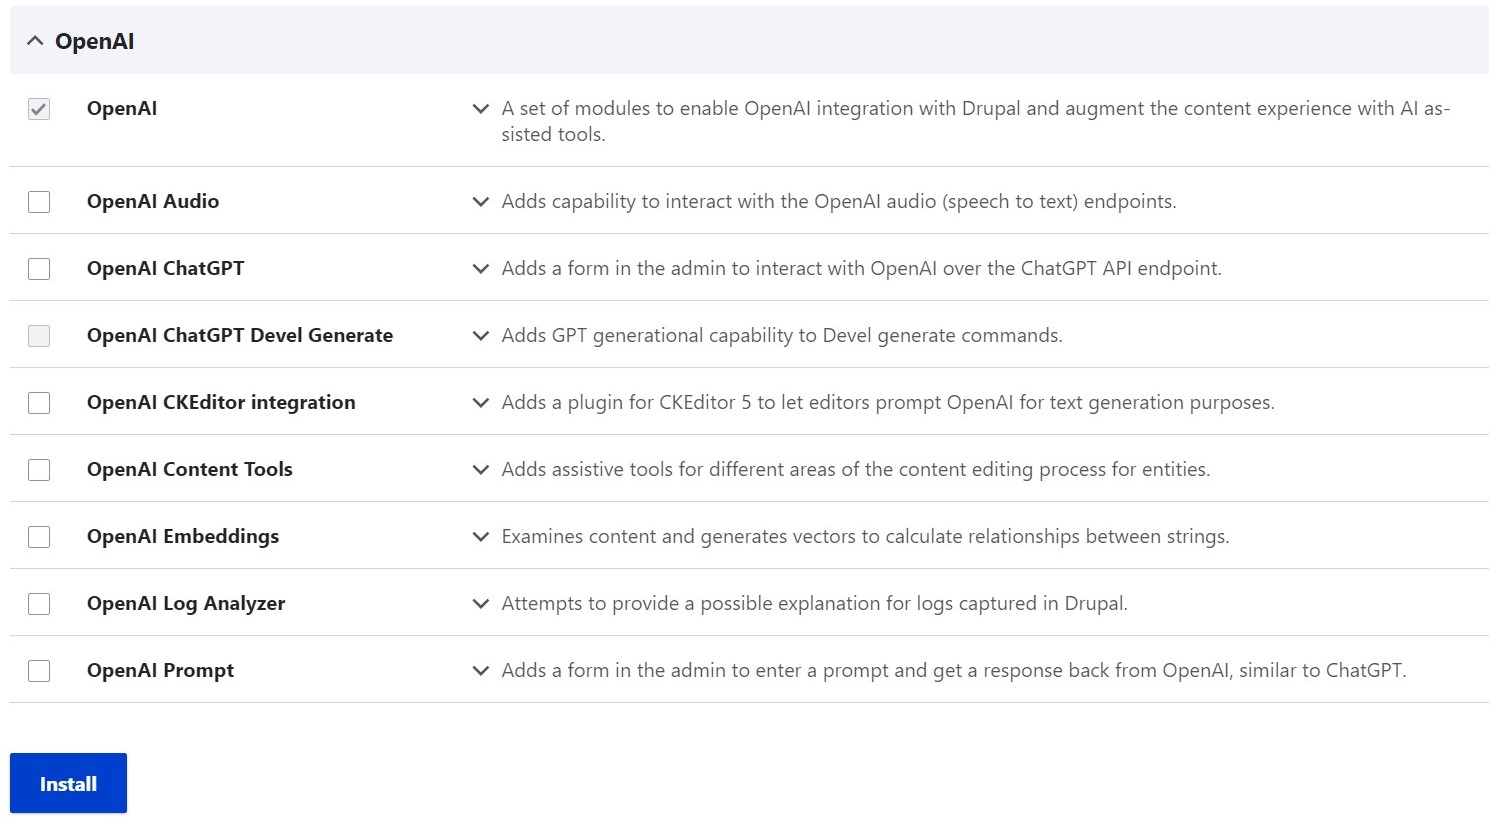
Here are the submodules included:
- OpenAI. This is the main module that provides an API for the integration and makes all other interactions possible.
- OpenAI Audio. This submodule enables Drupal websites to interact with OpenAI audio (speech-to-text) endpoints.
- OpenAI ChatGPT. This submodule provides a form in the Drupal admin dashboard for the interaction with OpenAI over the ChatGPT API endpoint.
- OpenAI ChatGPT Devel Generate. This one helps the Devel module create more realistic dummy content using GPT and ChatGPT models, which helps in testing new functionality.
- OpenAI CKEditor integration. This submodule adds a button for CKEditor 5 that provides AI-powered assistance with various tasks directly within the text editor.
- OpenAI Content Tools. This one adds a set of assistive tools powered by Open AI to the content editing form.
- OpenAI Embeddings. This submodule relies on OpenAI to analyze nodes and generate vector images and text embeddings.
- OpenAI Log Analyzer. This one makes it easier to understand the error log entries in Drupal by providing AI-powered explanations and potential solutions.
- OpenAI Prompt. This submodule adds a form to the Drupal admin dashboard where you can send prompts and get responses back from OpenAI.
Drupal OpenAI integration overview
Integrating OpenAI services with your Drupal website using the OpenAI module is very straightforward. You’ll need API credentials from your OpenAI account that you’ll add to the module’s settings page in Drupal, and then a great variety of AI features will be available to use.
Step-by-step guide on how to use the OpenAI module in Drupal
Installation and basic setup
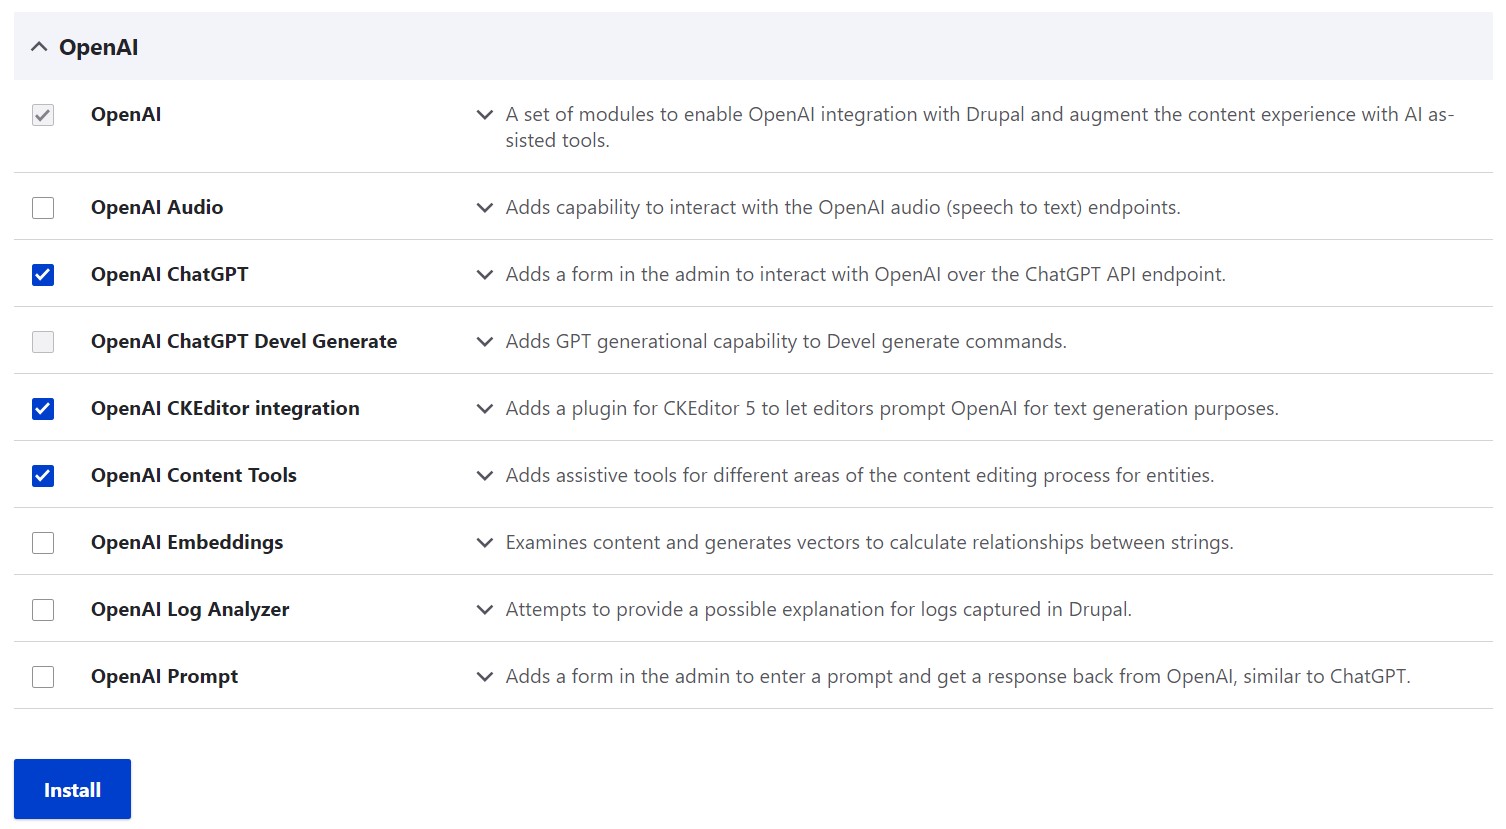
With the OpenAI module downloaded to your Drupal website, you can enable only the submodules that you’re interested in using. For our demonstration of the OpenAI module integration, we’ll use:
- the OpenAI ChatGPT
- the OpenAI CKEditor integration
- the OpenAI Content Tools.
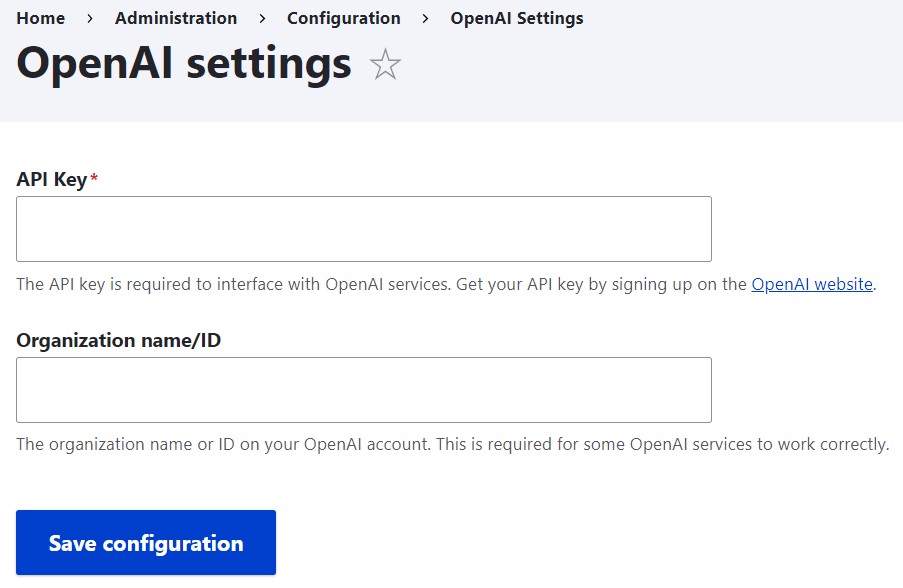
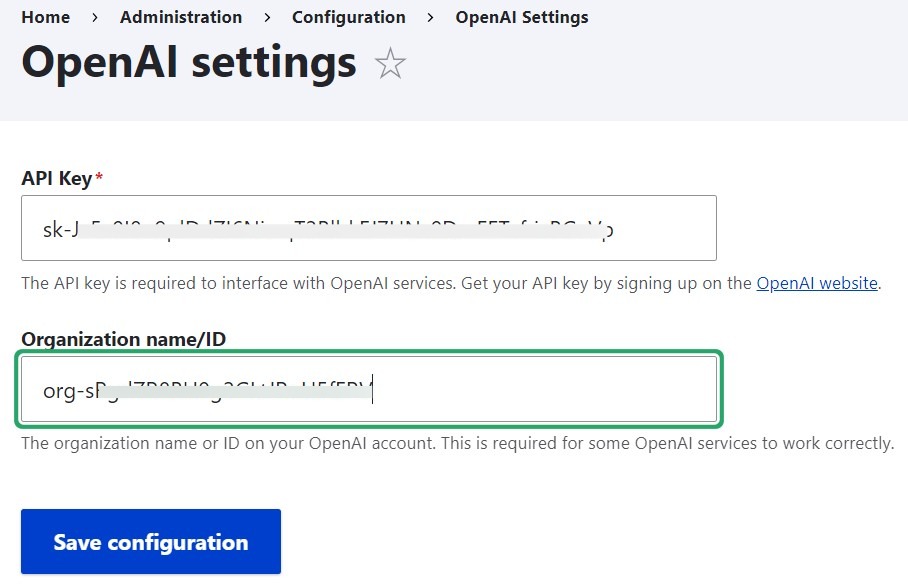
To proceed to the setup, either hit “Configure” next to the main OpenAI module on the Extend page or go to Configuration > OpenAI > Settings on your Drupal admin dashboard. You'’ll see two fields for which you’ll need to provide the following credentials:
- API key
- organization name/ID
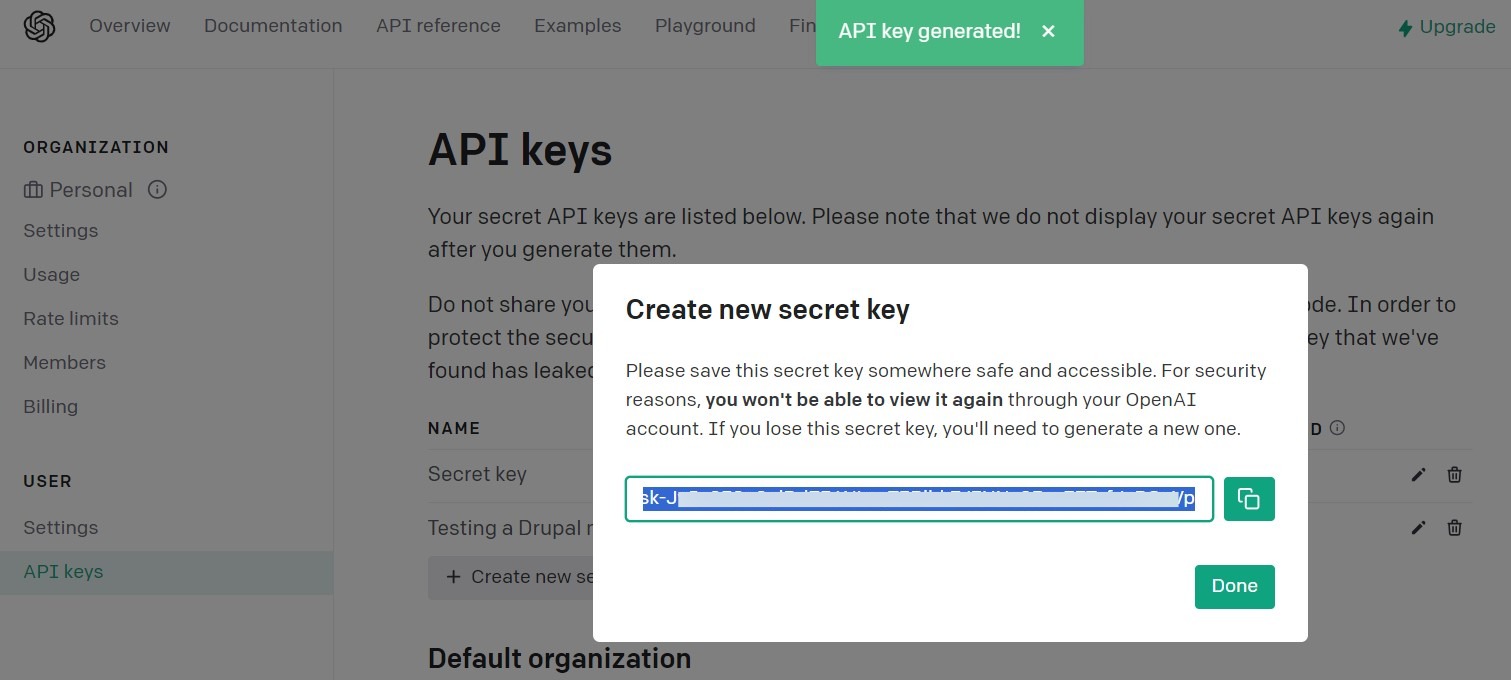
To get the API key, log in to your Open AI account (or create a new one) and select the “API” section. To generate a new API key, click “Create new secret key” and optionally give it a name (for example, “Testing a Drupal module”). Copy the newly-created API key for further pasting on the Drupal website and click “Done.”
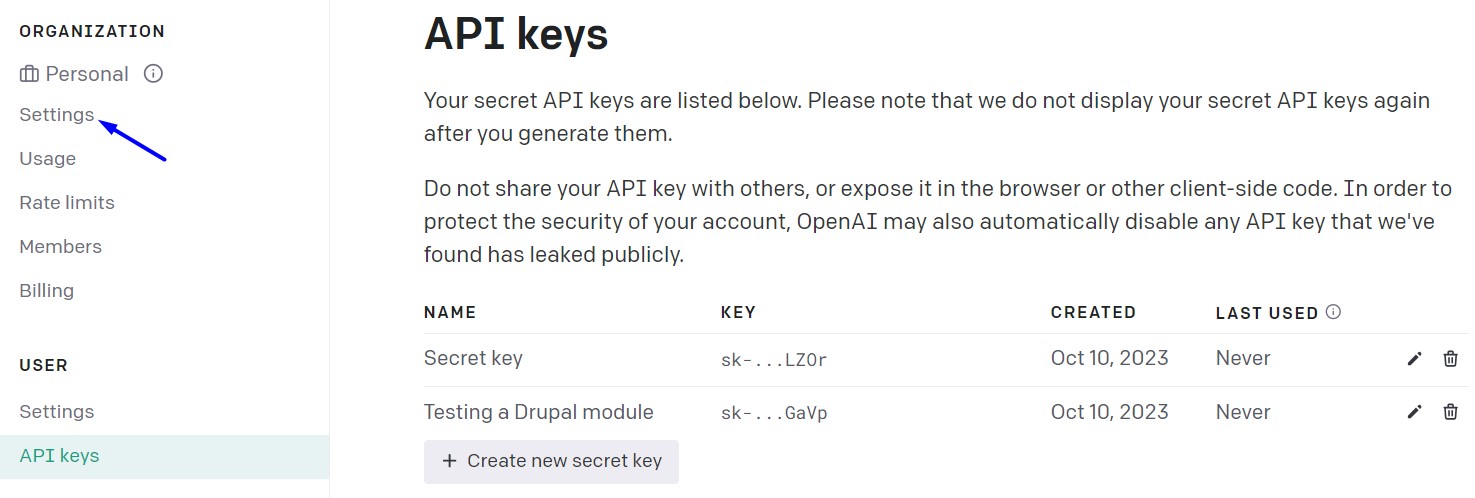
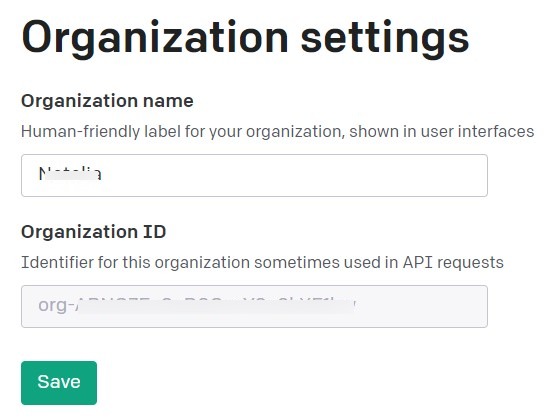
To get the organization’s name or ID, go to Settings on the left-hand organization menu.
Generally, it’s less error-prone to use the organization ID rather than a name in configuration. So copy the ID and go back to the Drupal website.
Enter the API key and the organization ID into the appropriate fields on the OpenAI Settings page of your Drupal site.
Now that the basic setup is done, you can proceed to use specific functionalities provided by the module’s submodules.
How to use the OpenAI ChatGPT submodule
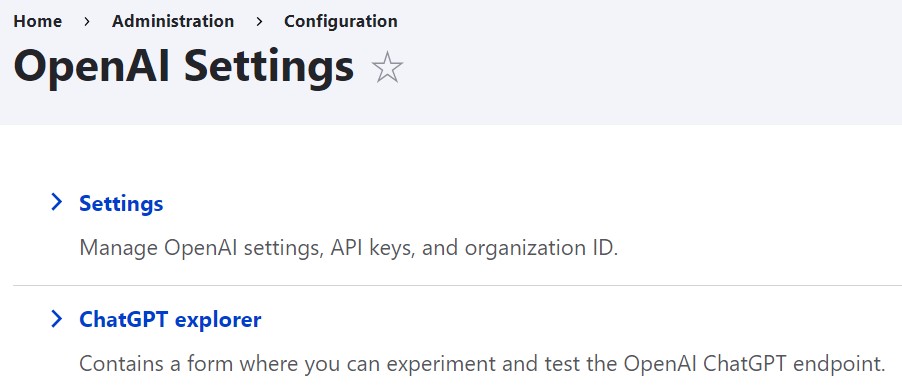
With the OpenAI ChatGPT submodule enabled you can either click “Configure” next to it on the Extend page or go to the Configuration > OpenAI and open the “ChatGPT explorer” link.
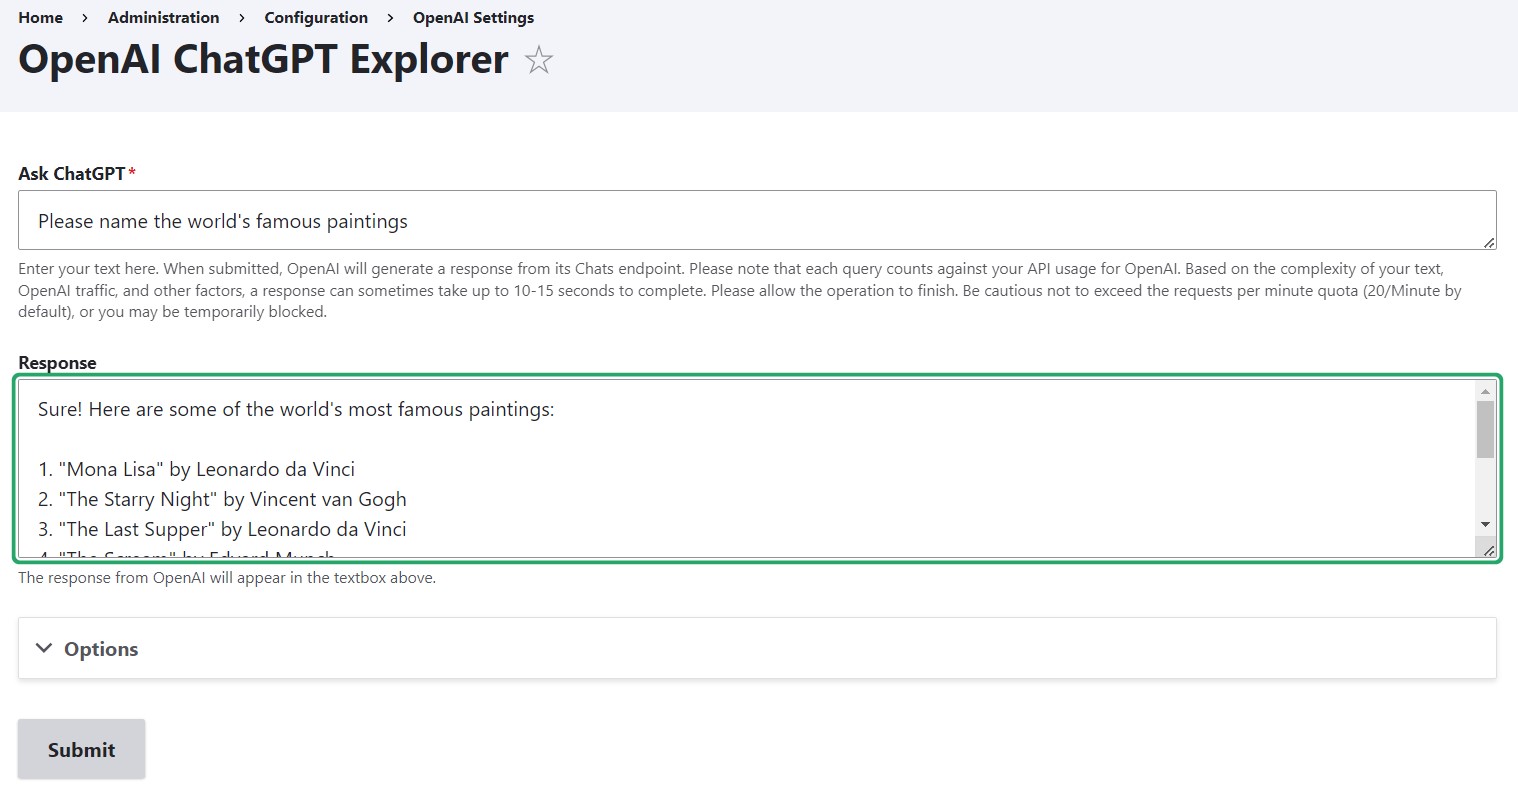
It leads you to a UI for exploring and testing the OpenAI ChatGPT endpoint. You can enter a prompt in the “Ask ChatGPT” field and wait for the response to appear in the “Response” field.
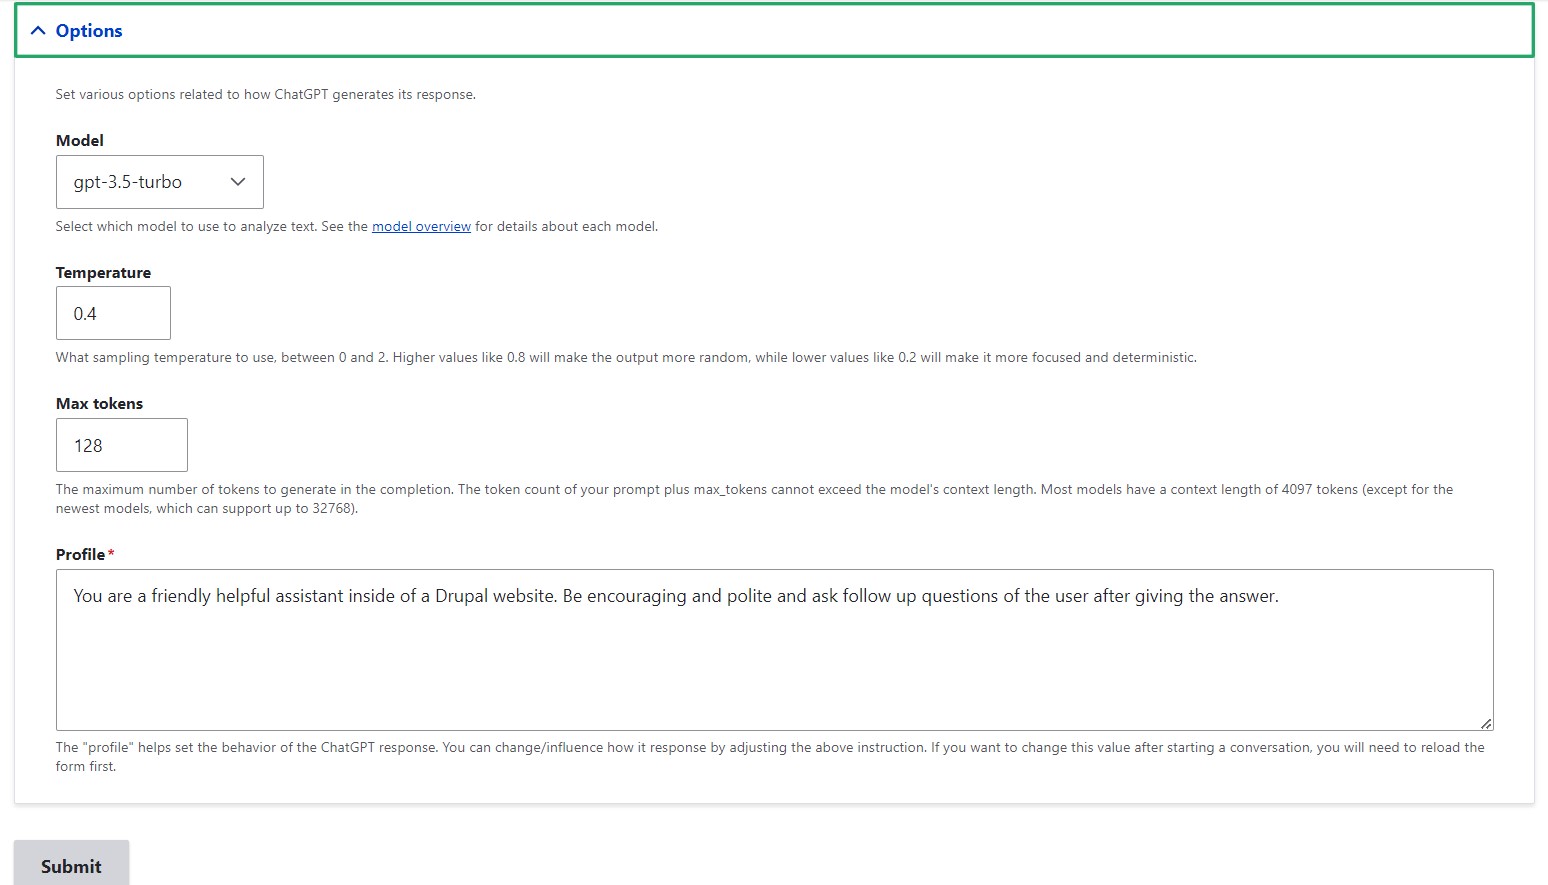
The Options tab has some settings that you don’t necessarily need to change but stick with the sensible defaults instead. Anyway, it’s useful to know what they are:
- Model. Here, you can select a specific model out of the OpenAI’s set of models. The default one is GPT-3.5 Turbo, and that’s what is used in our demonstration.
- Temperature. Higher temperature values (like 0.8) provide responses that can be characterized as more random, creative, diverse, and unexpected. Responses with lower temperature values (like 0.2) are seen as more focused, deterministic, straightforward, and predictable.
- Maximum tokens to generate. Tokens in OpenAI are the building blocks of language. A token can be from one character to one word long. Specifying maximum tokens is a way to give the model guidance on how long or short you want its responses to be. In any case, they cannot exceed your model’s context length.
- Profile. This setting helps you shape the ChatGPT’s behavior, where the default “you’re a friendly helpful assistant” looks perfectly fine.
How to use the OpenAI CKEditor integration submodule
As mentioned above, the module was designed for Drupal 10, so when we talk about CKEditor integration, we mean the new CKEditor 5. The availability of this integration makes the OpenAI module one of the most interesting Drupal modules to extend CKEditor 5.
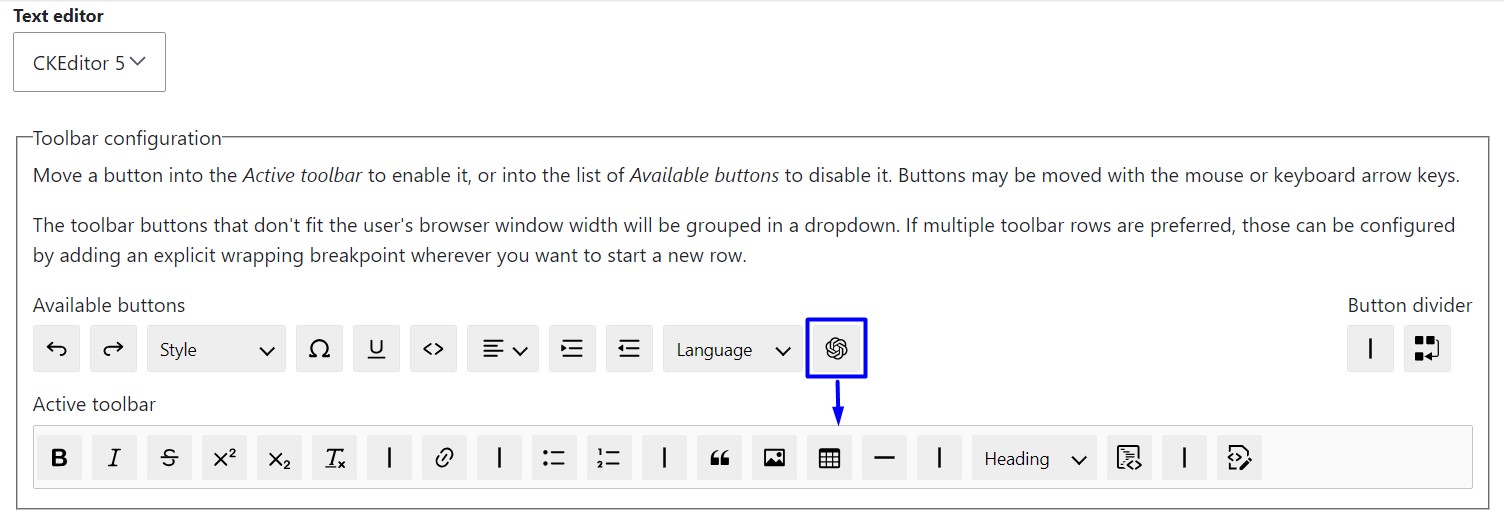
With the OpenAI CKEditor integration submodule enabled you’ll need to add the OpenAI button to CKEditor 5 toolbar. For this purpose, just go to Configuration > Content authoring > Text formats and editors and click “Configure” next to the specific format (Full HTML, Restricted HTML, or Basic HTML).
Once on the specific format’s settings page, drag the button from the “Available buttons” to the “Active toolbar.”
Scroll a little down to CKEditor 5 plugin settings, find the OpenAI tools plugin, and be sure to tick the “Enabled” checkbox for the “Text completion” option. You’ll also see the settings for the model, temperature, and maximum tokens settings similar to those we’ve already described in the ChatGPT submodule section.

Scroll down to the bottom of the page to click “Save configuration.”
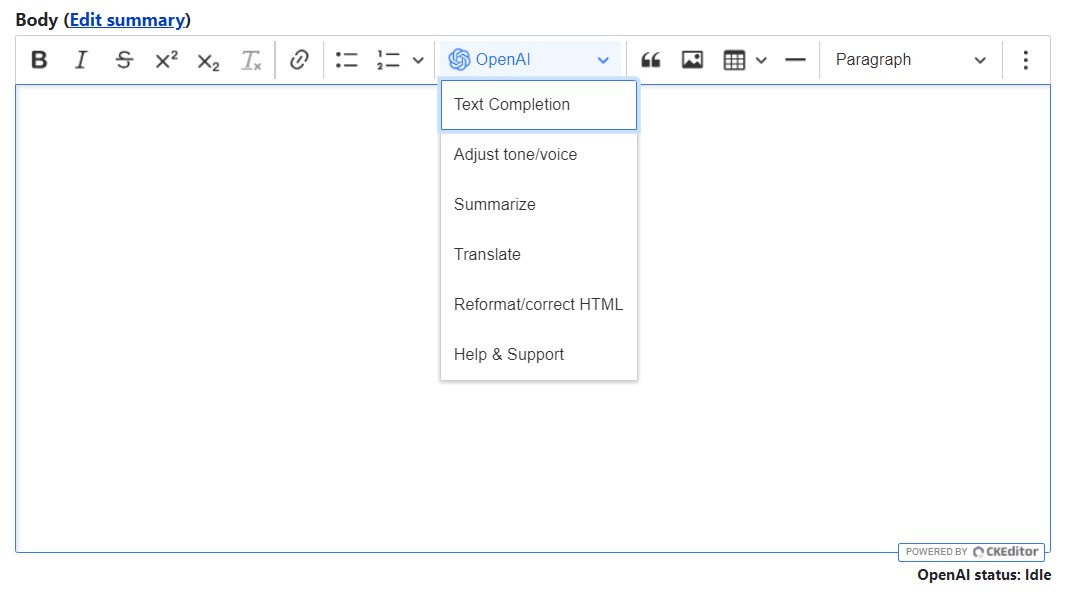
With this done, you can go to Content > Add content, and see the OpenAI button on your CKEditor 5 toolbar. It opens a dropdown menu of available AI-powered actions that can be applied to text. There is an “OpenAI status: Idle” message in the bottom right corner, which will change at the moment of actual interaction.
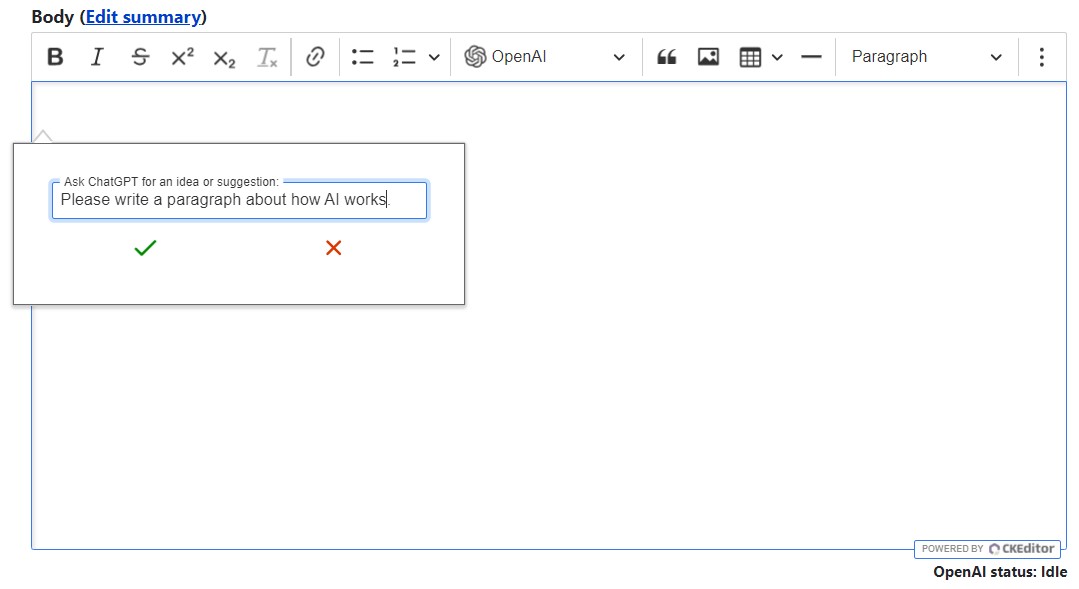
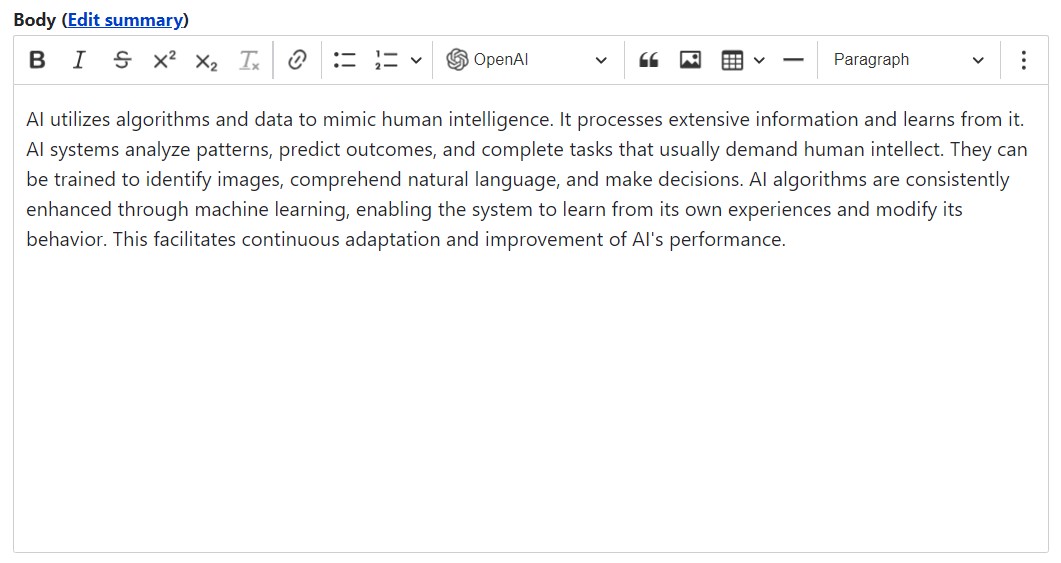
If you select “Text Completion” from the dropdown, a balloon panel will appear for writing an idea or suggestion (for example, “Please write a paragraph about how AI works”). When done, click the green check mark, which you might be familiar with if you have already worked with CKEditor 5’s interface.
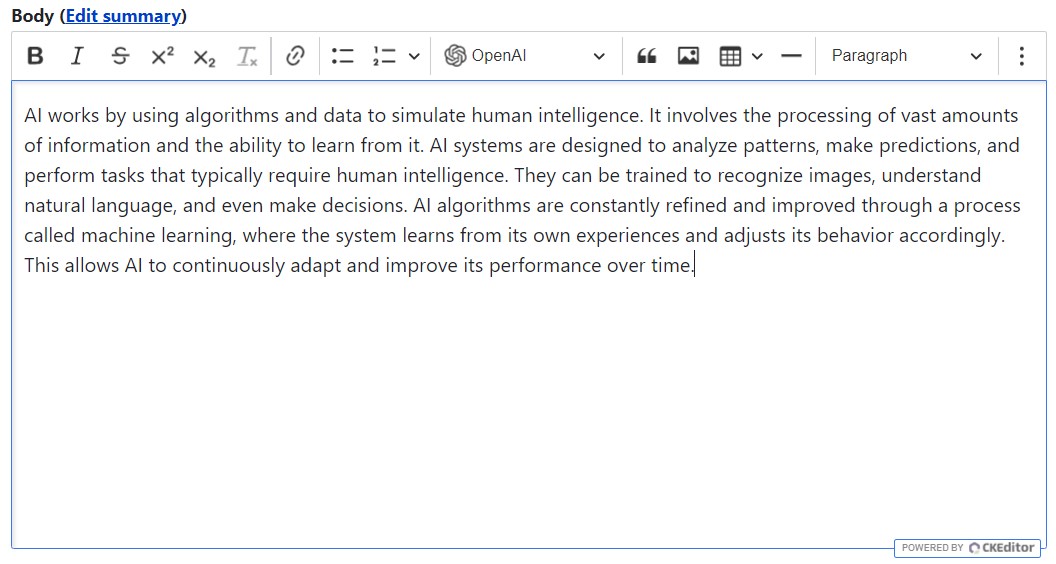
Wait for the response for a little while and the requested paragraph about how AI works appears in the text area.
It is noteworthy that for other actions, you need to select the text first.
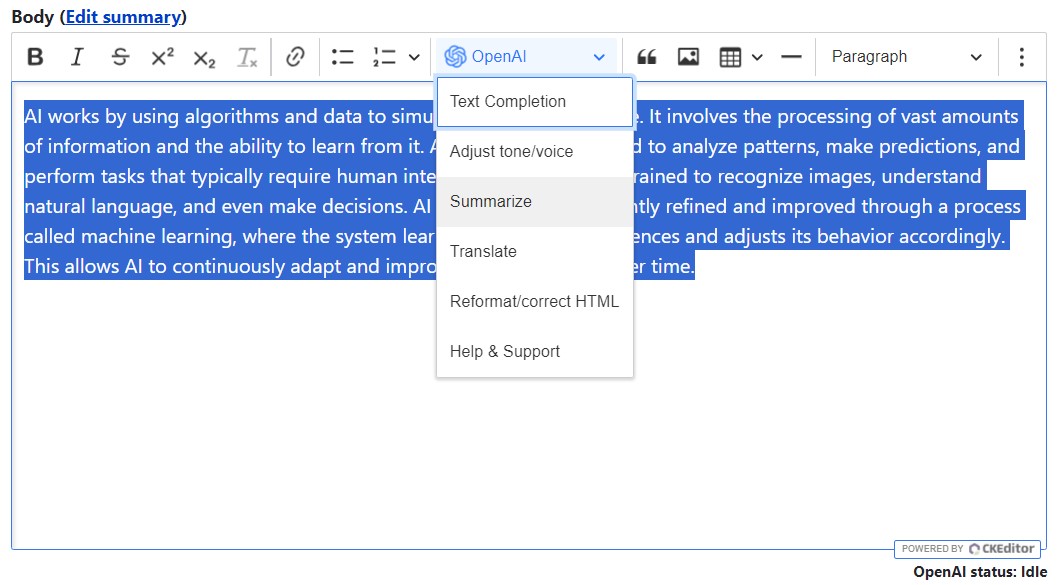
With the text selected, click “Summarize” — and you’ll see a summary of the text.
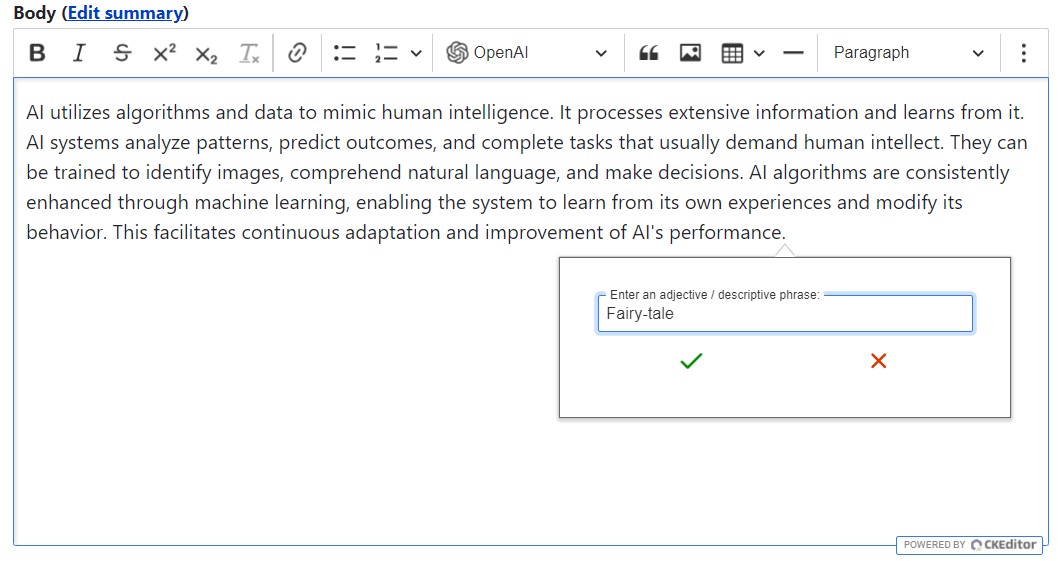
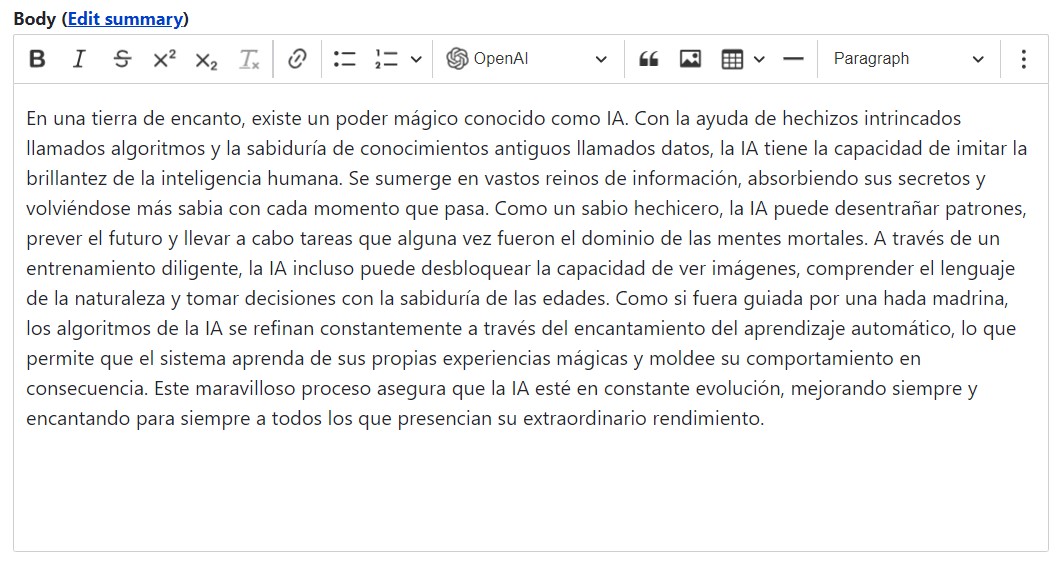
If you select the text and click “Adjust tone/voice” in the OpenAI dropdown, it will show you a balloon panel where you’ll need to enter an adjective/descriptive phrase about what you want the tone to be like. In this example, let’s write “Fairy-tale” and hit the green check mark.
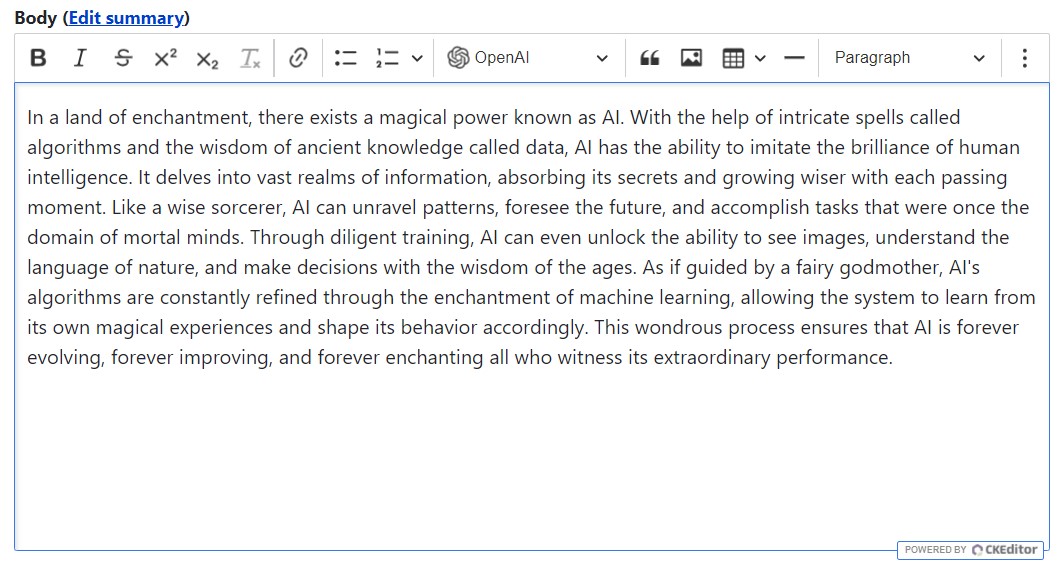
In a while, the text about AI is getting transformed to become truly magical.
If you select the text and choose “Translate” on the OpenAI dropdown, it will offer you a balloon panel for specifying the language. In this example, we’ve entered “Spanish.”
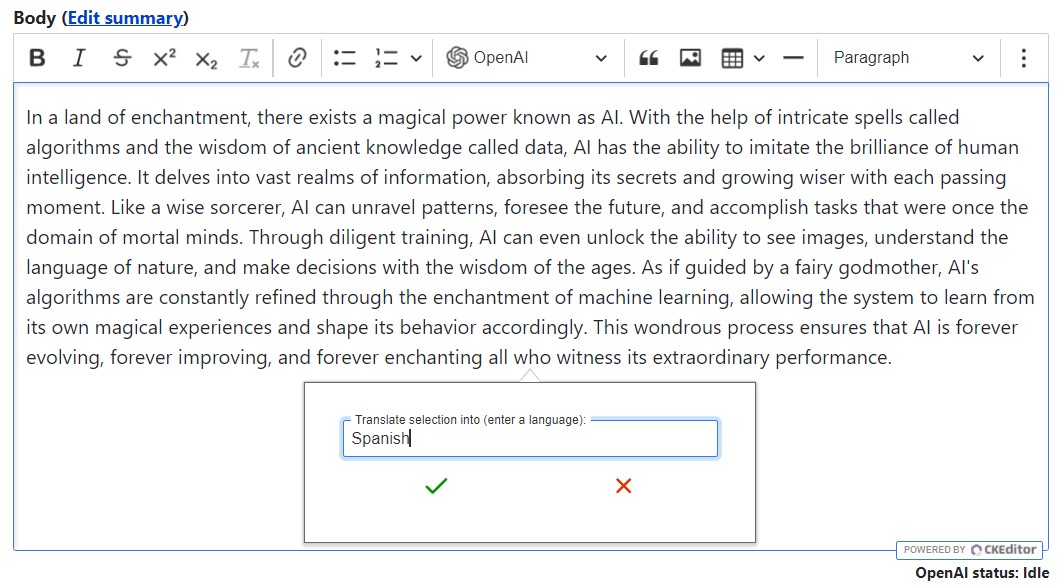
And the magical fairy-tale is getting translated into Spanish directly in the text area.
To test the “Reformat/Correct HTML” options, let’s write some gibberish HTML imitating the anchor link formatting but with obvious errors. It doesn’t even matter that we’re doing it directly in the text area without going to the source code.
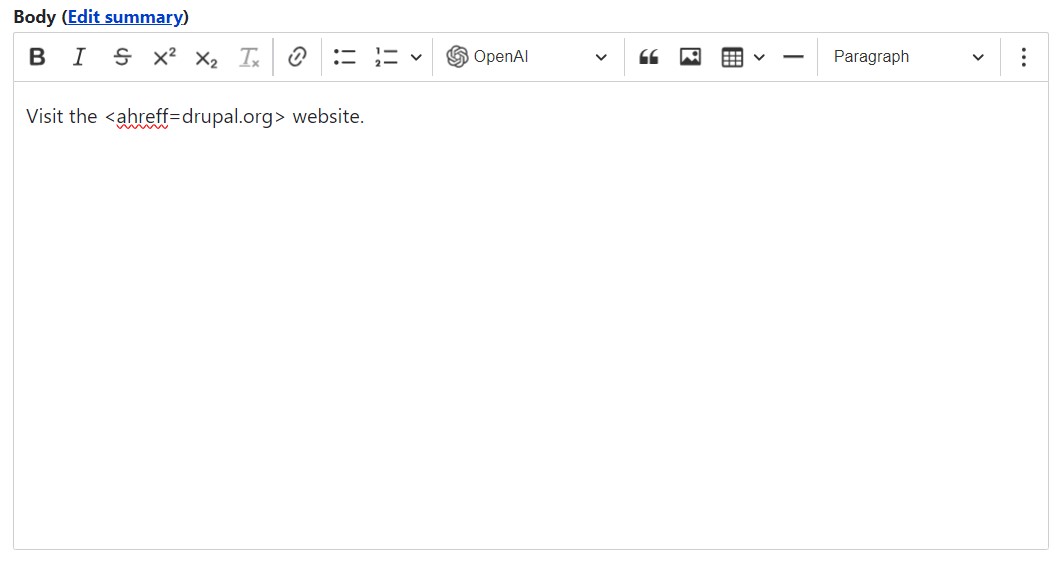
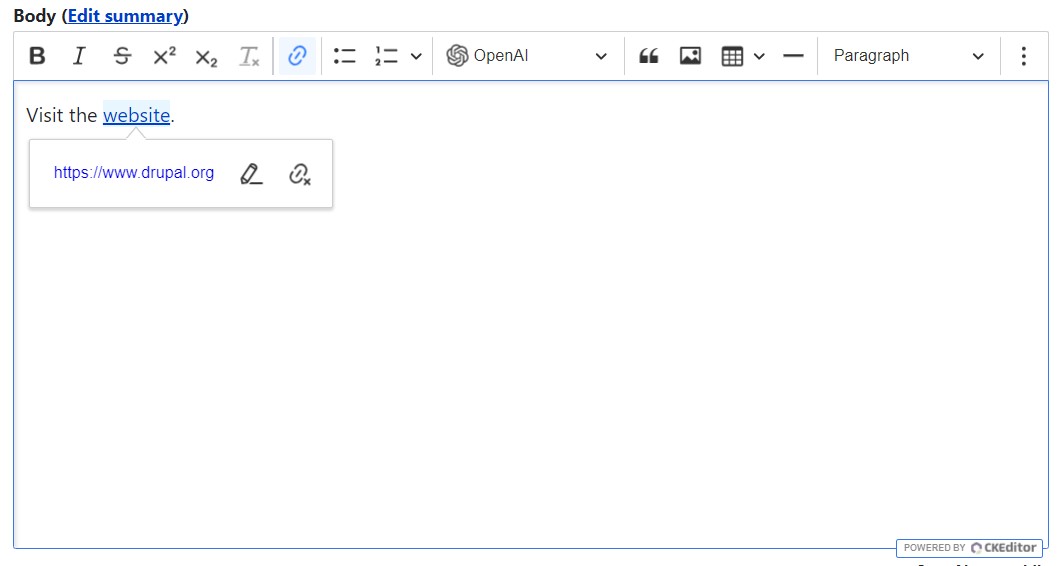
When this line is selected and the “Reformat/Correct HTML” option is clicked, artificial intelligence successfully corrects the HTML errors and creates a normal anchor link.
How to use the OpenAI Content Tools submodule
Besides the assistance options directly in the text editor, there are more listed to the right-hand side of the node editing form. They are provided by the OpenAI Content Tools submodule.
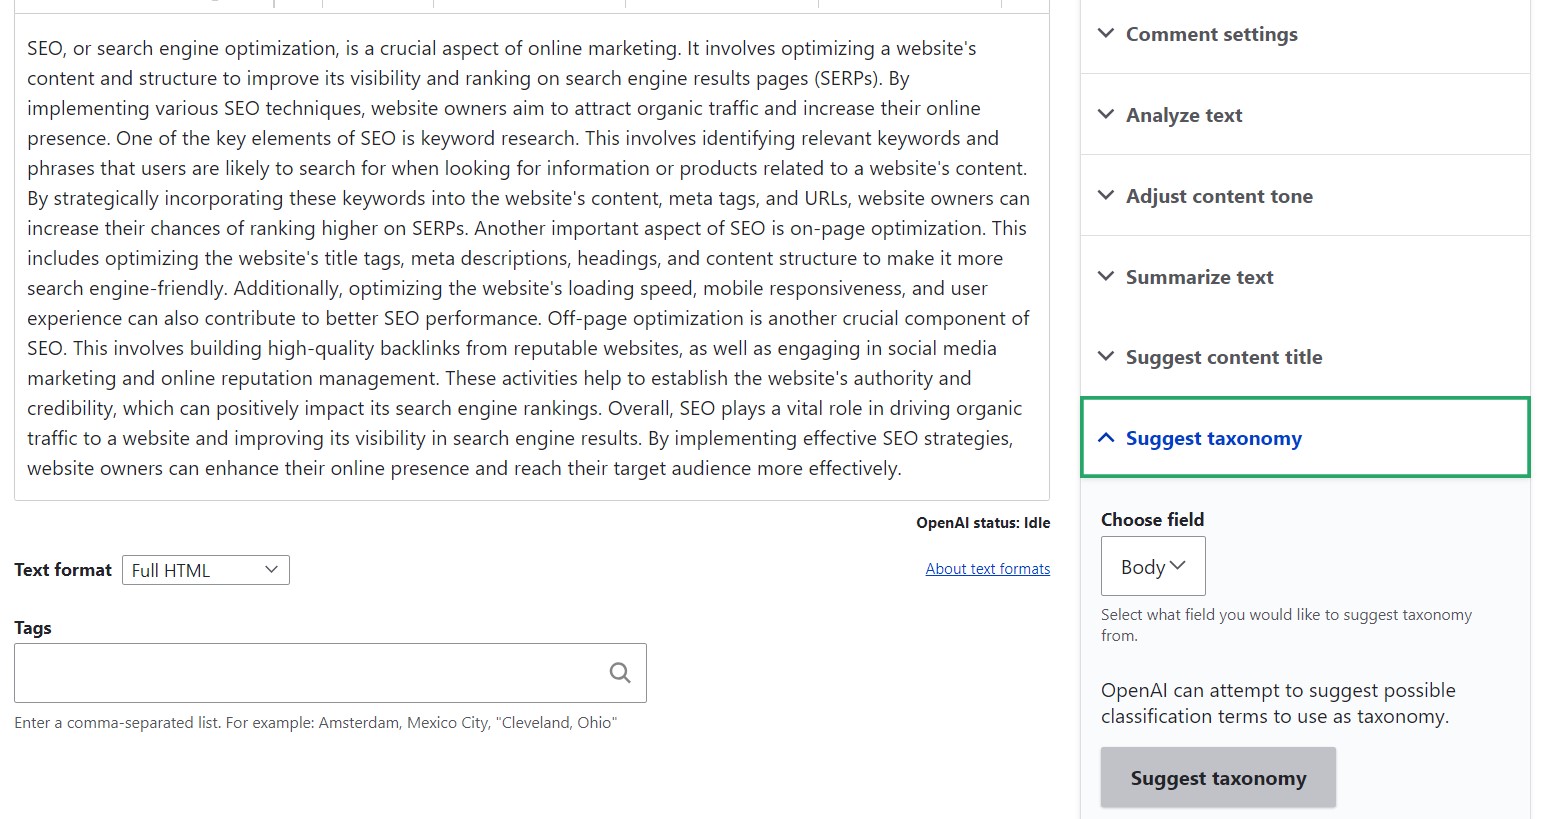
As opposed to how the CKEditor integration submodule works, all suggestions by Content Tools just appear in the right-hand panel, with no changes applied to the actual node text. Let’s see what you can do here using an example of a text about SEO that has just been AI-generated in CKEditor.
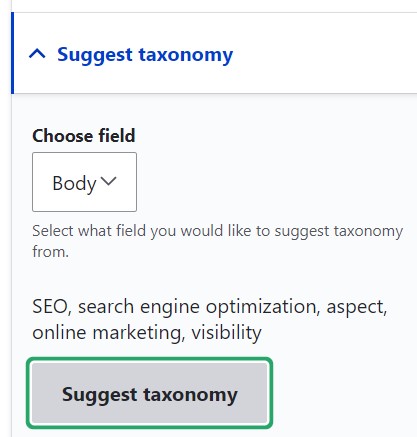
You can click “Suggest taxonomy” and choose the field with the text you want to be AI-processed (in this case, it will be the body field).
AI-suggested taxonomy tags appear in a while.
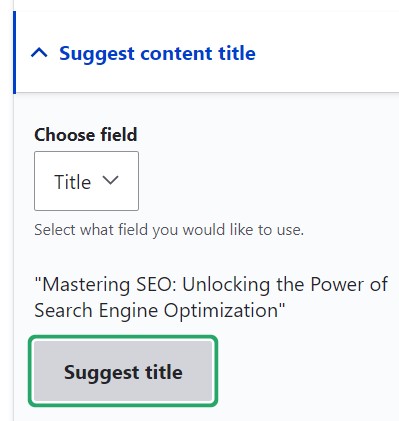
Next, you can ask OpenAI to “Suggest content title” and this time, it will be the title field that you’ll need to select. In a few seconds, artificial intelligence suggests the title of the text.
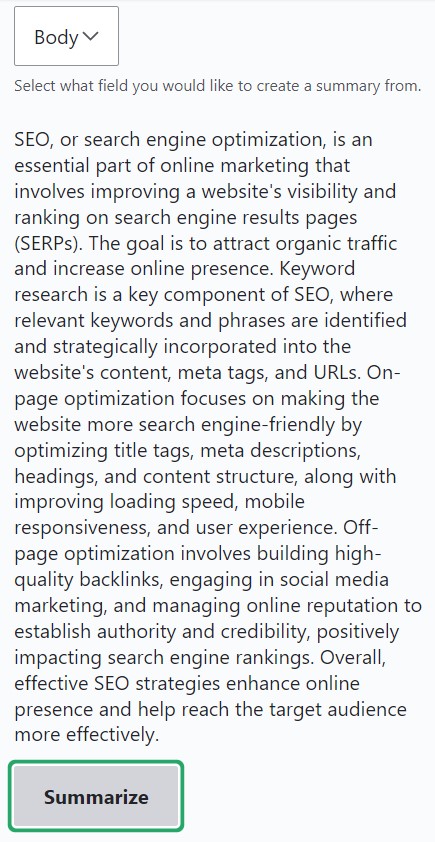
If you click “Summarize” and select the body field, you’ll get a summary of your text.
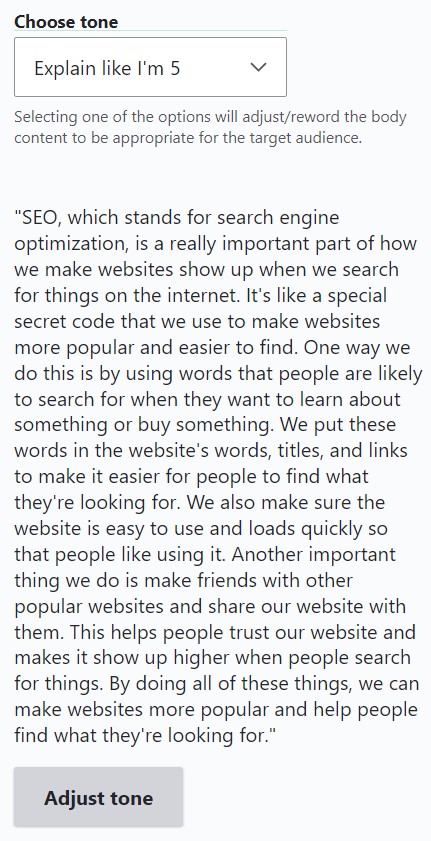
The “Adjust content tone” option allows you to choose the tone from the dropdown (friendly, professional, helpful, high school level reader, college-level reader, and “explain like I’m 5.” As usual, select the field for this action (in this case, body).
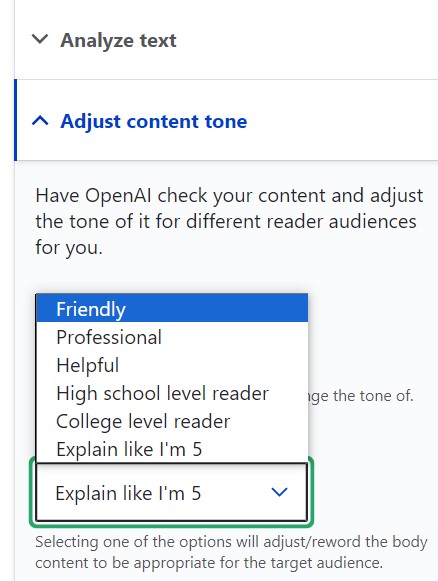
AI provides the text option based on the selected tone (in this example, “explain like I’m 5”). The screenshot below shows OpenAI’s version of what a 5-year-old is supposed to understand (this looks a little doubtful, but we’re here just to demonstrate the features).
Please note that using simple language is an essential practice for creating accessible content, and the “Adjust content tone” option might be interesting in this regard.
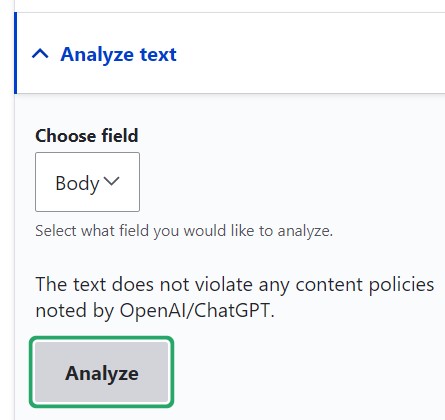
Finally, there’s the “Analyze text” option that checks the text for compliance with various policies. Let’s use it for the body field and, as expected, there’s a confirmation from OpenAI that the text doesn’t violate anything.
Troubleshooting the OpenAI module integration
You might see the “Website encountered an unexpected error” message directly in the text area. There’s no reason to worry — the actual explanation of what happened can be found on the Reports > Recent log messages page of the Drupal website (/admin/reports/dblog).
You might, for example, see an error log telling you there is no such organization. To fix that, you’ll need to go to the Configuration > OpenAI Settings on your Drupal admin dashboard and make sure you’ve entered the organization ID (not name). Another example is seeing the message “You exceeded your current quota, please check your plan and billing details.” This means you’ll need to go to the OpenAI website and check your plan or just test your OpenAI module integration from a different OpenAI account for a start.
Final thoughts
It’s really inspiring to know that the “team” of Drupal modules for integration with various third-party tools has got such a brilliant addition as the Drupal OpenAI module. When used with proper caution, AI can genuinely boost the content workflows of many teams, especially on large content-heavy websites, which are abundant among our customer base. And, as we see from the list of the OpenAI submodules, some of its capabilities go beyond content, helping development and testing as well, and making sure Drupal and AI are allies in many areas
Whenever you need any assistance with OpenAI module integration, or if you are interested in setting up other tools from the robust ecosystem of Drupal AI modules, our experienced Drupal team will be happy to help.