
CKEditor 4 vs. CKEditor 5 in Drupal: a Feature-by-Feature Comparison for Content Creators
The starting point of a content creation journey for every CMS is the text editor tool. Its features define how smooth, fast, and enjoyable this journey can be. In this regard, Drupal 10 users have won the lucky ticket — the latest major release of the Drupal CMS boasts the brand-new CKEditor 5, which makes all the difference.
CKEditor has been totally reworked on its journey from version 4 to 5, both in the underlying architecture and user experience. Just one glance at CKEditor 5’s elegant interface and one click on its modern toolbar are enough to know that content editing experiences will never be the same. We are here to give you not just one peek but a complete and vivid picture of how exactly the key features differ in CKEditor 5 vs. CKEditor 4. Let’s go!
Comparing CKEditor 4 vs. CKEditor 5 in Drupal
Our comparison will cover CKEditor 5 on a Drupal 10 website and CKEditor 4 on a Drupal 9.4 website. Both are using Drupal’s new Claro theme, which is now the default admin theme for Drupal. Your CKEditor 4 might look a little different if you have an older version of the Drupal core that doesn’t yet use Claro.
The exact look of the CKEditor toolbar also depends on the buttons you choose to enable or disable. You can do it for every text format (Basic HTML, Restricted HTML, and Full HTML) on the Configuration > Content authoring > Text formats and editors page. The complete set of buttons is found in the “Available” section, and you can move them to the “Active” section with the mouse or keyboard arrow keys, as well as arrange them in the preferred order. This helps editorial teams enjoy the utmost flexibility in having the most useful buttons at their fingertips. That being said, it also makes sense to explore the other available buttons for an optimal content editing experience, be it in CKEditor 4 or 5.
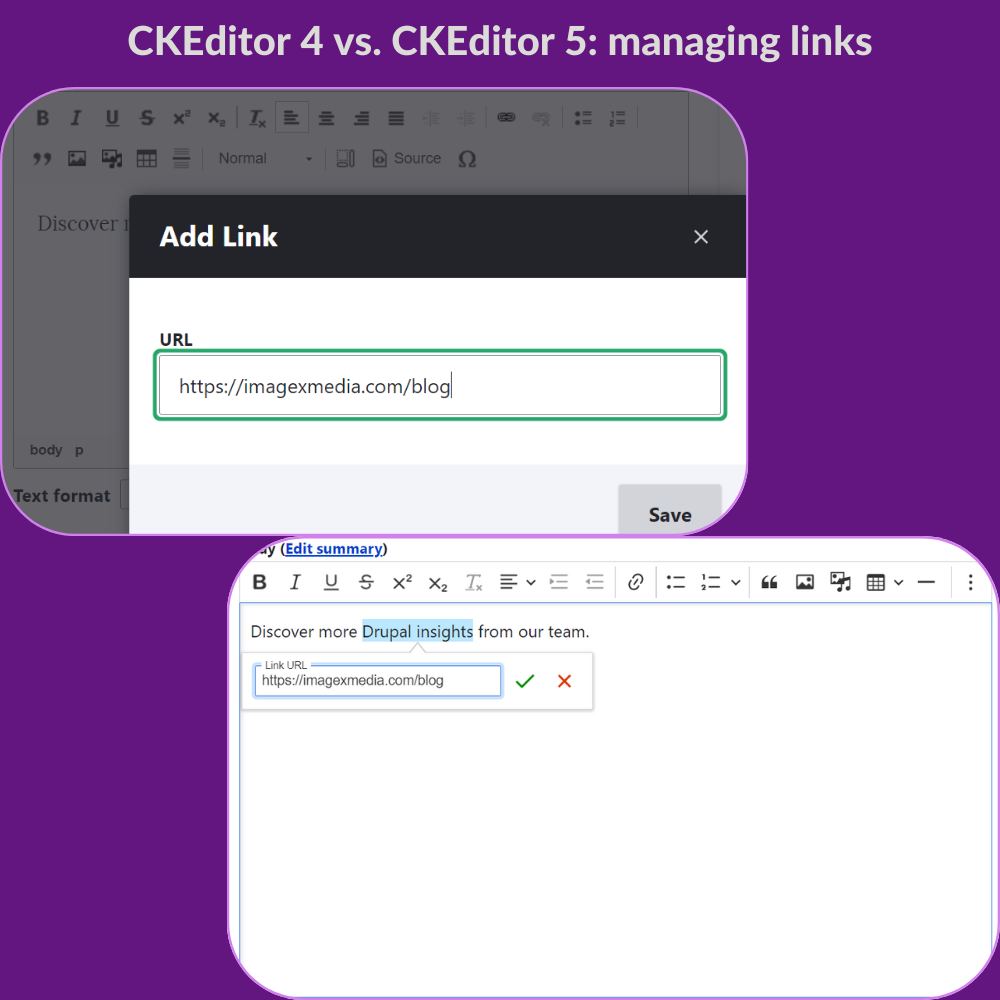
CKEditor 4 vs. CKEditor 5: adding, editing, and removing links
Being an essential part of content marketing and SEO success, links are commonly used elements in the text editor. Every content creator will appreciate the ability to add and edit links as fast as possible.
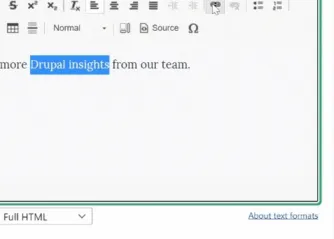
- In CKEditor 4, once you click on the “link” button on the toolbar, a modal dialog box opens where you need to insert the URL and click “Save.” To view or edit the added link, you’ll need to click on it and then hit the “Link” button on the toolbar to see the dialog box open again. To remove the added link, you’ll need to do the same but use the “Unlink” button on the toolbar. One of the drawbacks of the dialog box is that it obstructs the text area.
- When it comes to CKEditor 5, it has a simple balloon panel for adding links, which is one of its visiting cards. Right next to the link field in this panel are a green checkmark and a red cross mark, which are used for adding the link or canceling. To remove, edit, or view the added link, you just click on it and the balloon panel opens, offering the options to edit, unlink, or open the link in a new tab. No special “Unlink” button is needed. With CKEditor 5’s new panel for links, you have a great view of the text area.

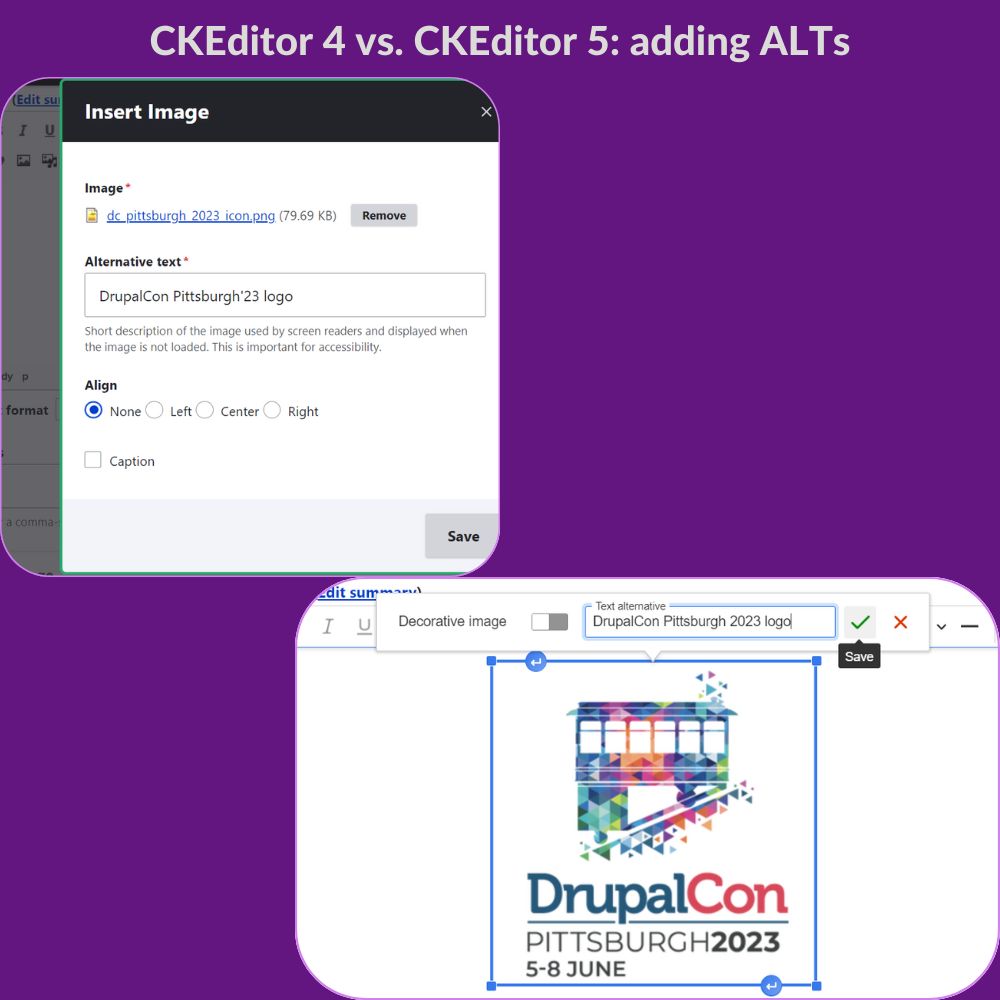
CKEditor 4 vs. CKEditor 5: adding an ALT text
Adding alternative text (ALT text) to images is one of the cornerstones of creating accessible content. ALT text helps readers who rely on assistive devices discover what’s shown on an image.
Images already have an ALT text if you add them to CKEditor from Drupal’s Media Library — a great tool for storing all kinds of multimedia. It needs to be noted that there is a special Media Library button for CKEditor that is not included in the toolbar out of the box — you need to add it in “Text formats and editors” as described above. Additionally, the system will ask you to enable the “Embed media” filter by checking the respective box down the “Text formats and editors” page.
Another option is to add images to CKEditor from the PC, in which case they need to have their ALT text added from scratch. So here is how it works for both CKEditor versions.
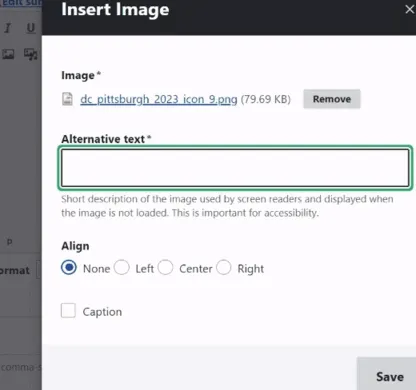
- When you add an image from your PC in CKEditor 4, a modal dialog box appears enabling you to add an alternate text and then click “Save.” Whenever you need to change the ALT, you click on the image and then on the “Image” button on the toolbar and the same dialog box appears. In the case of adding images from the Media Library, the box opens when you click “Edit media” on the embedded image.
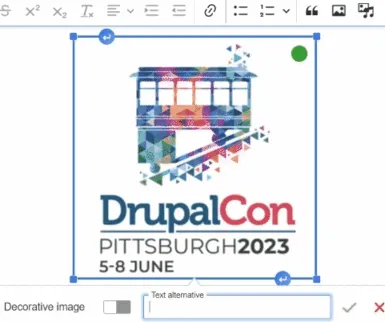
- When adding an image to CKEditor 5 from the PC, the first thing you see is a simple balloon panel, very similar to the one for managing links. It doesn’t obstruct the view of content. The panel has a green checkmark and a red cross mark (for adding the ALT text or canceling). If you ignore adding an ALT at this step, CKEditor 5 will keep displaying a reminder in the content editing form. There is also an option to toggle the “Decorative image” button switch slider on, in which case adding an ALT text won’t be required. You can always change the ALT by clicking the following:
- “change image alternative text” if the image has been uploaded from the PC
- “override media image alternative text” if the image has been added from the Media Library on the dedicated toolbar for multimedia that we’re moving on to in the next chapter.
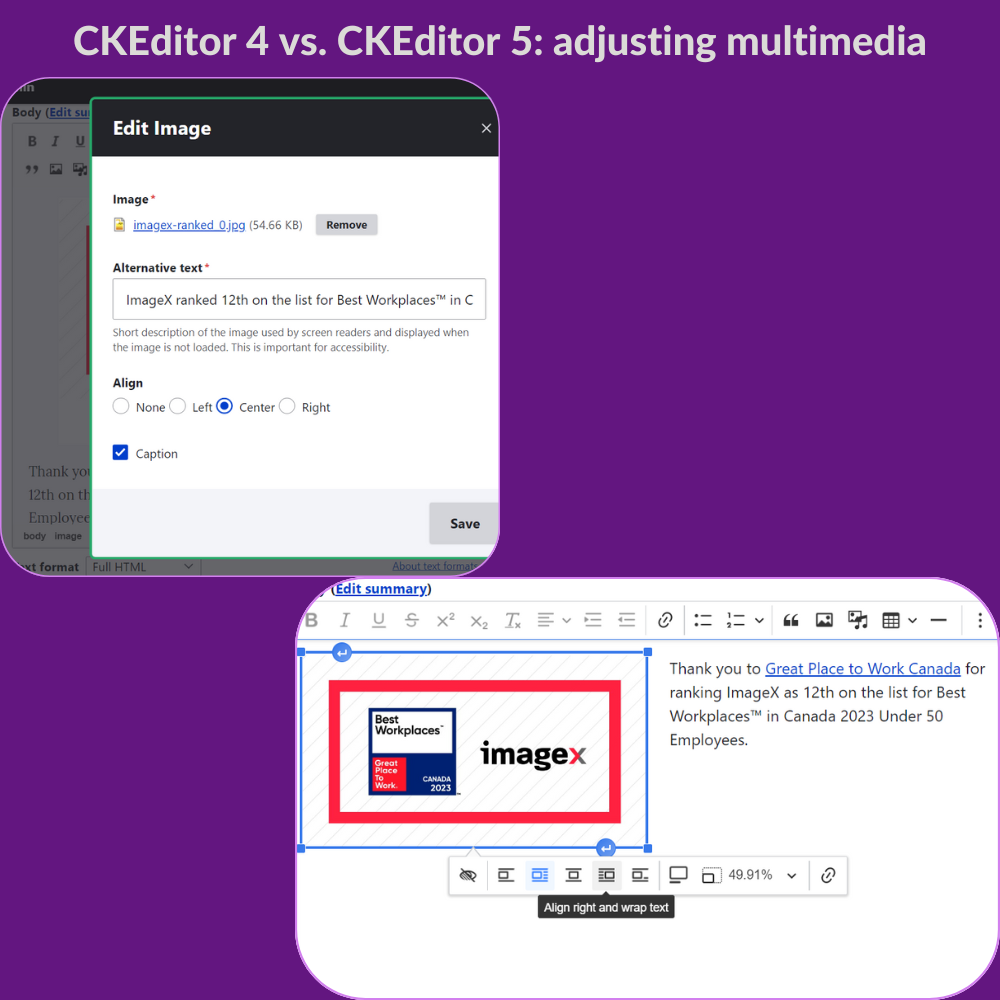
CKEditor 4 vs. CKEditor 5: adjusting multimedia
Embedded images and other multimedia make content rich and engaging, but they also take up content creators’ time for making adjustments as to how they are positioned, sized, etc.
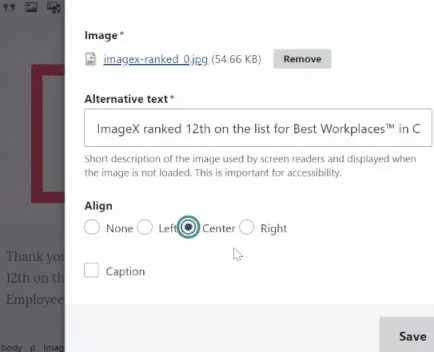
- To adjust an image in CKEditor 4, you can use the same dialog box that we described in the “Adding an ALT text” part. In addition to editing the ALT, it also enables you to align the image and enable the caption. When done, you click “Save.” The dialog box appears immediately if you add an image from your PC or, in the case of the Media Library, when you click “Edit media” on the embedded image. As you hover over the edges of an image, you’ll find the “Click and drag to move” and “Click and drag to resize” features, but they are not super convenient.
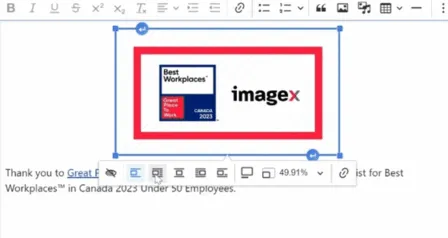
- CKEditor 5’s dedicated media toolbar enables users to adjust the embedded media really fast. It shows up every time you add an item or click on one that has already been added. The toolbar has a wide range of options. In addition to changing the image’s ALT text, you can align it left, right, or center, make it wrap or break the text, optionally add an image caption, resize the image, or add a link directly to it. When you’re adjusting an image, CKEditor 5 automatically adds the right padding. Just like with other features, you have an unobstructed view of the text area in CKEditor 5.
CKEditor 4 vs. CKEditor 5: creating tables
When you need to organize complicated data and communicate it to the reader in an informative way, you’ll typically use tables, charts, or graphs. While creating charts and graphs in Drupal requires additional tools, tables are just the right task for CKEditor.
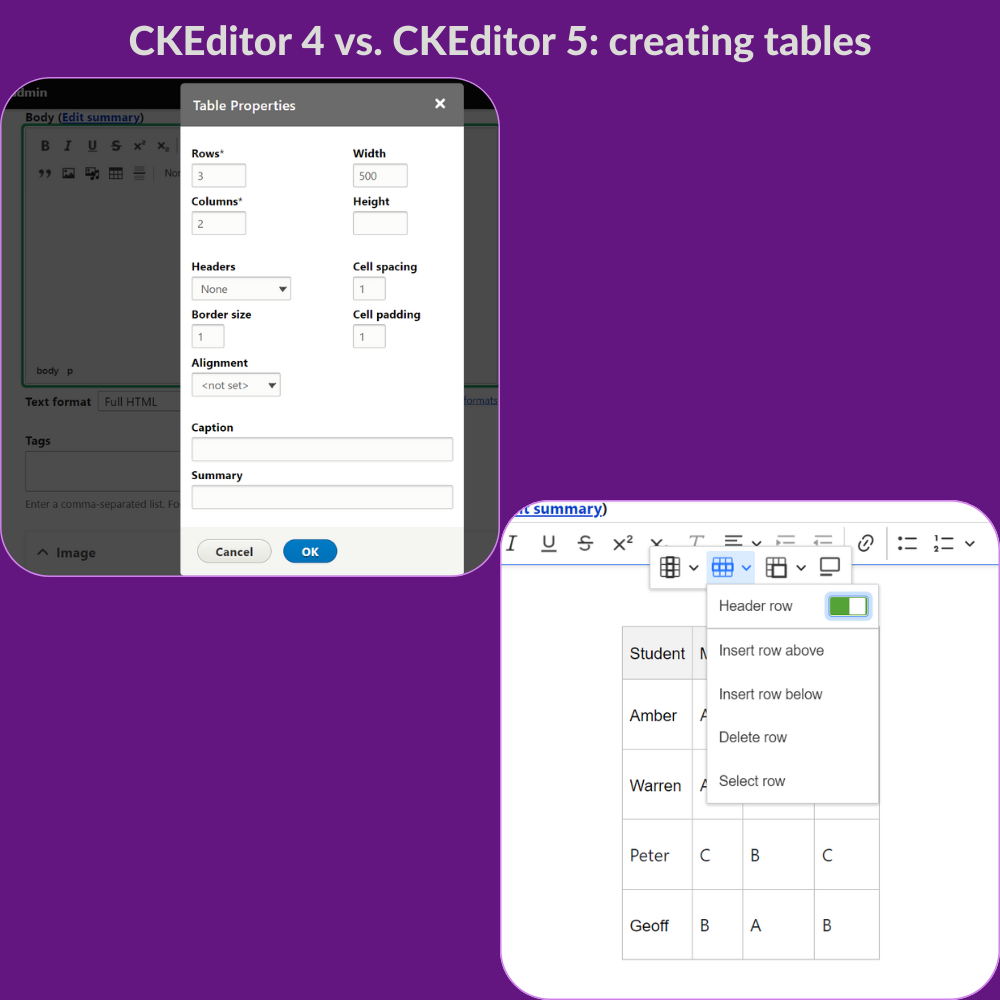
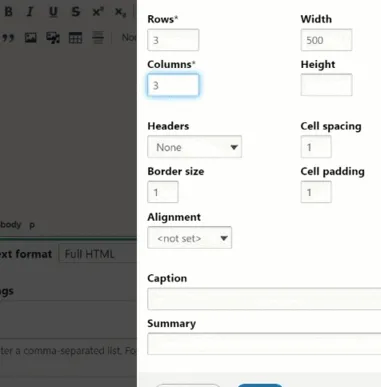
- To create a table in CKEditor 4, you click the “table” button on the toolbar and see a dialog box where you can set the formatting for your future table. This includes the number of rows and columns, table width, alignment, spacing, padding, caption, and more. When done, click “Ok.”
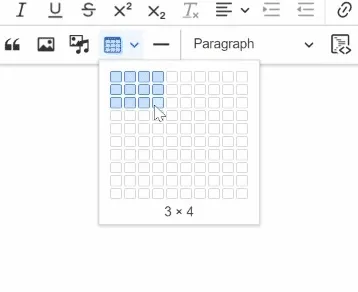
- CKEditor 5 offers a table creation workflow similar to that in Google Docs. You just click the “table” button on the toolbar, hover over the number of rows and columns you need, and do a final click. Tables have their own dedicated toolbar enabling you to insert columns or rows, delete columns or rows, specify a header column or row, merge cells, add a caption, and more. When formatting a table in CKEditor 5, you can still have a much better view of its contents compared to the situation with CKEditor 4.
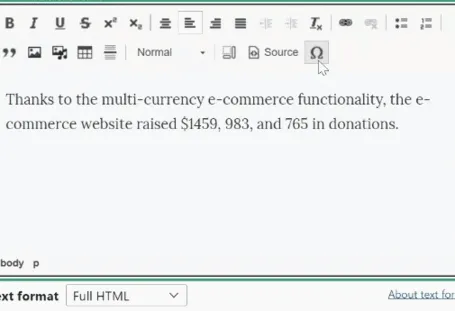
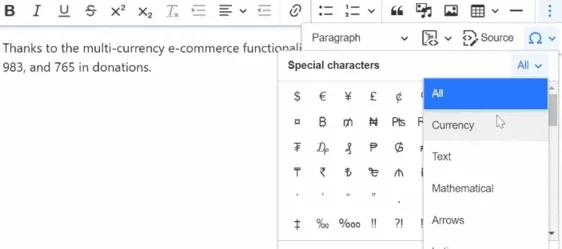
CKEditor 4 vs. CKEditor 5: adding special characters
Content creation often requires characters that are not found on your keyboard. You may need characters such as math symbols, the copyright symbol, various currency symbols, or others.. There is no need to search the web for them if you have CKEditor.
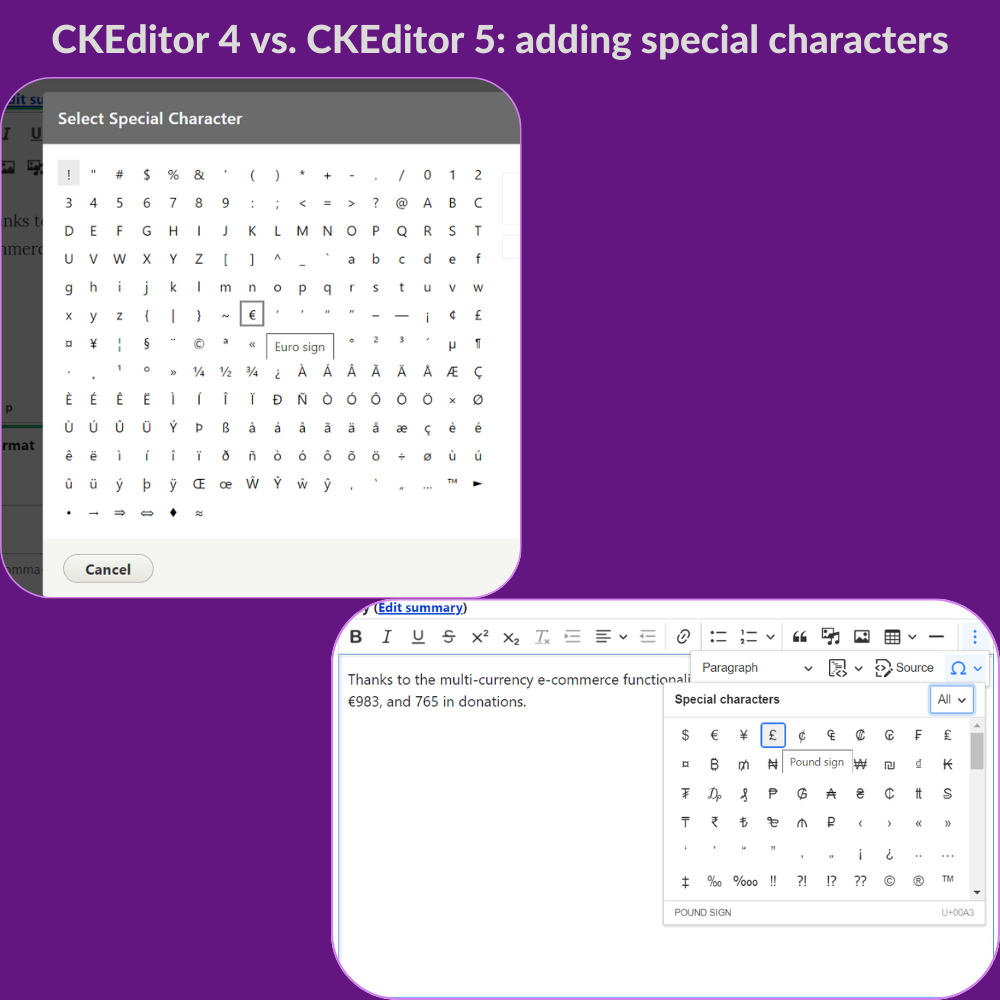
- In CKEditor 4, you just click the “Special characters” button on the toolbar while editing the text, find the right character, click on it and it appears in the text.
- The difference with CKEditor 5 is that the dropdown with special characters has been revamped to offer a much wider choice of symbols and have a more modern look. It also enables you to filter the available characters by categories.
More in CKEditor 5
In addition to the above-compared features, CKEditor 5 has more enhancements such as a bulk-upload feature for images, a reworked dropdown for styles, the option to insert blocks of code, and more.
There are some features that are expected to be added in the future (for example, autoformatting and automatic text transformations). In addition, CKEditor 5 has a set of premium plugins that enable users to collaborate in real time and export content to PDF and Word. Developers from the Drupal community create contributed modules to extend CKEditor 5 for Drupal with those features that are currently not included with the Drupal 10 core, and we’re happy to know our team’s devs are part of this effort.
Enhance your content workflows with CKEditor 5!
CKEditor 5’s features look really interesting and have great potential in boosting the content workflows on your Drupal website. If you’d like to be using CKEditor 5, our Drupal development team will be glad to help you with a seamless upgrade. Adding extra CKEditor 5’s features is also totally possible. Make the most out of content creation with modern tools!