Two ImageX Built Modules With Big Benefits for Drupal Editors

Drupal’s built‑in editorial capabilities are powerful, but add‑on modules can expand them endlessly. Sometimes, even simple enhancements can make a real difference in the daily editing experience. Among the many modules maintained by our Drupal development team, we’d like to highlight two lightweight yet practical examples today: Entity Display Modes Listing and Entity Confirmation.
These tools give non-technical editors more flexibility with no need to touch the code or do any complicated setup, reflecting the real beauty and philosophy of Drupal. They streamline editing workflows, reduce the number of needed clicks, and add a more human feel to content management. In this article, we’ll walk through the capabilities of the modules and the steps to set them up.
Part 1: One‑click access to all content display modes
The Entity Display Modes Listing module overview
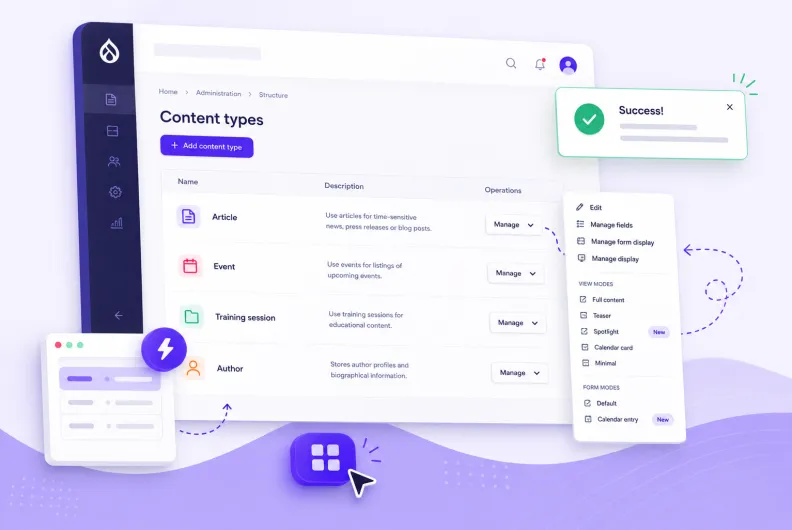
The Entity Display Modes Listing module, managed by Oleh Rymar, puts your content type configuration at your fingertips. It gives you one-click access to specific display modes (like “Teaser,” “Full content,” and so on), letting you quickly jump between them.
This tool removes several navigation steps from your editing workflows. Without it, you would first have to open the “Manage form display” or “Manage display” page for a content type (such as Article or Event) and then switch to the appropriate view mode through the tabs interface.
The module pulls all the view modes directly to the operations menu on the main content types administration page. The view modes will be listed alongside the standard options for all content types, such as “Manage fields,” “Manage form display,” “Manage display,” “Edit,” “Manage permissions,” and “Delete.”
This becomes especially valuable on large, content-rich Drupal websites where content types may include many display modes for different layouts, workflows, and editorial scenarios.
While we use content type examples throughout this article for simplicity, the Entity Display Modes Listing module works with any Drupal entities that have fields, including users, taxonomy terms, comments, media items, and custom block types.
What are display modes in Drupal?
In Drupal, display modes let you define different visual presentations of the same content for various parts of a website. Display modes include view modes and form modes.
A. View modes
View modes are different versions of the same content tailored to where and how the content is displayed. They define how your website’s audience sees content on the front end. Each content version can have its own set of visible fields, formatting, and layout settings.
For example, events can appear in the full content mode on standalone pages, while you could add other modes, such as:
- Spotlight mode: hero image and description for promoted events
- Calendar card: date, title, and location for event listings
- Minimal mode: just the date and title for the upcoming events widget
- Featured mode: large image and headlines for homepage highlights
Compact mode: only titles for sidebar lists
B. Form modes
Form modes are different versions of the same content editing form, tailored to specific workflows. Opposite to view modes, form modes define how your website’s editors see and manage content on the back end. For example:
- Quick submission: simplified form with only essential fields such as title, date, and location for fast event creation.
- Calendar mode: structured fields for scheduling events, including date, time, location, and optional recurrence settings for calendar management.
Promo mode: optimized for marketing use, including title, hero image, teaser text, and optional call-to-action for featured events.
How to configure quick access to display modes: step-by-step guide
1. Install the Entity Display Modes Listing module
Install the Entity Display Modes Listing module on your Drupal website. The recommended way is by using Composer:
composer require drupal/entity_display_modes_listing
Enable the module on the Extend tab of your Drupal admin dashboard.
2. (Optional) Create your display modes and form modes
The best thing about the module is that there is actually nothing to configure, and all display modes appear on the menu automatically. So the main task is to make sure you have the display modes that you want to use.
You can manage them here:
- Structure > Display modes > View modes
- Structure > Display modes > Form modes
Drupal ships with a set of predefined view modes that are also automatically pulled to the operations menu by the Entity Display Modes Listing module. For content, they are as follows:
- Full content: the default page display of an entity
- RSS: used when content is exposed via RSS feeds
- Search index: used when indexing content for search backends
- Search result highlighting input: internal processing for search highlighting
- Teaser: a compact summary used in listings
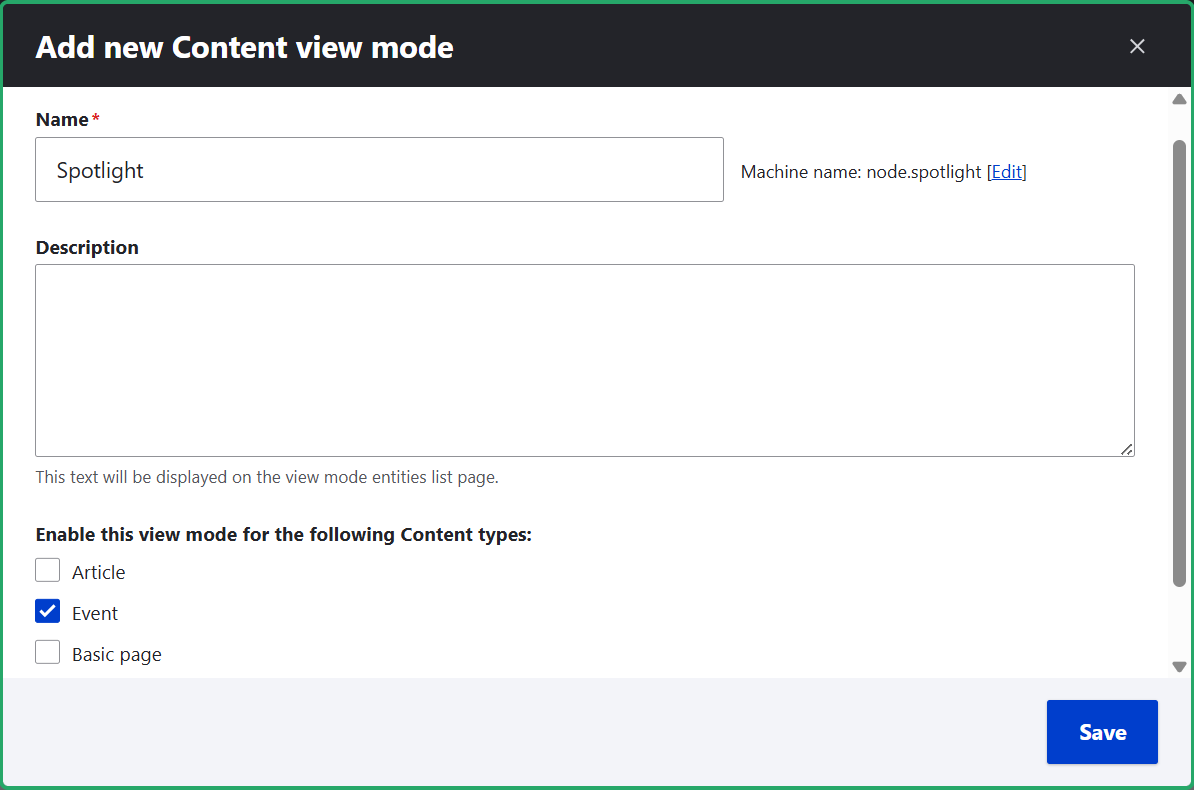
You can always create your own modes based on your project’s needs. First, select the entity type you want to create a mode for: content, user, taxonomy, and so on. Then add a mode, give it a name, and enable it for a specific content type (like Article or Event) by selecting one or more from the available options. In this example, let’s create a “Spotlight” view mode for the Event content type.
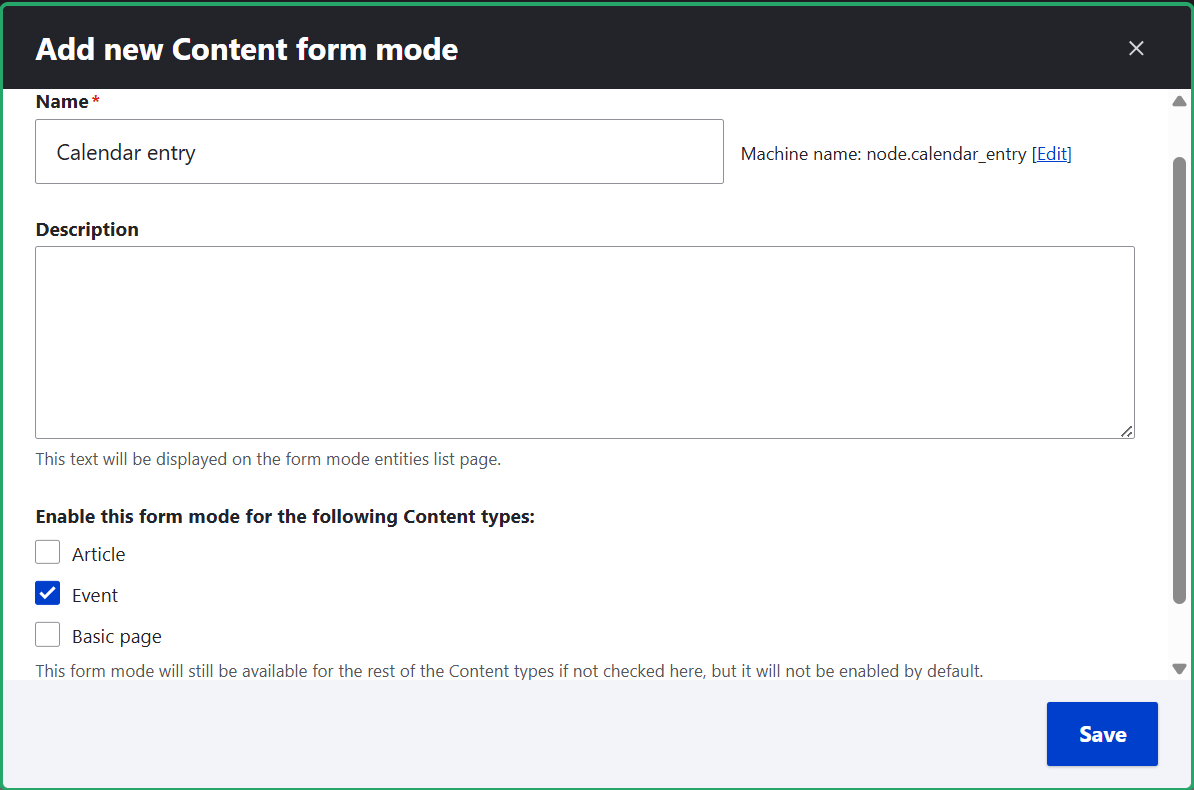
In a similar way, you can add a form mode. In this example, let’s add a “Calendar entry” form mode and enable it for the Event content type.
Shape the newly created view mode or form mode based on your needs:
- show or hide fields
- change field formatters
- reorder fields
- adjust form widgets
- manage layout
and more
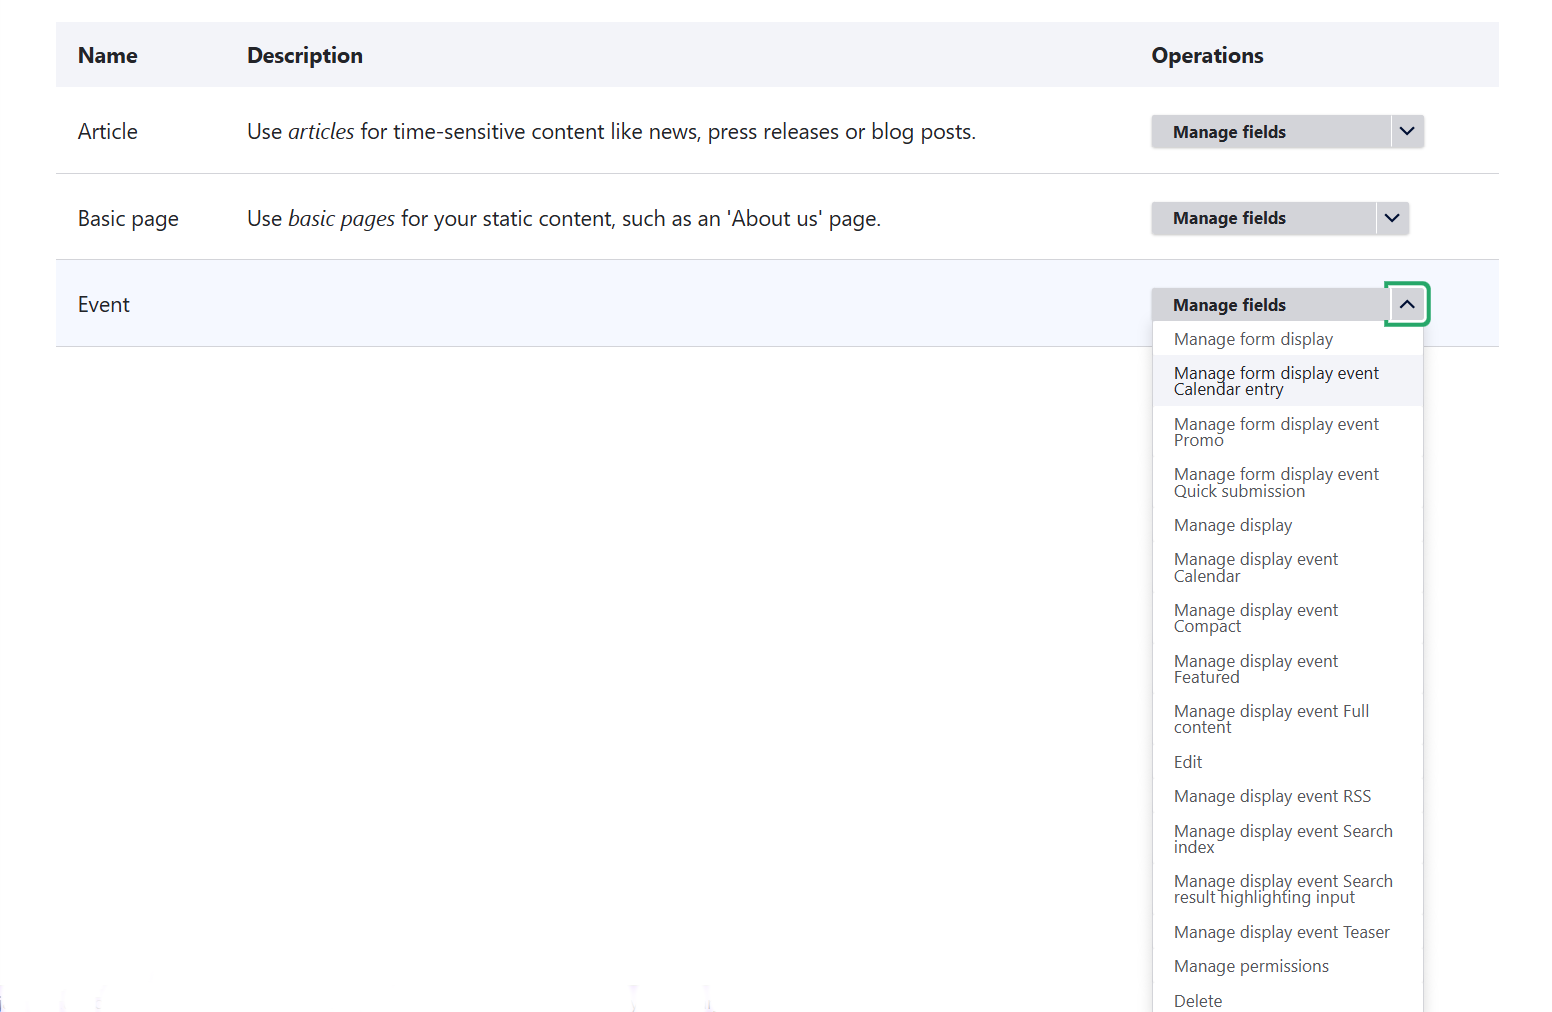
3. Use the expanded operations menu
Finally, navigate to Structure > Content types and enjoy using the expanded operations dropdown for each content type. For example, for events, it now lists absolutely all the view and form modes prefixed by “event” for perfect clarity and consistency.
Part 2: Custom content confirmation messages on your Drupal site
The Entity Confirmation module overview
This part is dedicated to the Entity Confirmation module maintained by Rob Phillips. It replaces standard content confirmation messages with customized ones. Instead of the default “Content saved” message, you can write your own, context‑aware, meaningful, and personalized messages for creating, updating, and deleting content of specific types.
Examples of customized confirmation messages
- “Success, your event is live! Attendees can now see it on the calendar.”
- “Perfect! Your article has been updated, and readers will see the new headline right away.”
- “Nice work, thanks for submitting your event! It is pending review.”
- “Done, workshop is removed and is no longer visible in the training schedule.”
- “Whoa, profile created, and this team member now appears in the staff directory!”
“You’re all set! Fundraising campaign launched, and supporters can start donating today.”
Benefits of custom confirmations
- Making the content status clear. Customized confirmations can let content creators immediately know what happened, clarifying the status of the content (instantly visible to the public, pending approval, deleted, added to the schedule, and so on). They reduce anxiety, preventing those “Did it really publish?” moments.
- Improving your website’s UX. Depending on your setup, content creation may not only be open to your editorial team but also to your website’s audience (for example, you can allow user‑submitted events, profiles, community posts, and so on). In those cases, customized confirmations don’t just enhance the editorial experience but also improve your website’s overall UX.
- Reducing support overhead. Custom confirmations might make your support team’s life easier by cutting down on “Did my submission go through?” emails.
Driving engagement. These messages add a human tone, feeling less mechanical and more encouraging. Messages that express appreciation (like “Thanks for sharing your article”) also help increase user engagement.
The option to tailor custom confirmations by form mode
The Entity Confirmation module lets you configure a separate message for each form mode. For example, the “Training session” content type can have two form modes, with two different confirmation messages for:
- contributors who propose sessions
- editors who approve and schedule these sessions
We’ll walk you through this very soon in the “how to” section.
Multilingual capabilities for confirmation messages
Drupal’s configuration translation system also applies to confirmation messages. You can customize and translate them per entity type and form mode directly through the administrative UI, helping maintain a more polished multilingual editorial experience.
How to create customized confirmation messages: step-by-step guide
1. Install the Entity Confirmation module
Start by installing the Entity Confirmation module on your Drupal website. The recommended way is by using this Composer command:
composer require drupal/entity_confirmation
Enable the module on the Extend tab of your Drupal admin dashboard.
2. Customize the confirmation messages
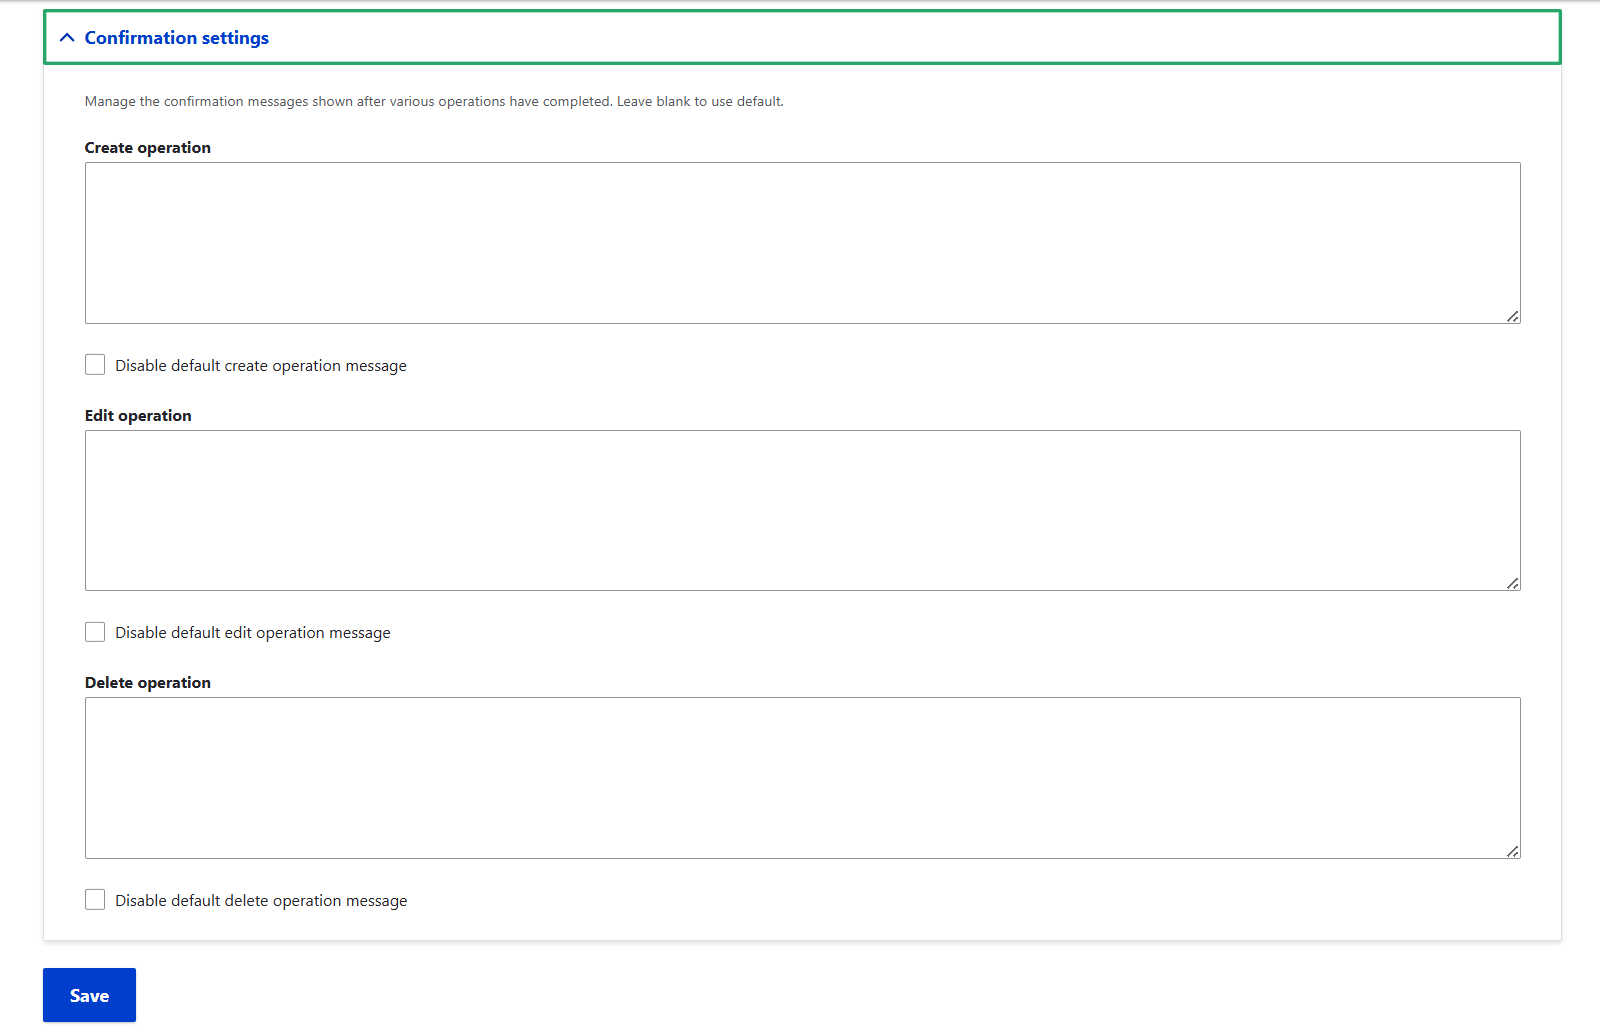
Go to Structure > Content types > [Your content type] > Manage form display. In this example, it is the Article content type. At the bottom of the Manage form display page, you’ll see the “Confirmation settings” tab. It has fields to enter your custom confirmation message for each operation (create, update, delete).
There is a “Disable default create/edit/delete operation message” checkbox for each operation. It disappears automatically as soon as you create a custom confirmation message.
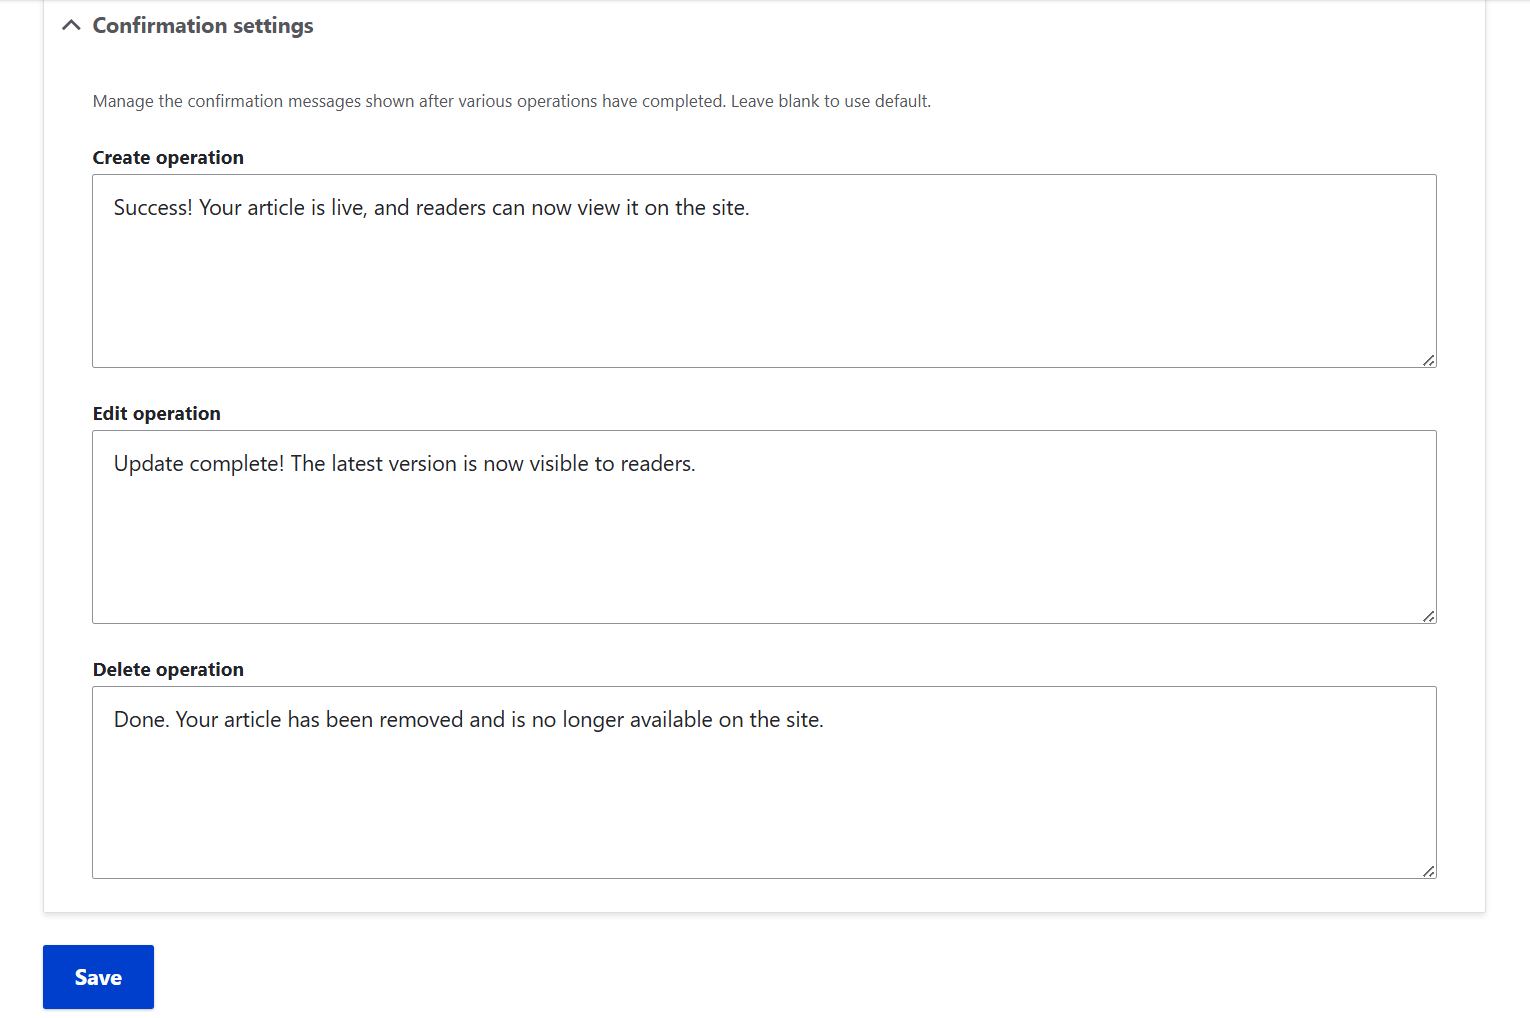
For this example, let’s enter the following customized confirmation messages for articles:
- Creating: “Success! Your article is live, and readers can now view it on the site.”
- Updating: “Update complete! The latest version is now visible to readers.”
Deleting: “Done. Your article has been removed and is no longer available on the site.”
3. Test the result
After clicking “Save” on the “Manage form display” page, you can try the result out. Go to Content > Add content > Article and create an article. The confirmation message reads “Success! Your article is live, and readers can now view it on the site.”

Similarly, we’d like to say “Success! Our new confirmation messages work, and the setup for the Entity Confirmation module is perfect in its simplicity.” The messages for updating and deleting the article are also displayed exactly like we customized them.
4. (Optional) Tailor confirmations by form mode
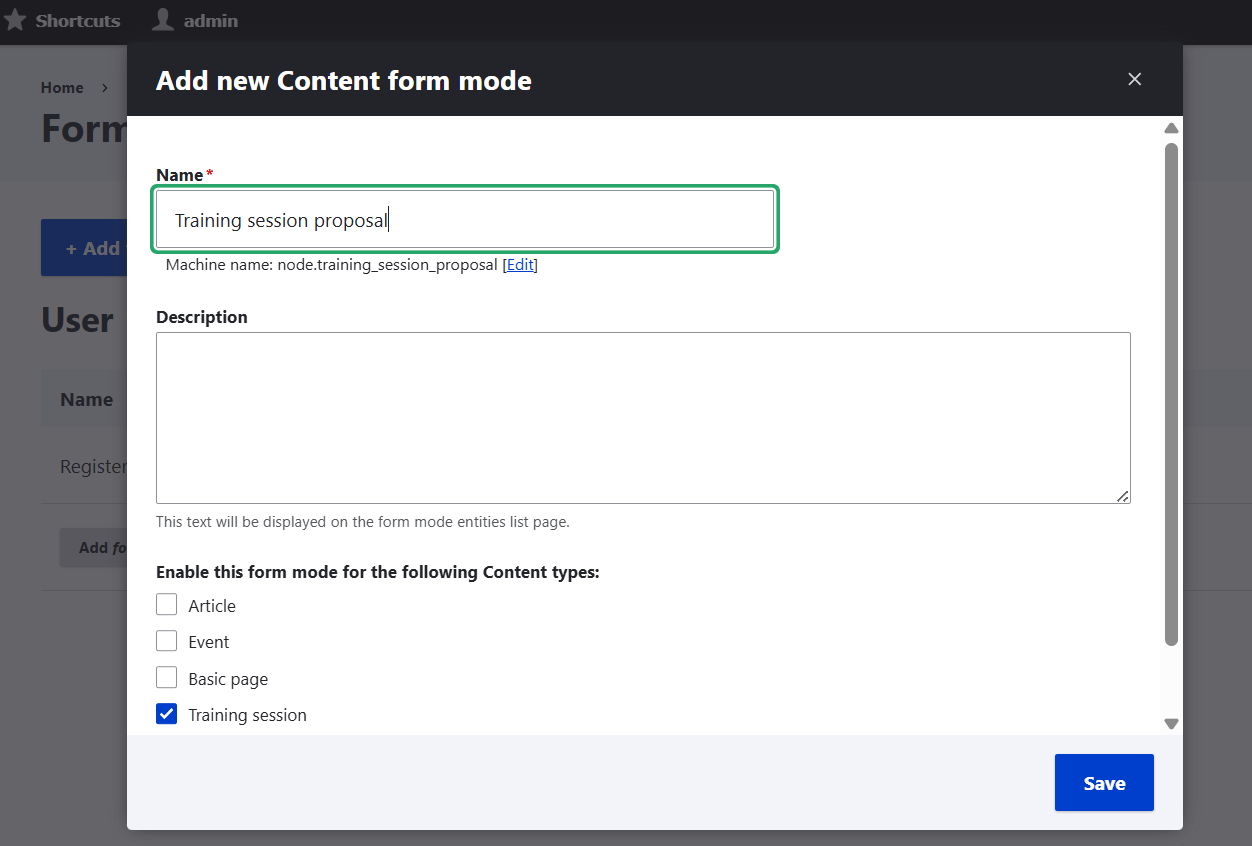
The creation of form modes at Structure > Display modes > Form modes has already been mentioned in this article. Let’s now create two form modes for this specific example and enable them for the “Training session” content type:
- “Training session proposal” for session contributors
- “Scheduled training session” for editors who schedule submitted sessions
Here is where the earlier described Entity Display Modes Listing module might come handy, letting you access the newly created form modes directly from the content types administration page. Otherwise, go to Structure > Content types > Training session > Manage form display, and open them using the tab switcher.
You can shape each of the form modes based on your project’s needs, and one of the things to do is to configure the right fields. For example:
- for contributors who propose sessions, the form can include fields like Title, Abstract, and Speaker Bio
- for editors who schedule sessions, the form can also include fields like Date, Room, and Track.
You’ll need to create the fields first for the entire content type at Structure > Content types > Training session > Manage fields. If you are interested, check out more details on adding fields in Drupal.
Each form mode has an individual “Confirmation settings” tab. You might add the following confirmation messages:
- For session contributors: “Thanks for submitting your training session! Our editors will review and schedule it soon.”
- For editors who review and schedule sessions: “The training session is now scheduled and visible in the program.”

Different form modes can then be exposed to different audiences through additional, more complicated setups: using custom routes or entry points.
Final thoughts
Modules like Entity Confirmation and Entity Display Modes Listing show how a few thoughtful additions can make content management clearer, faster, and more comfortable for editors without adding complexity to the system itself. These lightweight tools offer practical enhancements that are easy to adopt and immediately useful for simplifying navigation between display modes and making your editing workflows feel more transparent and reassuring.
Explore more overviews of our developers’ Drupal modules within our insights, and stay tuned for additional content in this area. Contributions never stop, and our team’s ongoing effort to make Drupal experiences more efficient, user-friendly, and seamless is one of the things that makes us especially proud.