Gutenberg Editor: an Alternative Approach to Creating Drupal Content Pages
It’s great to have a choice of different options when it comes to creating content pages. In addition to Drupal core’s Layout Builder and CKEditor, you are always free to consider installing alternative contributed tools if that’s what resonates with your team’s preferences. One of the prominent examples is Drupal Gutenberg.
Originally created for the WordPress CMS, Gutenberg might come in especially handy for teams that are switching from WordPress to Drupal and have gotten used to WordPress-style experiences. Or they might be thinking about a move to Drupal but are hesitant because creating content pages in Drupal currently looks like a terra incognita for them. Even without switching CMSs, different tools just offer different approaches and styles, so to each their own.
Our team has a special interest in checking out Gutenberg Editor’s progress as integrating it more seamlessly with Drupal was one of the initiatives at Pitchburgh, a DrupalCon Pittsburgh contest of ideas that we sponsored. In this post, we’ll review the progress of Drupal Gutenberg so every reader can see how it works.
What is Drupal Gutenberg?
Drupal Gutenberg is a contributed module for Drupal that integrates a tool for creating content pages known as Gutenberg. It offers a rich visual interface and intuitive experiences, enabling users to create content by adding an unimaginable variety of elements to a white canvas. The experience is accompanied by various visual cues.
Gutenberg is essentially a block-based editor, which means that even the smallest element — like a list, paragraph, or image — is added as a block. It is very interactive thanks to being built on React — a famous JavaScript framework.
Does Drupal Gutenberg overlap with CKEditor and Layout Builder?
Gutenberg provides an integrated experience for both content and layout creation. Today, Drupal core’s CKEditor and Layout Builder are used in these areas:
- When you need to create a piece of content in Drupal, you usually use CKEditor — the default content editor in Drupal.
- When you need to build a page with a more complex layout like multiple columns, a common practice is to use Layout Builder. Content blocks will include CKEditor for adding and editing the content. Alternatively, some teams use older, contributed page-building solutions like Paragraphs, which can also include CKEditor for adding and editing content.
While this might require standalone articles to fully explore, let’s at least briefly run through how Gutenberg, CKEditor, and Layout Builder overlap and how they differ:
Gutenberg Editor vs. CKEditor in Drupal for content creation
CKEditor has just about everything you need for content creation in a traditional sense. It has a classic text area with a toolbar for various actions. This includes formatting your text, adding images, creating tables, inserting quotes, making lists, and so on. The classic CKEditor pack has the most popular features, and contributed modules extend CKEditor with Bootstrap grids, Material Icons, and much more. CKEditor 5 in Drupal 10 has a totally revamped user interface.
In most cases, CKEditor is enough for posting content like articles. However, Gutenberg has got you covered when it comes to creating more fancy content pages. You can add multiple columns or insert interactive elements like buttons. To achieve the same in CKEditor, you would need to go to HTML, install an additional module, or totally rely on a separate page-building tool like Layout Builder.
As opposed to a classic text area with a toolbar in CKEditor, Gutenberg is a blank canvas where you compose your content page by adding elements. What works for you, depends on your preferences. The options in Gutenberg look richer and at the same time might be a little more overwhelming.
- Gutenberg Editor vs. Layout Builder in Drupal for layout creation
Layout Builder allows users to create and manage page layouts of any complexity. It provides a drag-and-drop interface to create sections and add blocks to them. It’s possible to preview how the layout will look on the front end. You can build out individual landing pages or structures for entire content types (for example, make all articles use the same layout). Layout Builder integrates with Drupal’s theming system for consistent design across the website.
When it comes to layout creation, we could say that Gutenberg Editor is more content-centric compared to Layout Builder while Layout Builder has more focus on the overall page structure. You can build a page layout with Gutenberg within individual pieces of content, often simultaneously with content creation itself.
Creating a consistent layout for all items of a content type is possible in Layout Builder in a few clicks but is not natively supported In Drupal Gutenberg without special tweaks. Also, Layout Builder’s flexibility in detailed control over the layout and block placement looks higher. Layout Builder looks superior in drag-and-drop layout management.
For simpler layouts of individual pieces of content, Gutenberg could be a replacement for Layout Builder depending on a team’s preferences. For more complex page structures and site-wide layout consistency, Layout Builder remains unmatched.
Gutenberg’s interface might be called a little more intuitive for anyone regardless of Drupal skills thanks to its non-drupalistic language. Layout Builder is more commonly used by site builders rather than editors, but with the right layout templates, editorial experiences with Layout Builder are a breeze.
A note on Drupal core page-building experiences
No matter how feature-rich some contributed page-building tools might be, there’s one thing to bear in mind. Drupal core modules tend to provide more consistent experiences thanks to being more deeply integrated with Drupal concepts. They require less maintenance because they are updated together with Drupal core and their compatibility with other website components is usually unrivaled.
In the future, it’s planned to enhance Drupal's core page building even more. As you might have heard, Drupal’s creator Dries Buytaert announced Drupal Starshot — an initiative for creating a brand-new Drupal CMS. It should feature “Experience Builder” — a unified tool that will incorporate the best things from Layout Builder, Paragraphs, in-browser theming, and Single Directory Components.
How Drupal Gutenberg works: key features in action
Installation and main settings
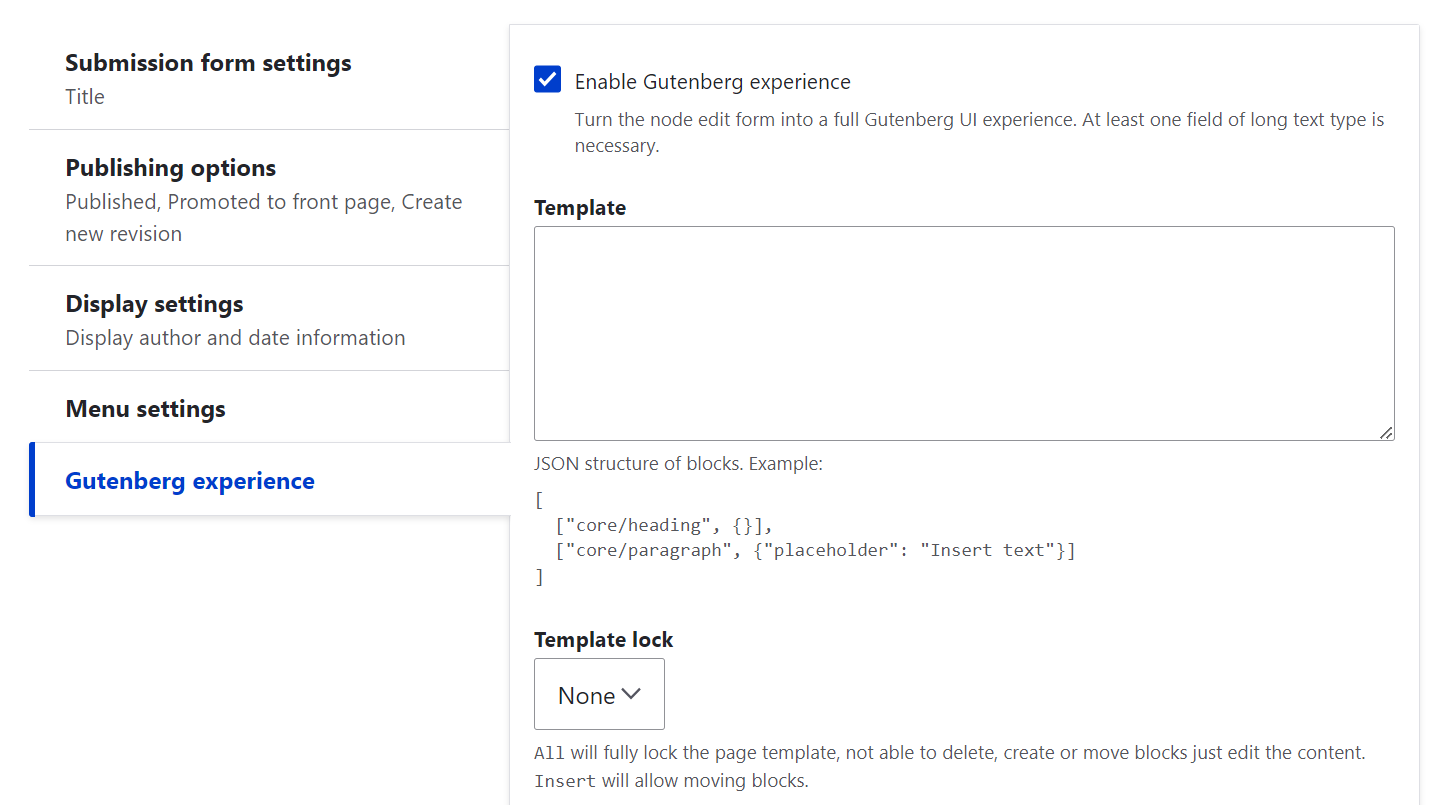
To start working with Gutenberg editor, you’ll need to install and enable the Gutenberg module. Next, you’ll need to enable its use for a specific content type (for example, Article). By going to Structure > Content types > Article > Edit. There is a “Gutenberg experience” tab where you’ll need to check the “Enable Gutenberg experience” checkbox.
Gutenberg blocks and Drupal blocks
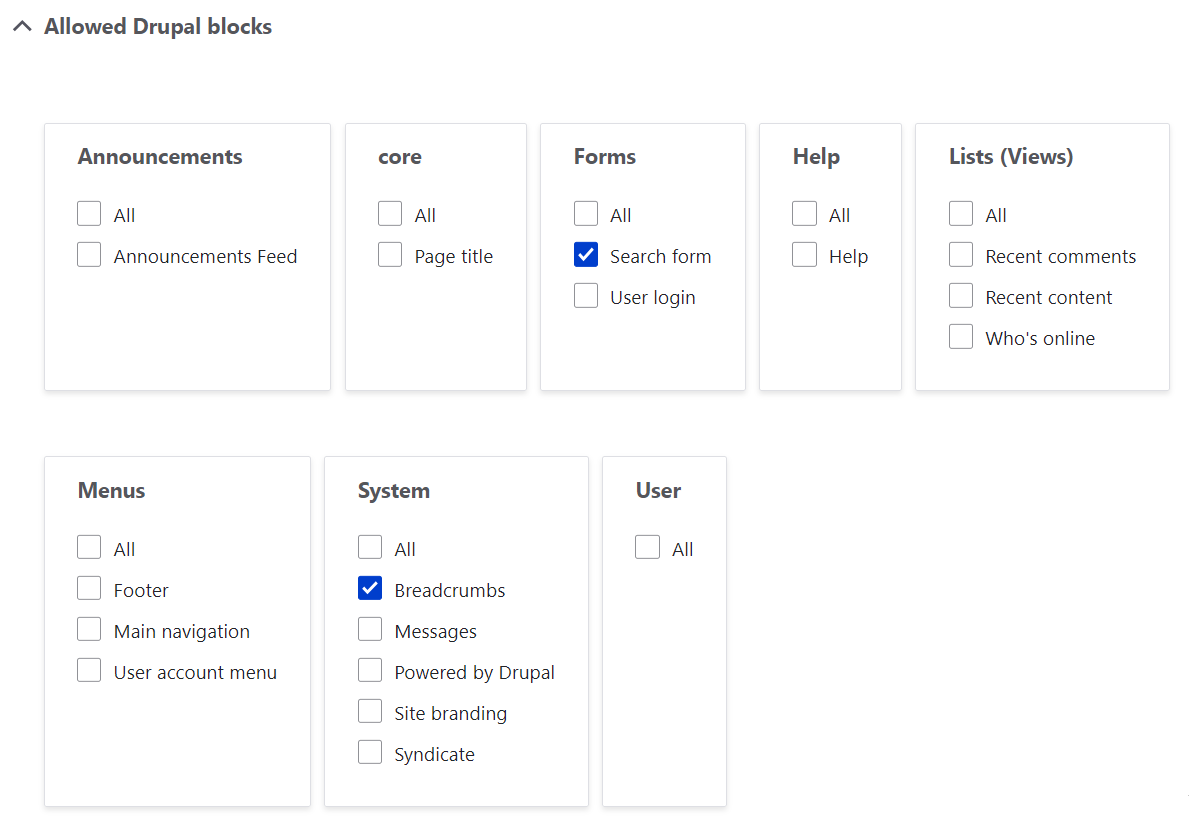
The editor supports both Gutenberg blocks and Drupal blocks. Right below the “Enable Gutenberg experience” checkbox, you can select which blocks should be allowed. As mentioned earlier, a block in Gutenberg is literally the smallest element of a content page.
It’s best to only allow the ones that the team plans to use. This will help customize the content page creation experiences, reduce the risk of human error, and keep the website lightweight.
- Allowed Gutenberg blocks (blocks in a more general sense that the editor comes packed with). There is a huge list of those and many are allowed by default.
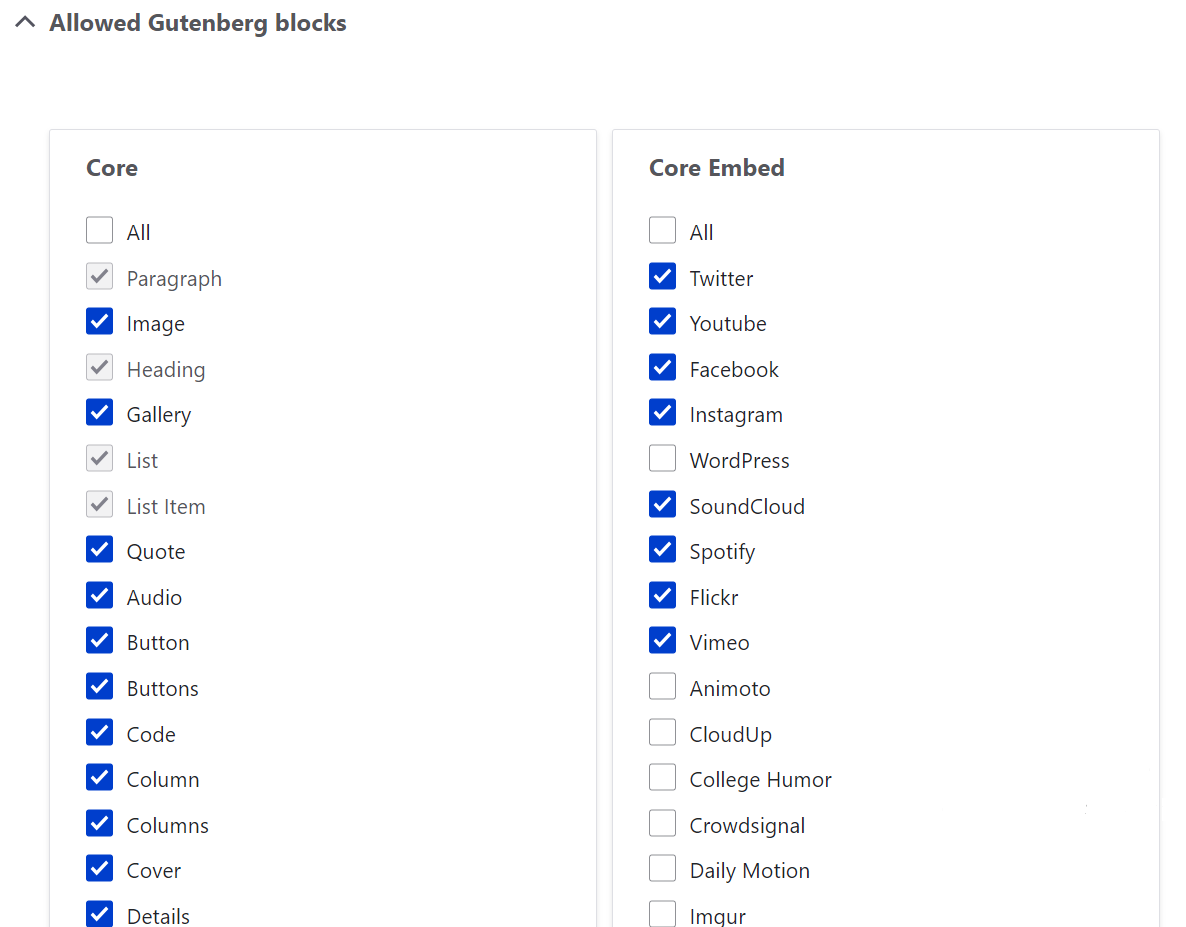
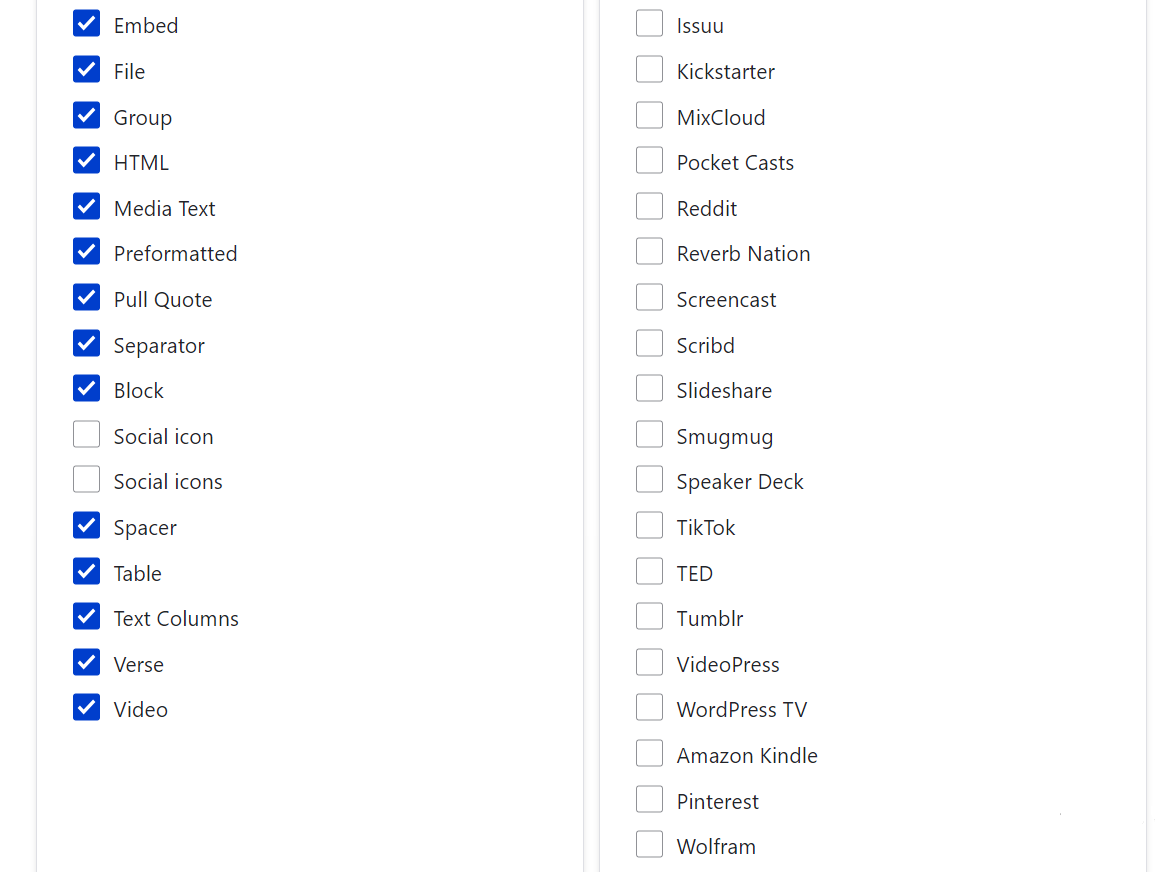
- Allowed Drupal blocks (specifically Drupal blocks that can be added to the layout and re-used).
- Allowed content block types

Getting started with creating content pages in Drupal Gutenberg
As you create a new content item, a white canvas will open with settings on the right. You can turn the settings tab on and off via the icon on the top right.
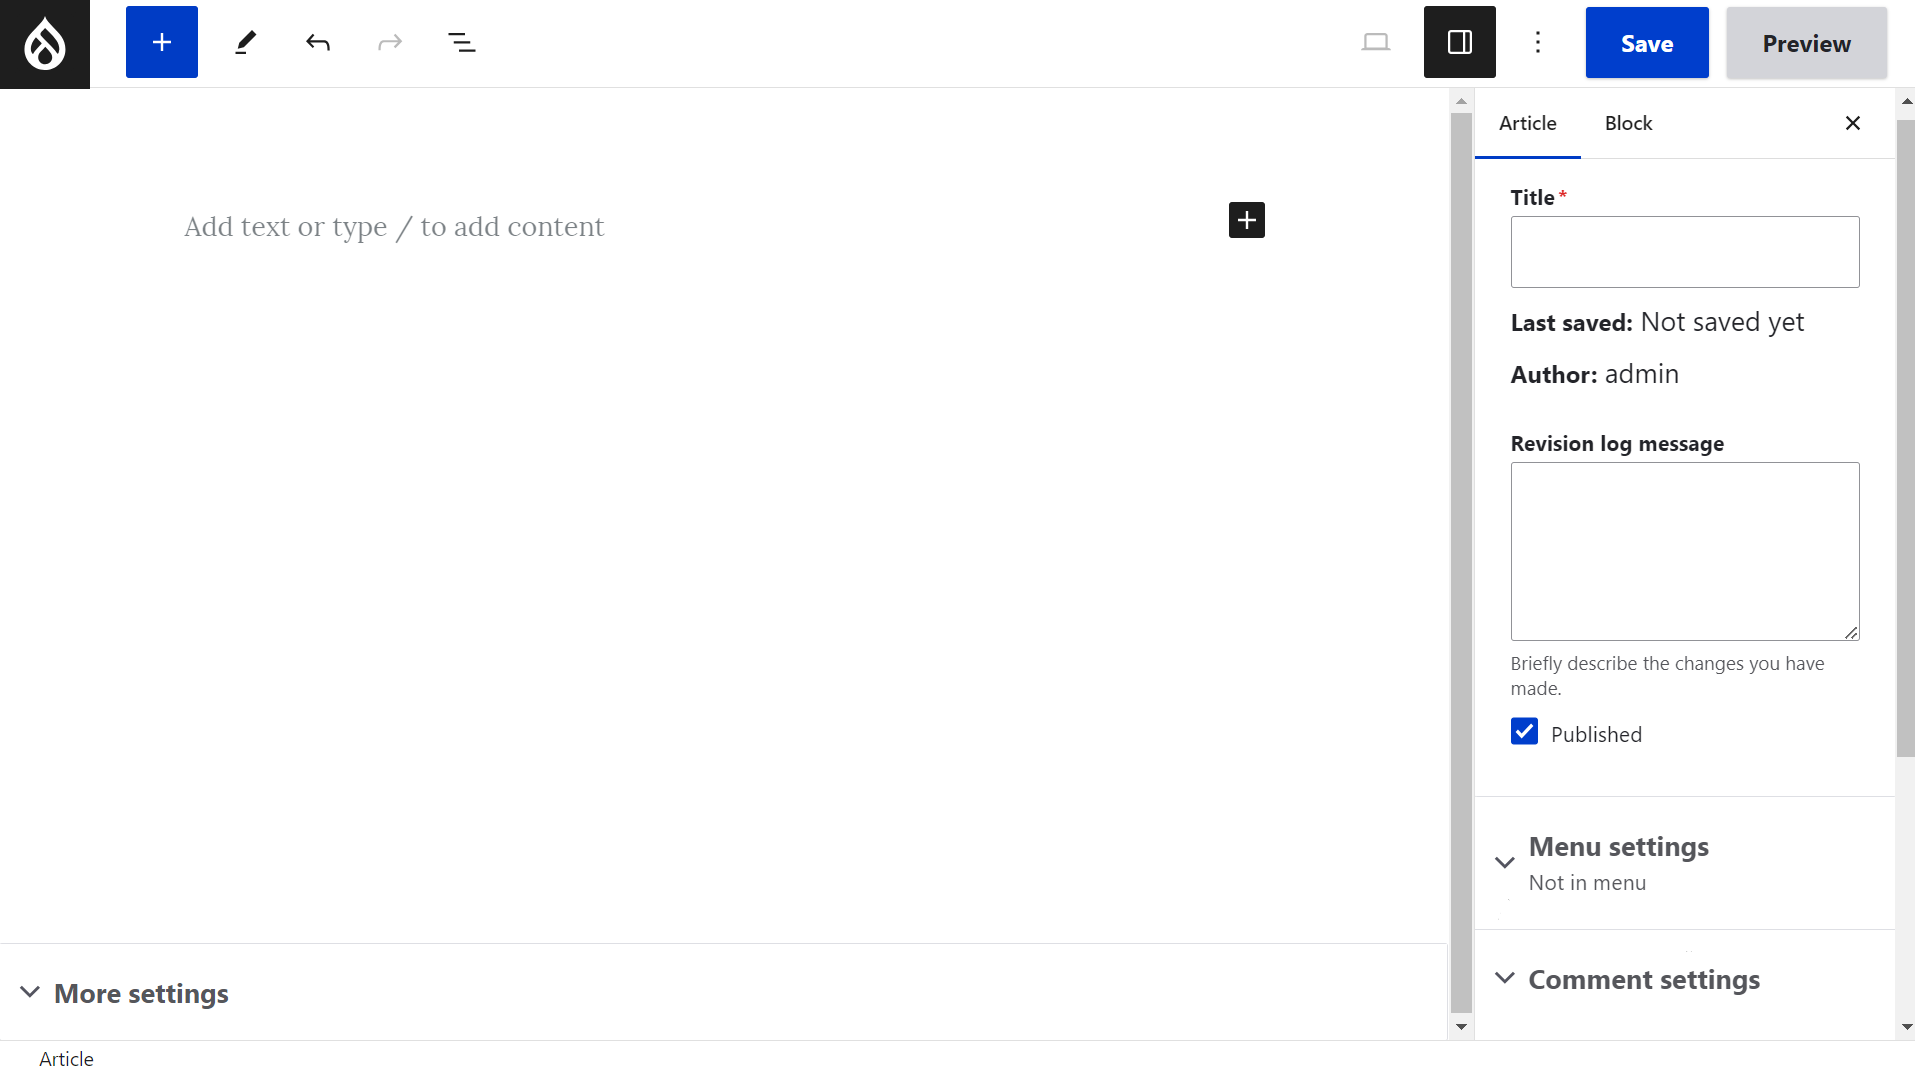
Gutenberg offers multiple ways to start creating content:
- by clicking the black “+” (plus) icon on the canvas and selecting the type of block (you can also use the search field with the autocomplete feature)
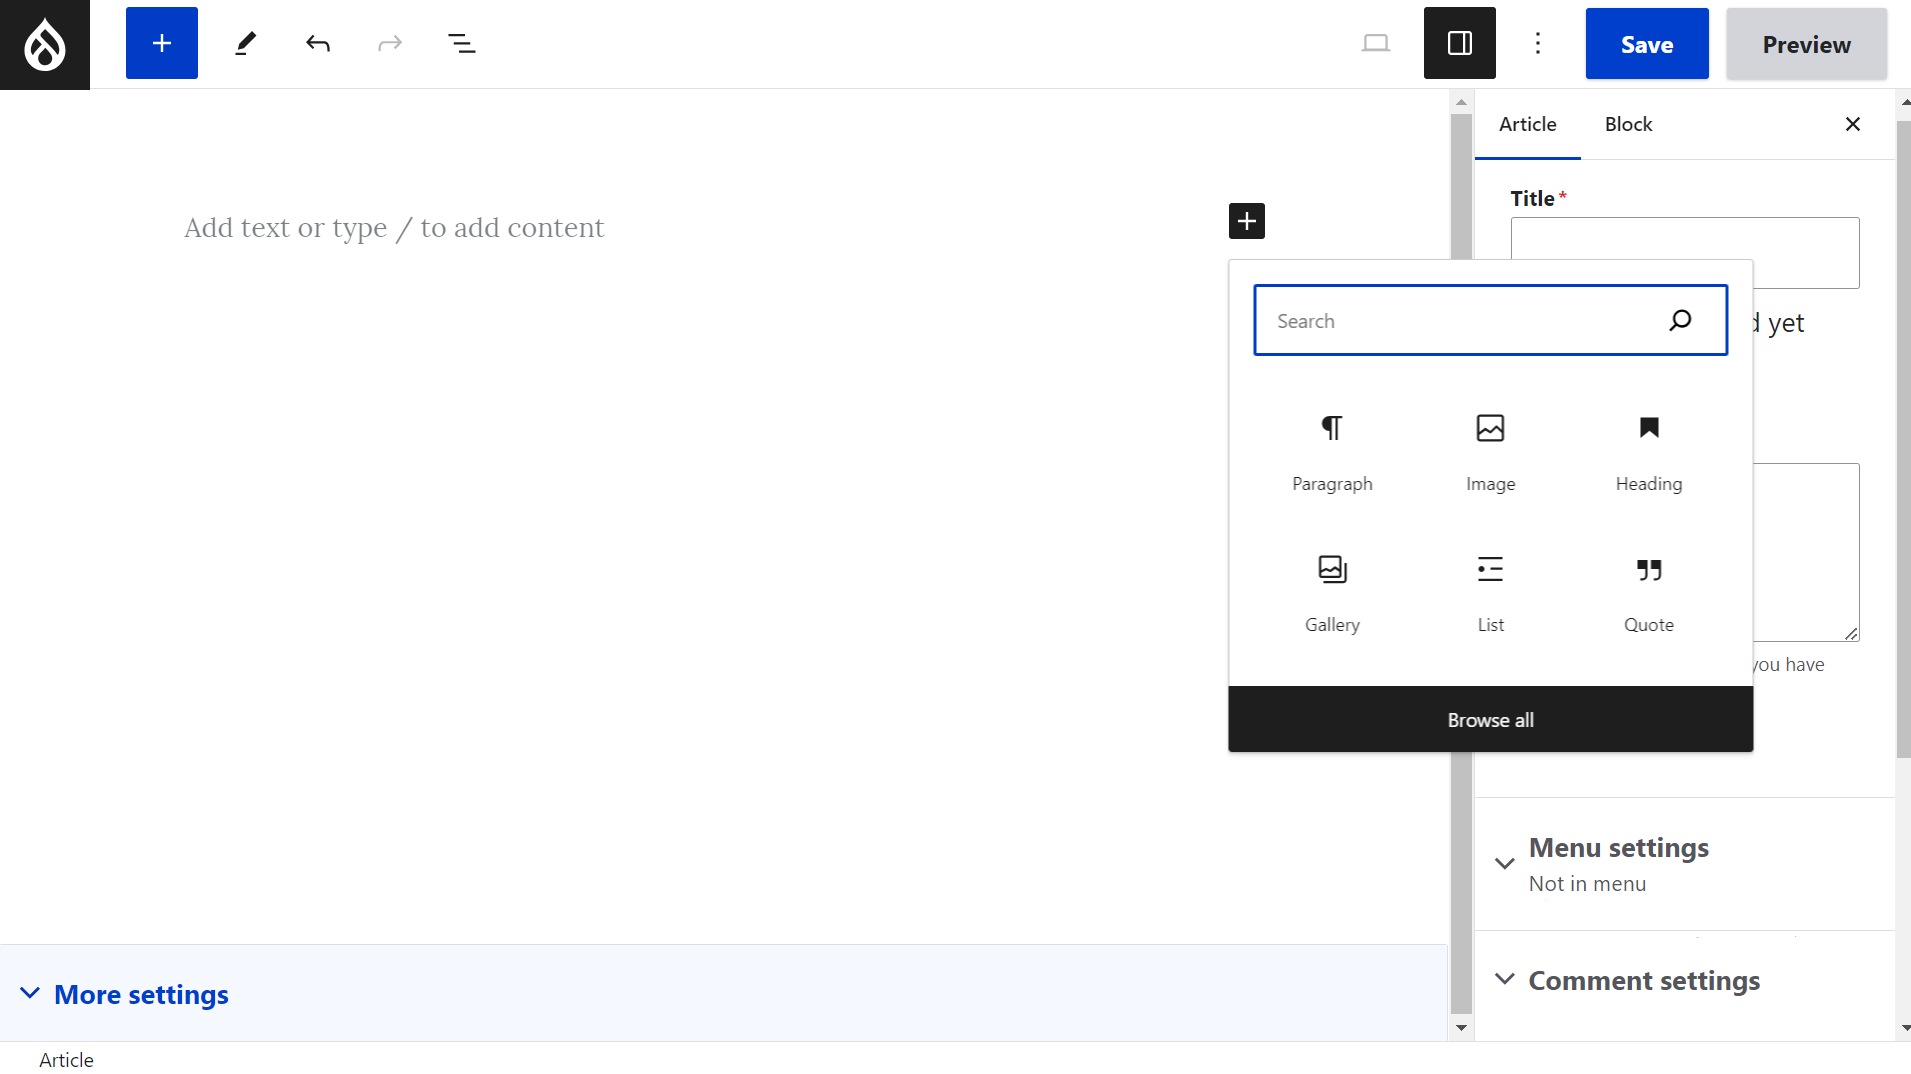
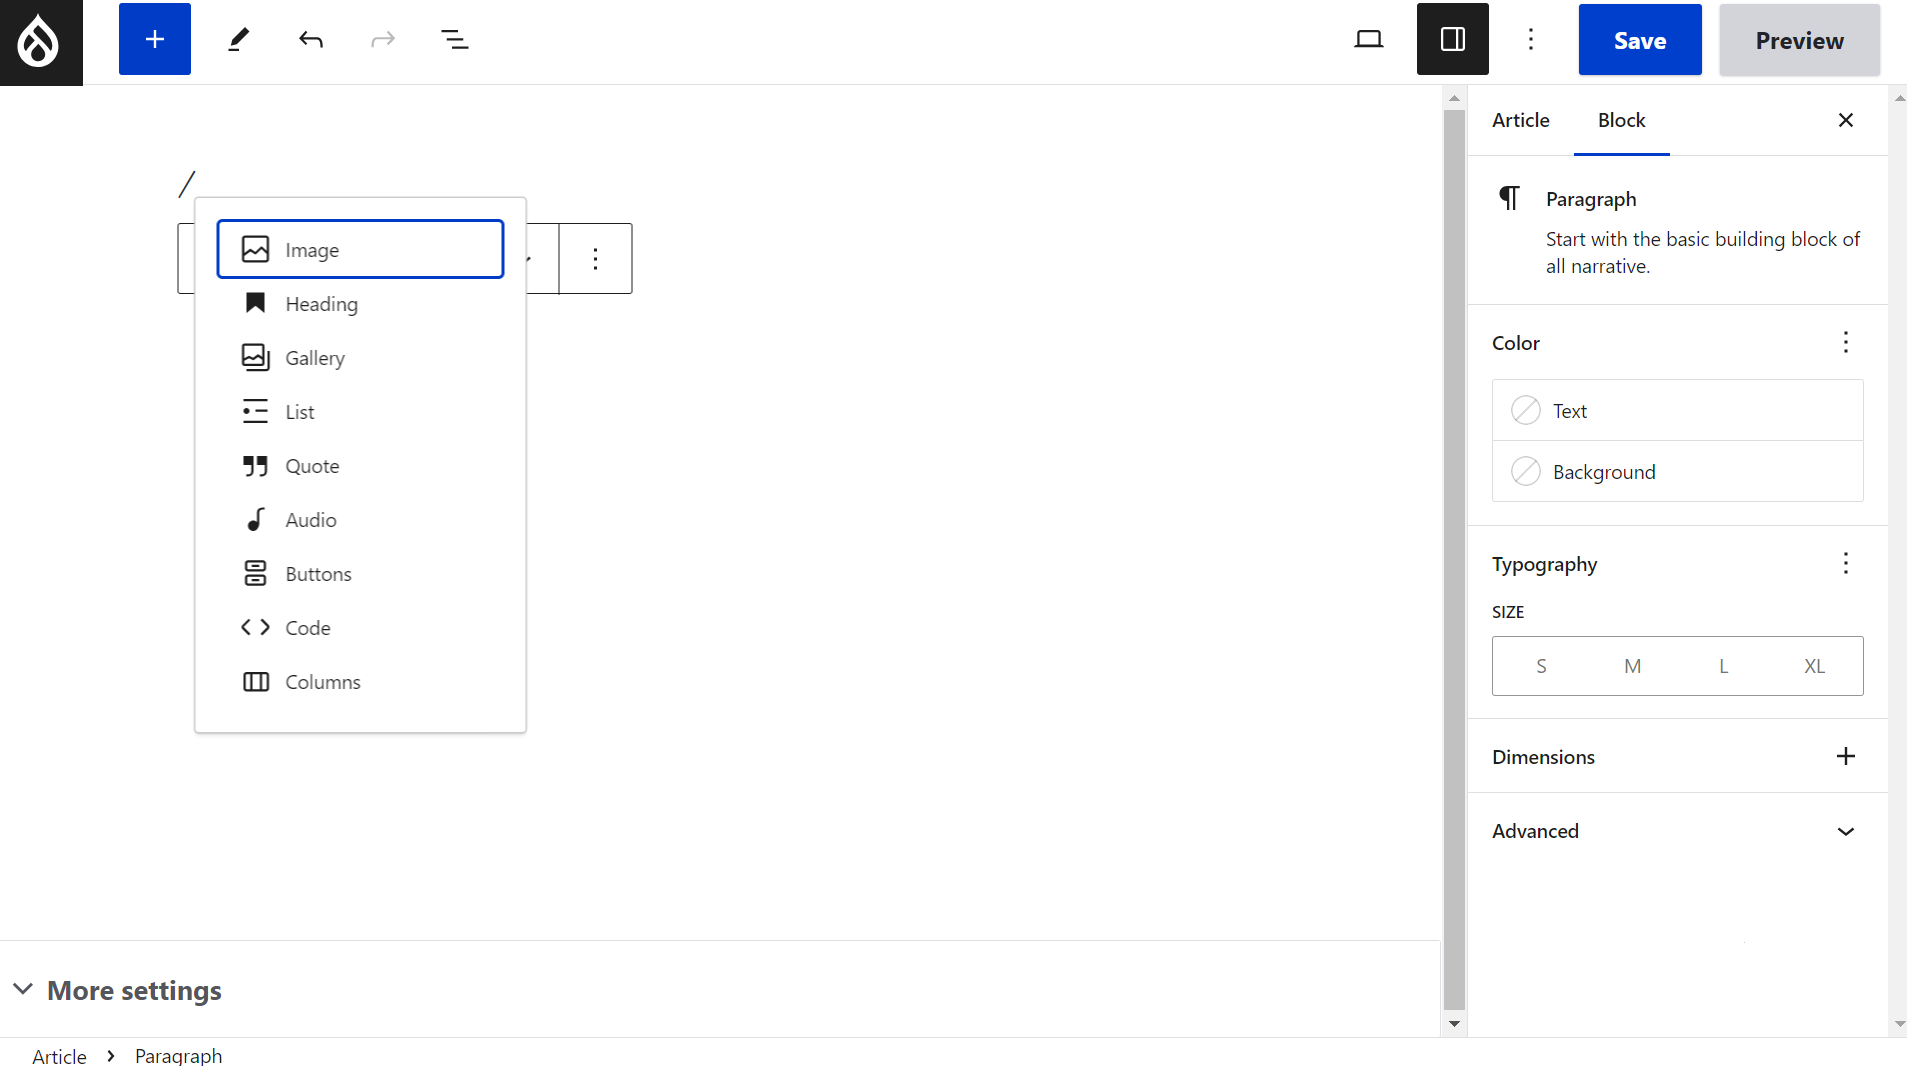
- by typing “/” (slash) and then selecting the type of block or starting to type its name (the autocomplete feature will do the rest)
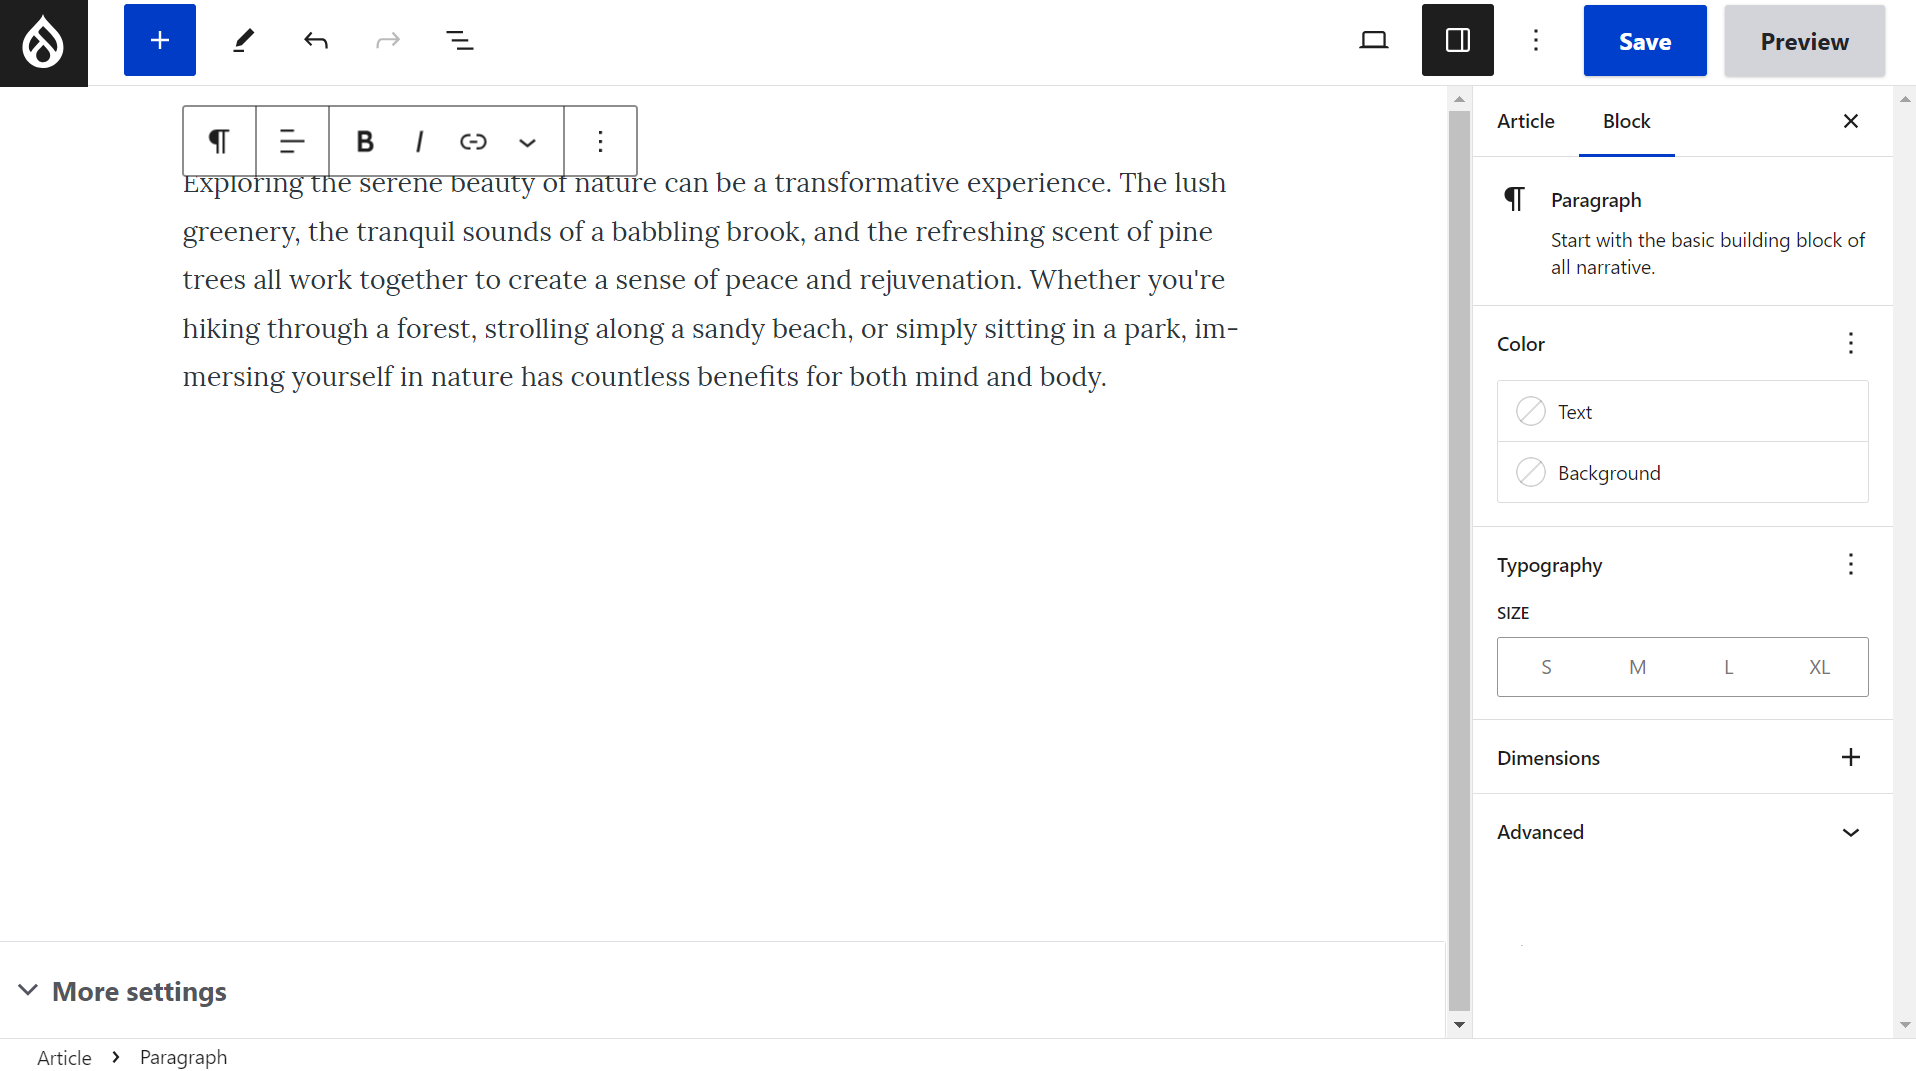
- by just typing your text or pasting other content (and Gutenberg will automatically detect the block type — for example, simple text will be marked as “paragraph”)
You can see all available blocks by clicking the big blue “+” (plus) icon in the top left corner or by clicking “Browse all” when adding blocks in one of the previously mentioned ways. The blocks are grouped by categories such as Text, Media, Design, Widgets, Embeds, and Drupal blocks. The available blocks depend on what you have enabled in the settings.
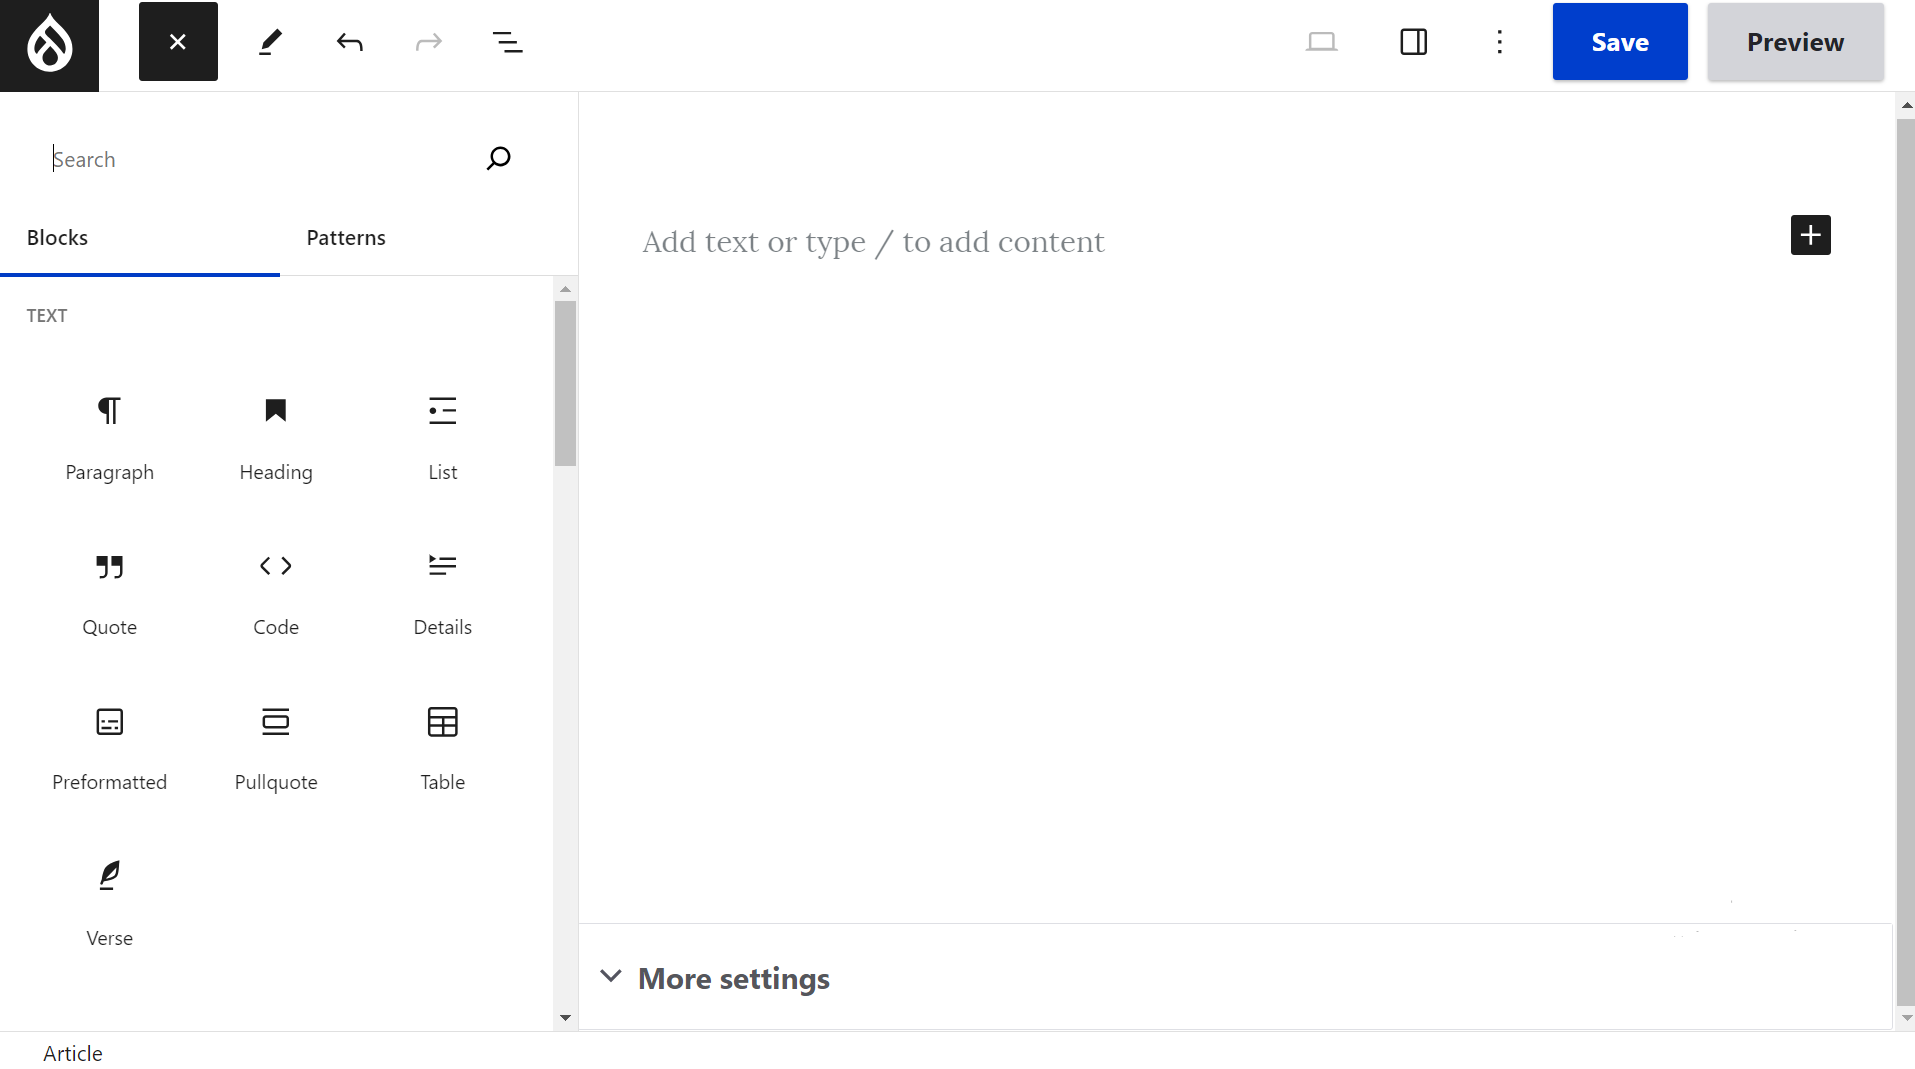
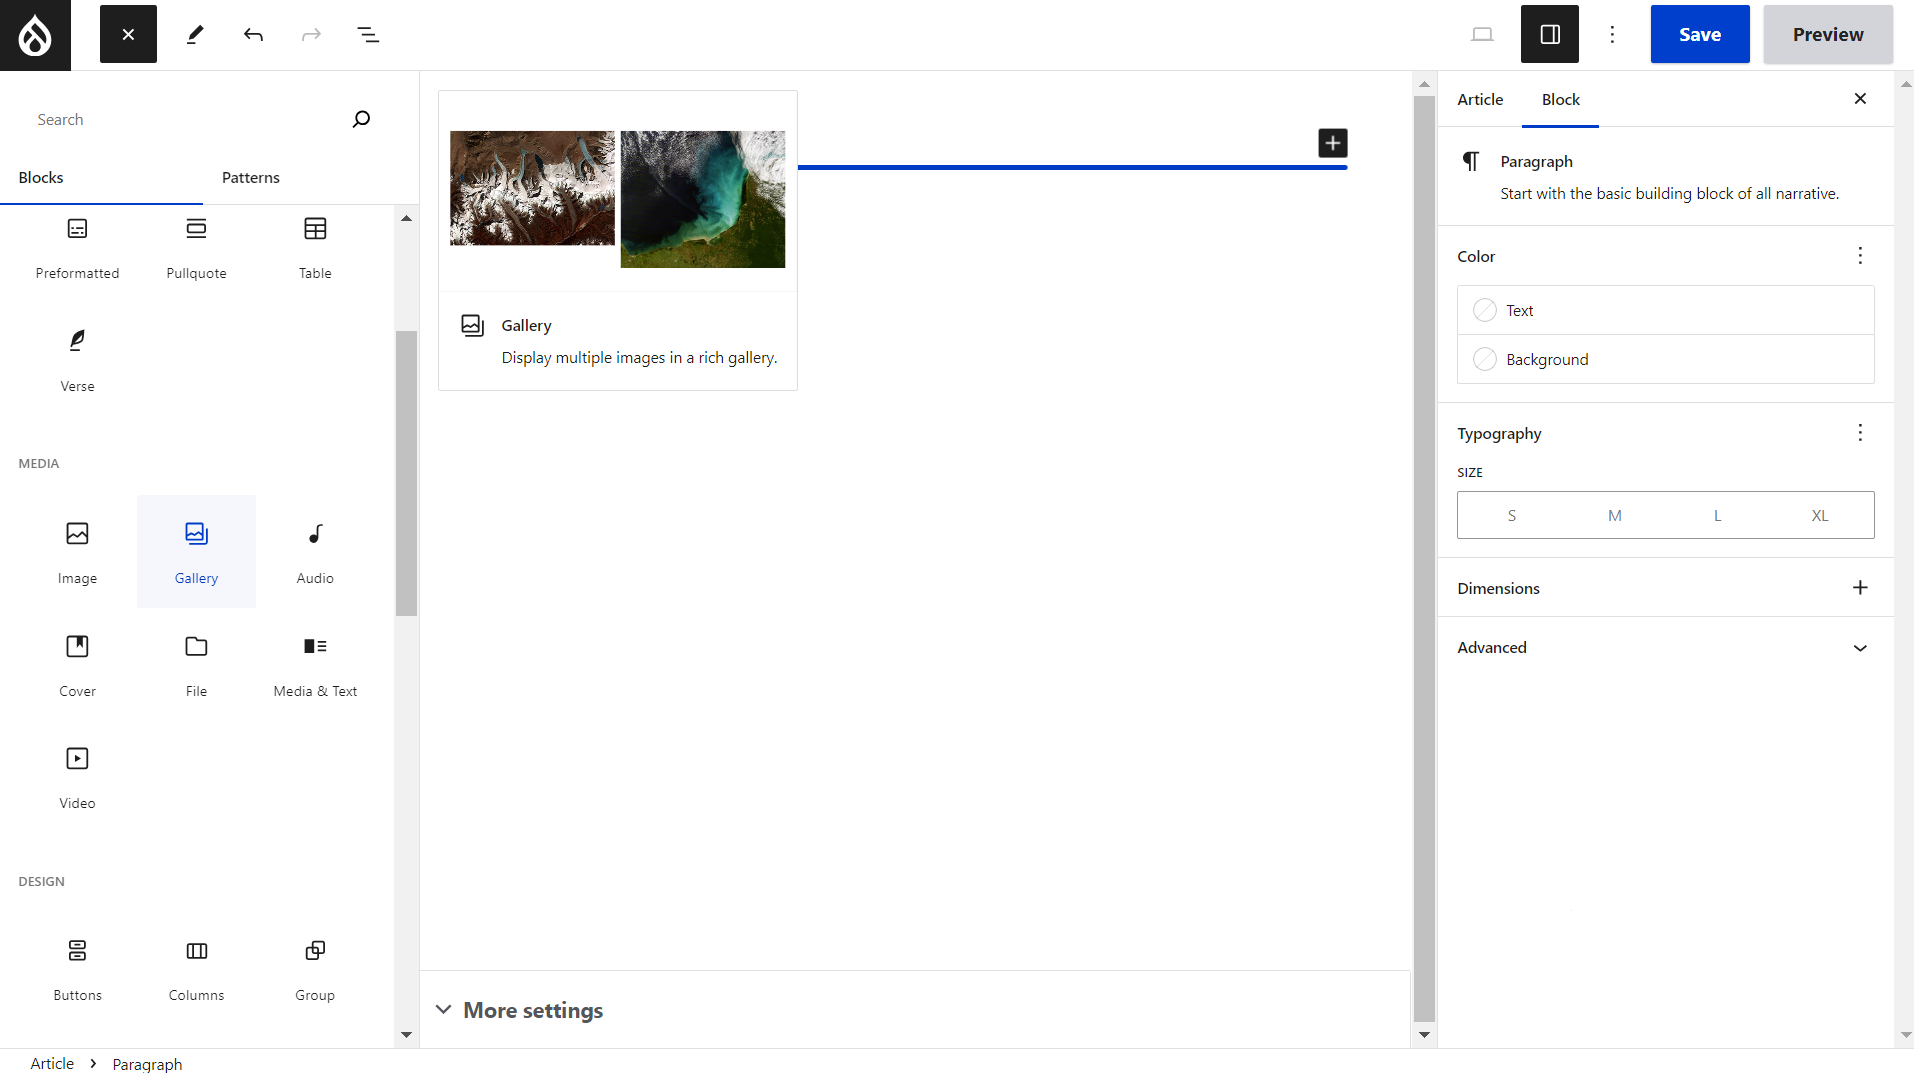
By hovering over the icon of any available type of block, you can see a preview of what it will look like followed by a verbal description.
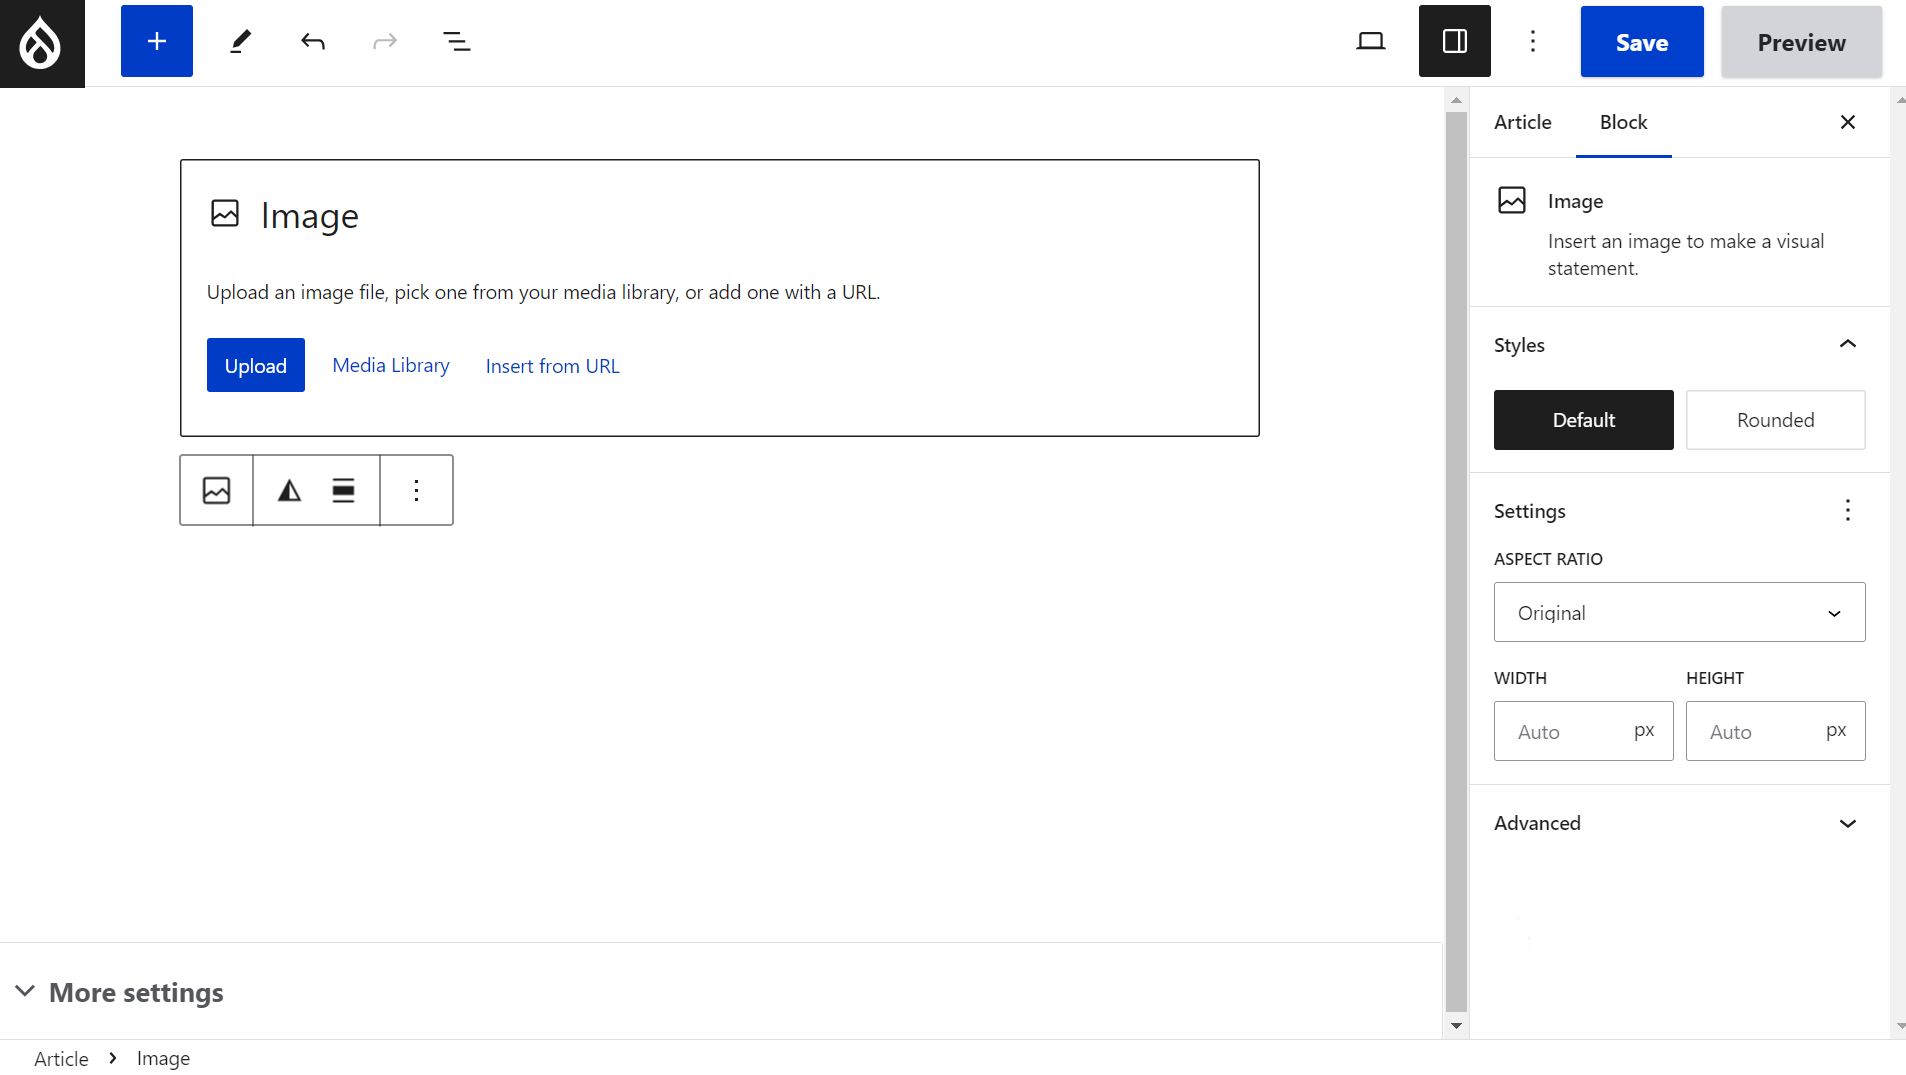
Gutenberg integrates with Drupal’s Media Library where editorial teams store images, videos, and other multimedia items. So when you want to add those to Gutenberg, it offers you a link to the Media Library along with the options to upload multimedia from your PC or insert it from a URL.
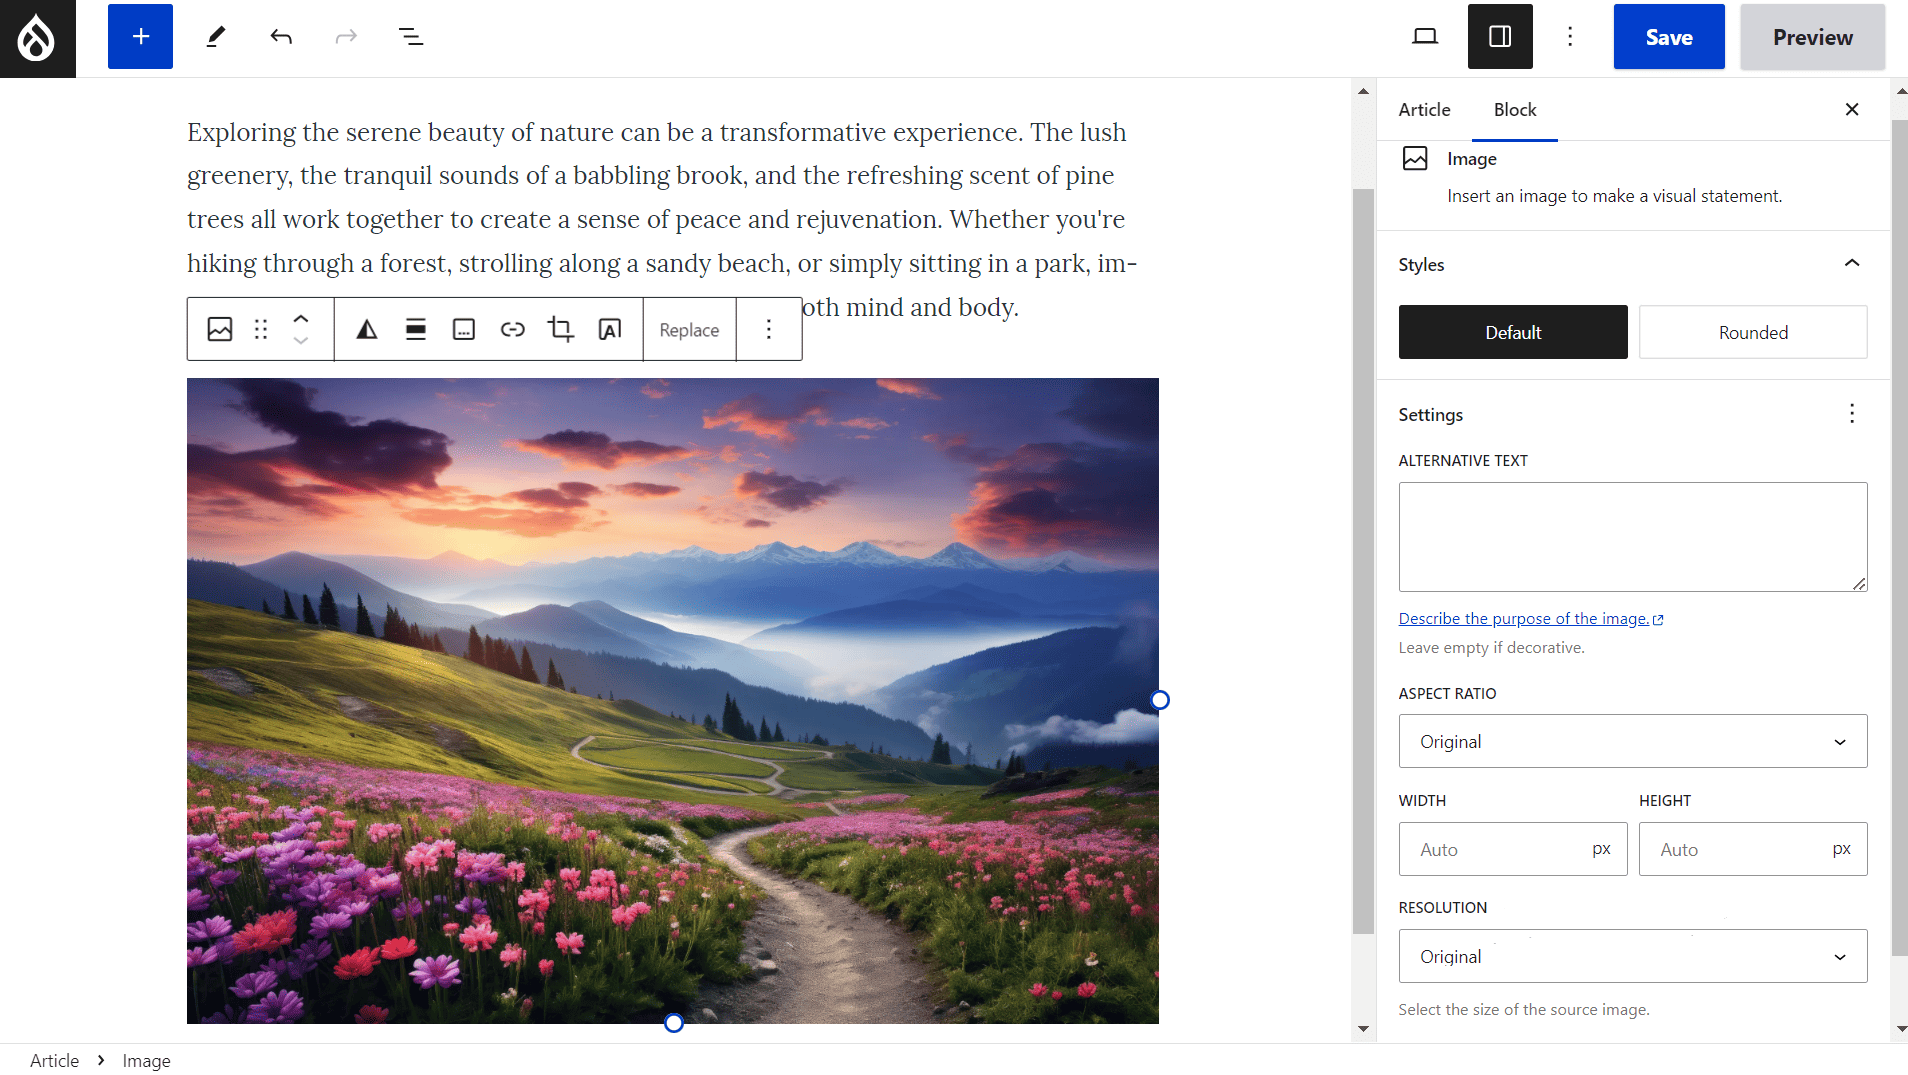
Configuring blocks in Drupal Gutenberg
Basic settings on each block’s toolbar. Each block that you are adding to the canvas has a toolbar above it with basic settings. At the beginning of each toolbar, there is a “drag” (six dots) button enabling you to drag-and-drop the block around the canvas. There are also options like deleting, copying, duplicating the block, and more.
More specific options depend on the type of block — for example, a paragraph has options like text alignment or link insertion while an image block has options like image cropping or adding a caption.
The settings tab to the right. And, of course, there is the settings tab to the right of the canvas with more detailed settings. There are two tabs — “Article” and “Block”:
- The article settings are almost the same as you’d see in the traditional Drupal content form such as title, author, menu settings, published/unpublished status, and more.
- By clicking on a specific block on the canvas and opening its “Block” settings tab, you’ll be able to configure its appearance depending on the type of block.
For example, you can configure the weight and height, ALT text, and similar things for an image.
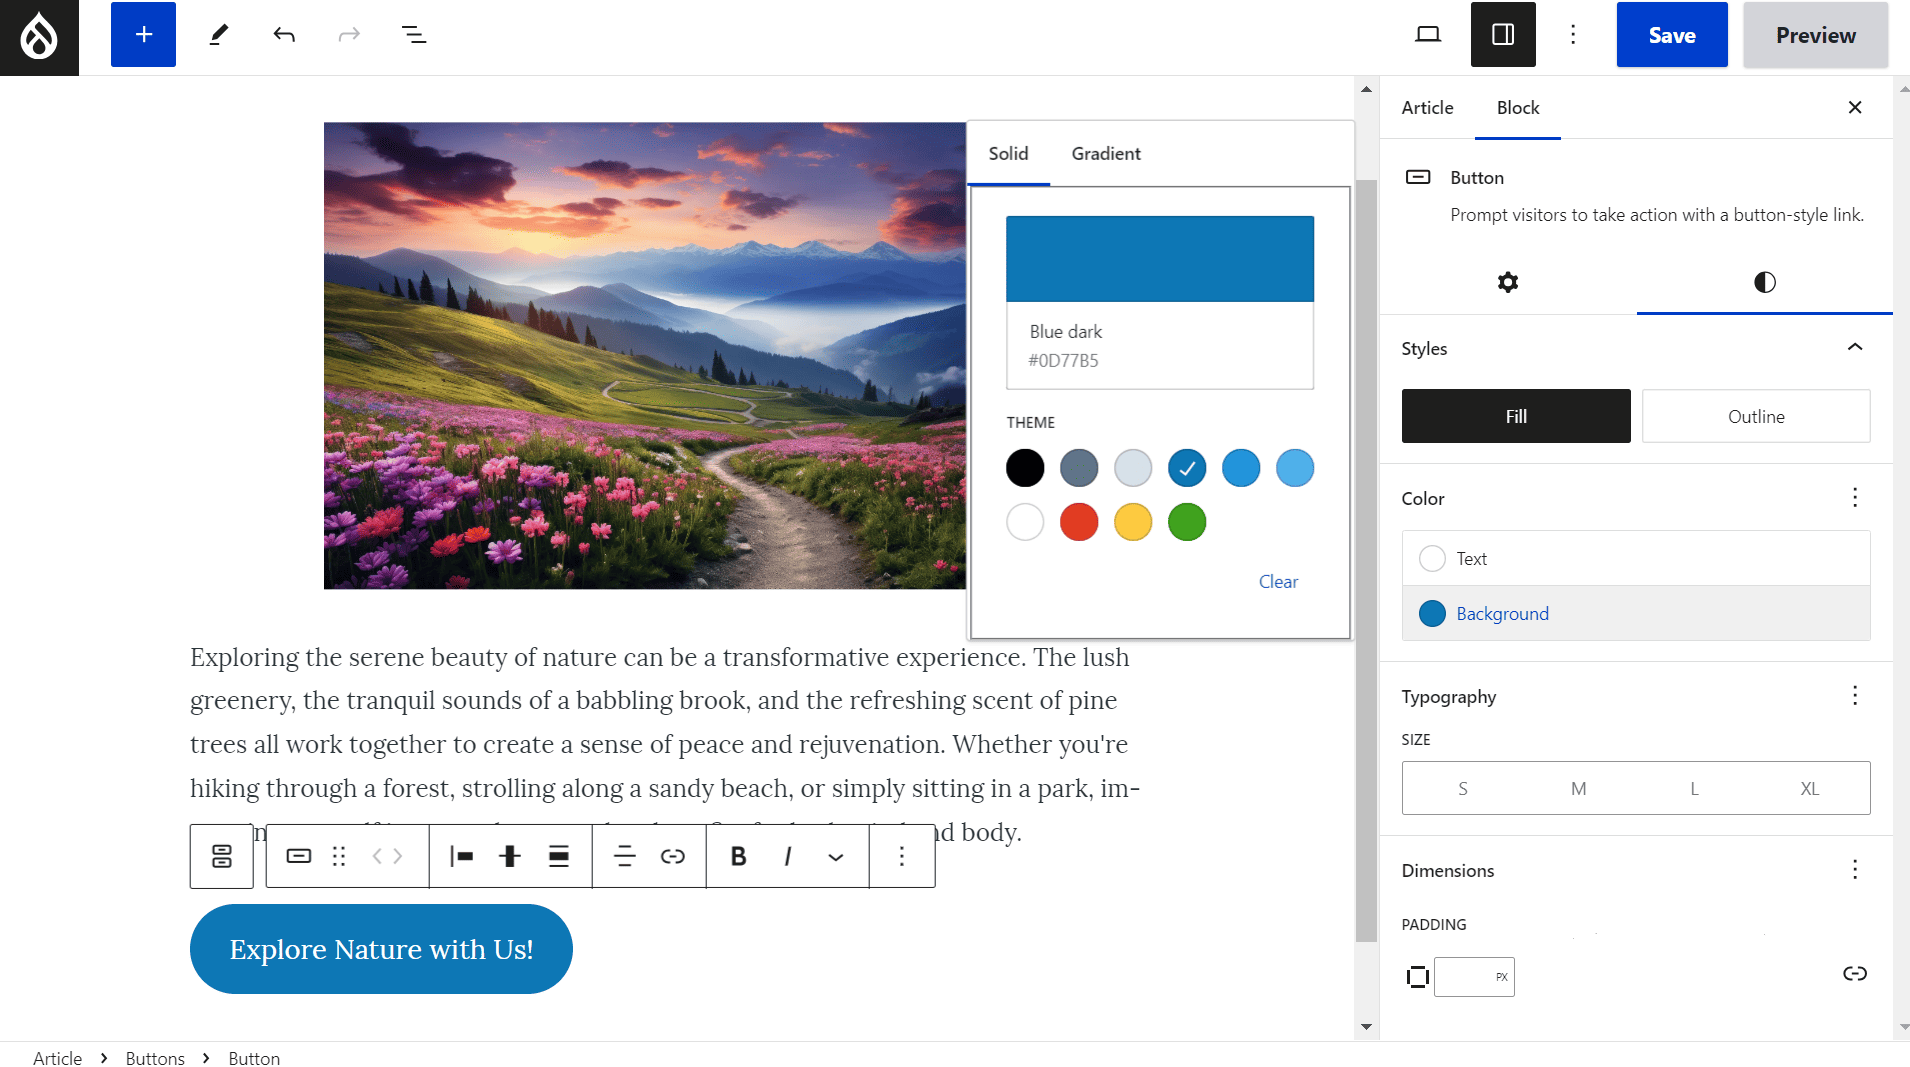
Configuring a button includes the options to set the background and text colors, make the button filled or outlined, and more.
Multi-column layouts
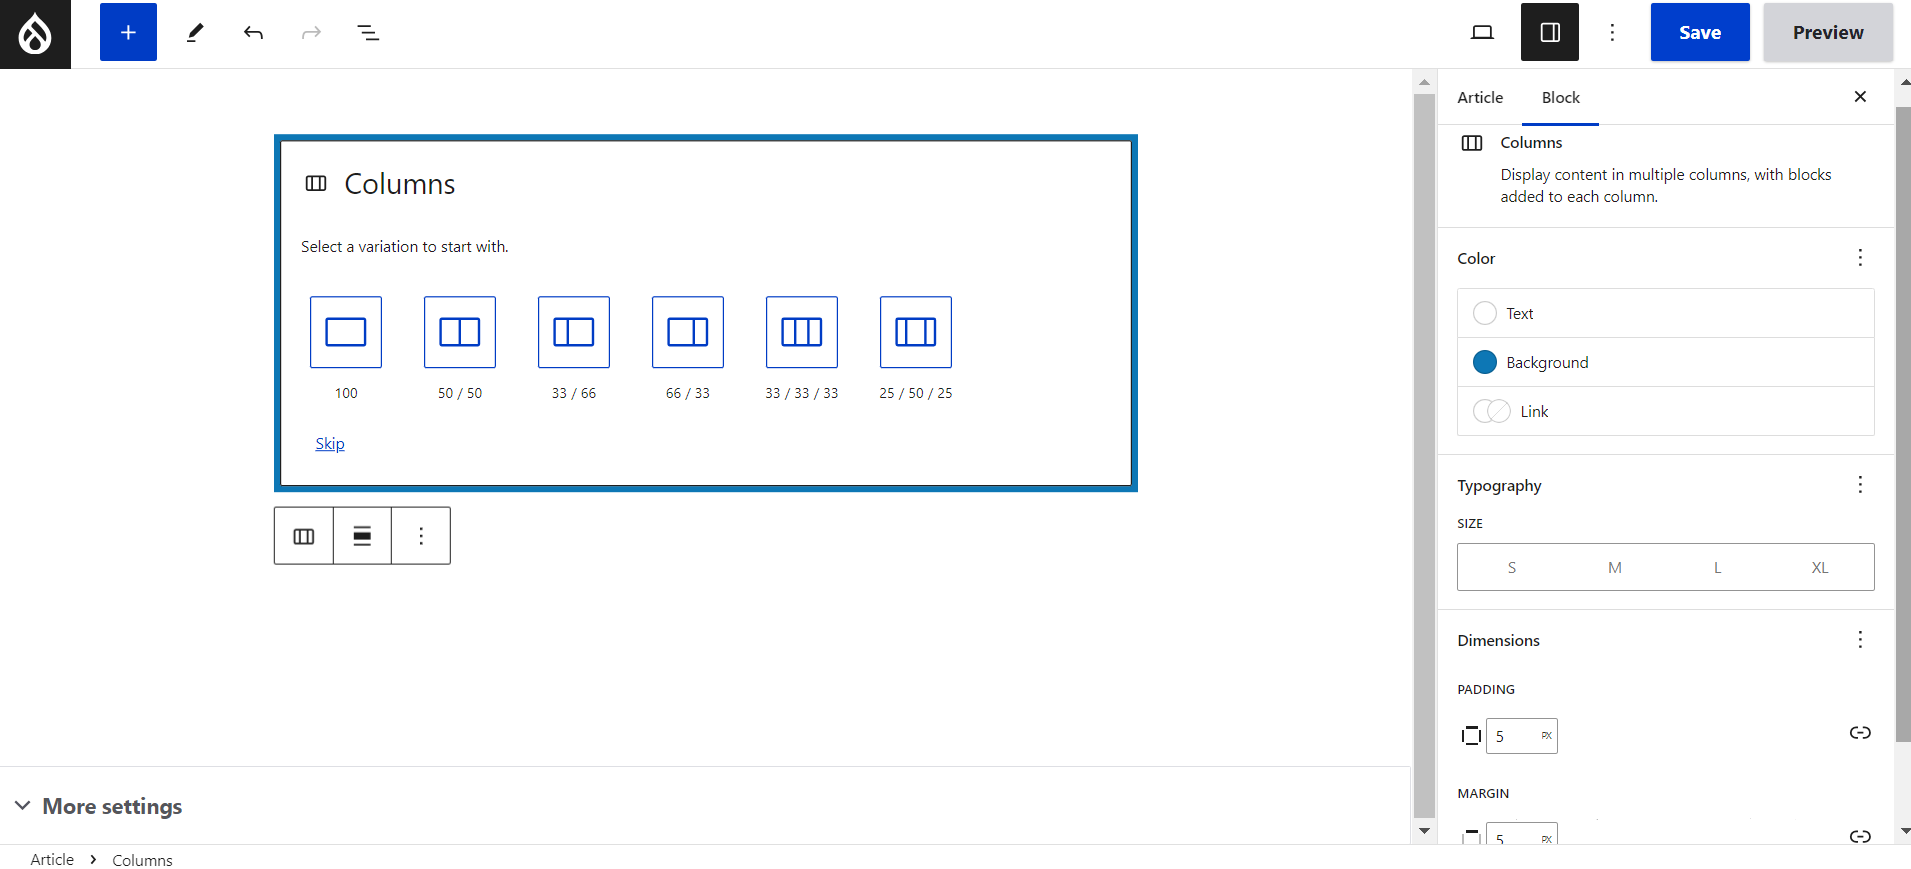
By selecting the “Columns” type of block, you’ll be able to create a multi-column layout. You will be offered several layout options out of the box. You can add padding and margin, customize the background and text colors, and more.
Using patterns
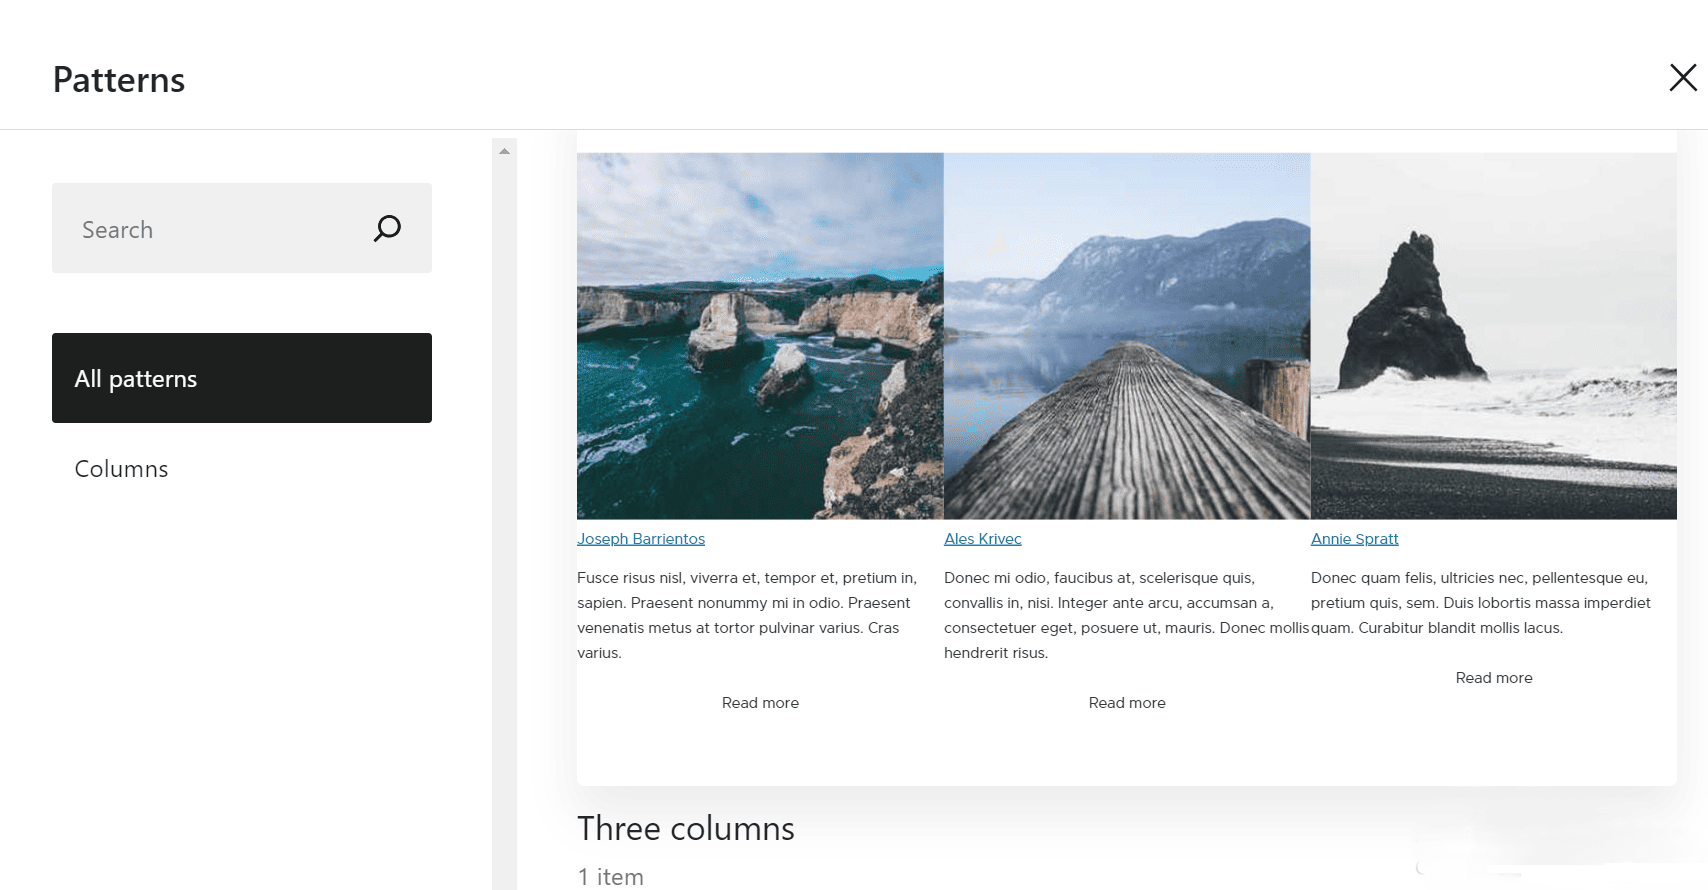
You can see available patterns for layouts in a special tab next to all available blocks (the big blue “+” button on the top left). Out of the box, you’ll see a default pattern which is a 3-column grid. You can create your own custom block patterns that will appear there.
Plenty of other options in Drupal Gutenberg
By clicking through the Gutenberg Editor interface, you’ll find more interesting features like switching to the code editor instead of the visual editor, seeing the document outline, previewing your layout on a tablet or a mobile device, viewing the keyboard shortcuts to use accessible keyboard navigation, and much more.
Customization tweaks for developers to do
Drupal Gutenberg offers plenty of options for developers such as:
- creating custom block patterns
- creating custom blocks for Gutenberg Cloud
- creating custom palettes and custom font size presets in the theme
- adding custom styles and scripts
- and more
All that is substantially described in the module’s drupal.org documentation.
Final thoughts
Hopefully, you found our high level overview of the Gutenberg experience in Drupal informative and useful. Indeed, Drupal Gutenberg offers a different approach to creating content pages, but that’s what the diversity of tools looks like.
Reach out to discuss what kind of workflows would work best for your team, and how some customization tweaks and developer-made settings can make them especially seamless, consistent, error-free, and editor-friendly.


